Yamaha CDC-735 Owner's Manual - Page 12
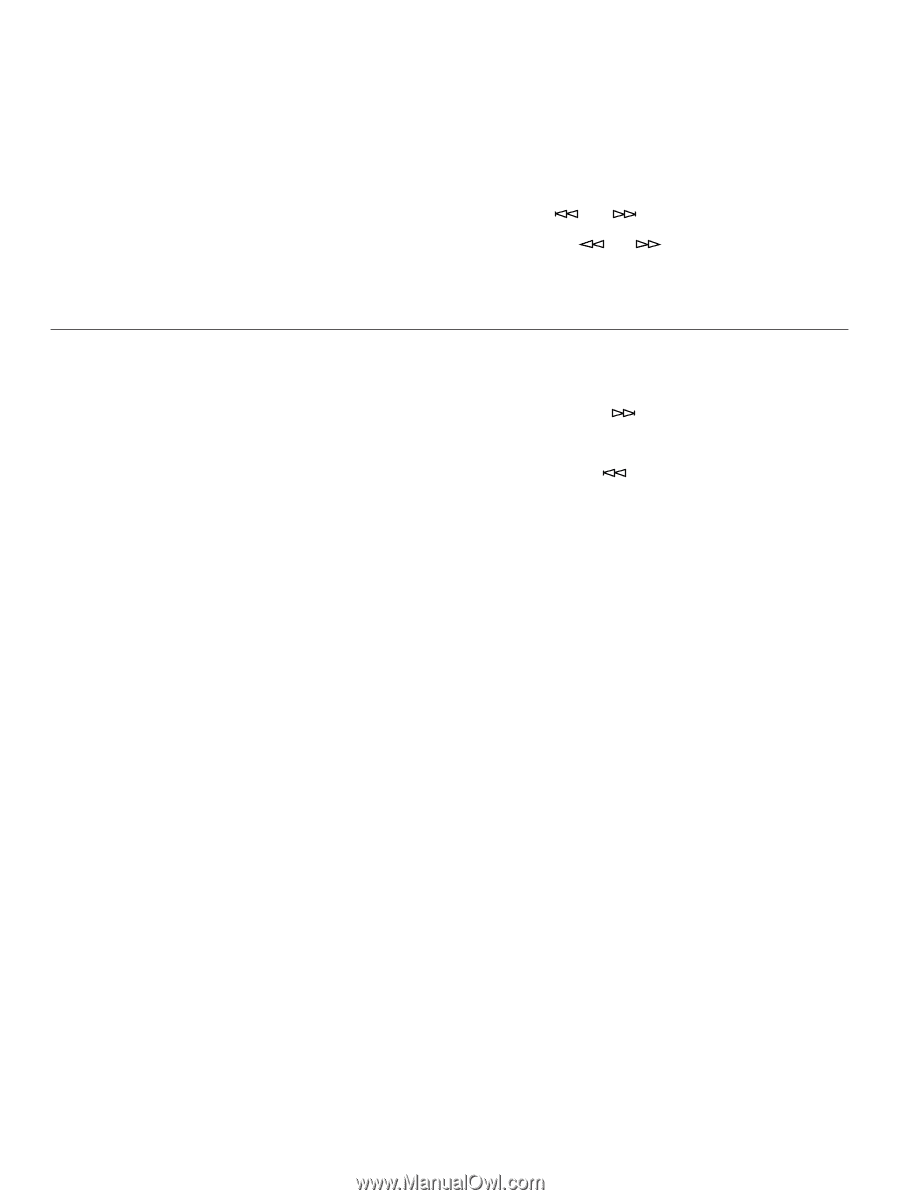
To stop program play, To cancel a programmed setting, To check programmed data, Notes, DISC SKIP
 |
View all Yamaha CDC-735 manuals
Add to My Manuals
Save this manual to your list of manuals |
Page 12 highlights
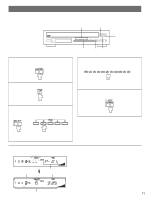
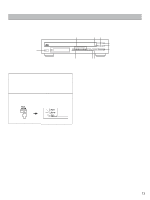
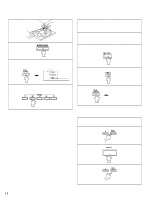
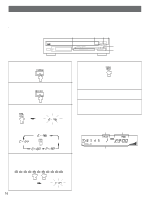
Notes q You can set as many as 40 programs at one time. q You can set a whole disc as a program by pressing "0", instead of selecting a track number. At that time, "AL" flashes in the display. q If you will make programming with the DISC 1 tray empty, be sure to press the DISC SKIP button before starting programming. q If you will program tracks from more than one disc, before you press the PROG button, check the total recorded time of each disc on the disc tray by pressing the DISC SKIP button in turn. Without this operation, the total time of the programmed tracks will not be displayed during programming. q The total time of the programmed tracks will not be displayed, if a track number higher than 20 is programmed. q If, during programming, the TIME display mode-select button is pressed, the program number display can be changed to display the total time of the programmed tracks or no information. To return to the previous display, press the TIME display mode-select button once again. q The SKIP ( and ) button can be used during playing, but only within the range of the programmed tracks. q The SEARCH ( and ) button can be used during playing to search through all tracks, including unprogrammed tracks. To stop program play q Press the STOP button. The first track number programmed will be displayed. q To resume play, press the PLAY/PAUSE button. Play will begin from the beginning of the program. To cancel a programmed setting There are several methods, as described below. q Press the STOP button while the unit is stopped. q Open the disc tray. q Switch off the power. To check programmed data 1. If the unit is in the play mode, press the STOP button. 2. Press the PROG button. 3. Each time the SKIP button is pressed, the track numbers and sequential order of the programmed tracks can be checked one after another. The display of the track number can be returned (sequentially in reverse order) by pressing the SKIP button. To correct programmed data 1. Follow the procedure described in "To check programmed data". 2. Display the track number to be corrected by pressing the SKIP button. 3. Press a numeric button to select a track to replace the one displayed. The previously programmed track will be cleared from the memory and the new one will be programmed. 4. After the correction has been completed, press the PROG button or PLAY/PAUSE button once again. 12
-
 1
1 -
2
-
3
-
4
-
5
-
6
-
 7
7 -
 8
8 -
 9
9 -
 10
10 -
 11
11 -
 12
12 -
 13
13 -
 14
14 -
 15
15 -
 16
16 -
 17
17 -
18
-
19
-
20
 |
 |