Yamaha CP33 Owner's Manual - Page 21
Playing Different Voices with the Left and Right Hands-Split - parts
 |
UPC - 086792840802
View all Yamaha CP33 manuals
Add to My Manuals
Save this manual to your list of manuals |
Page 21 highlights
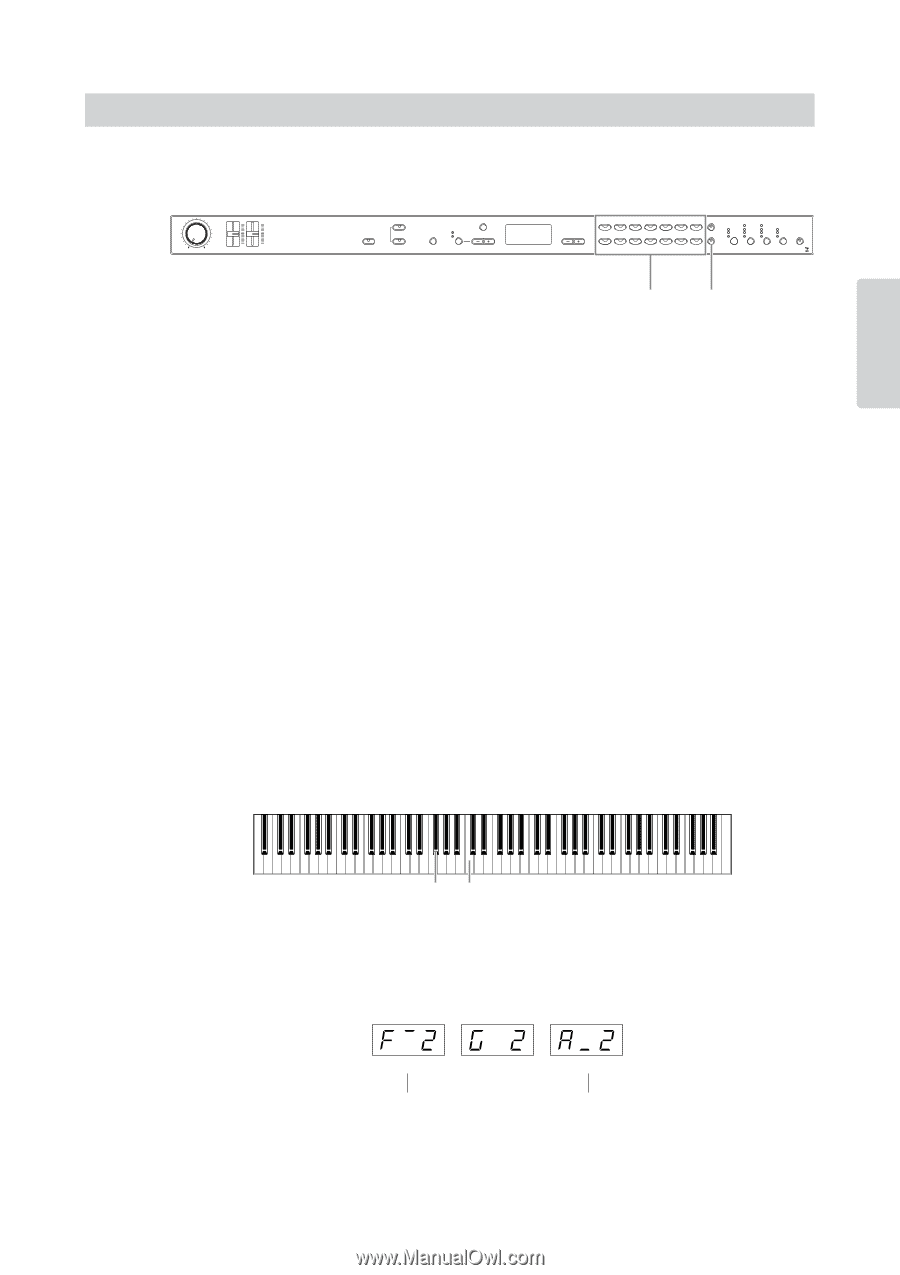
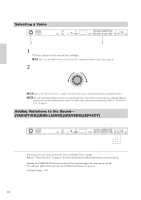
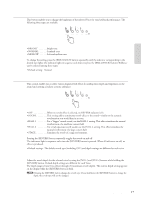
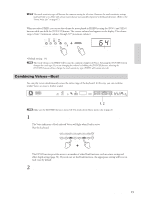
Reference Playing Voices Playing Different Voices with the Left and Right Hands-Split Split enables you to play two different Voices on the keyboard-one with the left hand and another with the right hand. For example, you can play a bass part using the WOOD BASS or E.BASS Voice with the left hand, and a melody with the right hand. ZONE 1 ZONE 2 MIN MAX MASTER VOLUME ZONE CONTROL TRANSPOSE MASTER MASTER EDIT MASTER DEMO TEMPO FUNCTION ON/OFF CLICK TEMPO/FUNCTION TEMPO/OTHER VALUE NO YES GRAND PIANO 1 GRAND PIANO 2 MONO PIANO E. CLAVIE. PIANO 1 E. PIANO 2 CHORD VIBRAPHONE VARIATION 1 CHURCH ORGAN 2 JAZZ ORGAN 3 HARPSICHORD 4 STRINGS/ CHOIR 5 GUITAR 6 WOOD BASS 7 E. BASS MEMORY SPLIT 8 9 10 11 12 13 14 VOICE/MASTER BRIGHT NORMAL MELLOW ROOM HALL 1 HALL 2 STAGE CHORUS PHASER TREMOLO ROTARY SP HARD MEDIUM SOFT BRILLIANCE REVERB EFFECT TOUCH PANEL LOCK 2, 3 1, 3, 4, 5 n Make sure the [MASTER] button is turned off. For details about Master mode, refer to page 26. 1 Press the [SPLIT] button to enable Split. The [SPLIT] button lights. The default setting (WOOD BASS) will be selected for the left-hand voice at first. The Function mode provides access to a number of other Split functions (page 37). (If you make no settings for Split functions, the appropriate setting will be set in each voice by default.) n The indicator of the right Voice button lights in Split. 2 Select a Voice for the right hand. Press a Voice button. 3 Select a Voice for the left hand. Press the corresponding Voice button while holding the [SPLIT] button. To turn the variation on or off for the Split Voice, hold the [SPLIT] button and press the [VARIATION] button or the currently selected Voice button. n The indicator of the left Voice button will light while the [SPLIT] button is pressed. 4 Specify the split point (the border between the right- and left-hand range). The default setting (factory setting) is "F 2." (If you do not need to change the split point, skip this step.) F#2 C3 To Change the Split Point Setting 4-1 Simultaneously hold down the [SPLIT] button and press the appropriate key on the keyboard. The name of the current split-point key appears on the display while the [SPLIT] button is held. (F 2) (G2) (A 2) Upper bar indicates sharp Lower bar indicates flat 4-2 Release the [SPLIT] button to return to the main display. CP33 Owner's Manual 21
-
 1
1 -
2
-
3
-
4
-
5
-
6
-
7
-
8
-
9
-
10
-
11
-
12
-
13
-
14
-
15
-
 16
16 -
 17
17 -
 18
18 -
 19
19 -
 20
20 -
 21
21 -
 22
22 -
 23
23 -
 24
24 -
 25
25 -
 26
26 -
27
-
28
-
29
-
30
-
31
-
32
-
33
-
34
-
35
-
36
-
37
-
38
-
39
-
40
-
41
-
42
-
43
-
44
-
45
-
46
-
47
-
48
-
49
-
50
-
51
-
52
-
53
-
54
-
55
-
56
-
57
-
58
-
59
-
60
-
61
-
62
-
63
-
64
 |
 |