Yamaha DVD-S520 Owner's Manual - Page 12
Personal Preferences, General operation - remote code
 |
View all Yamaha DVD-S520 manuals
Add to My Manuals
Save this manual to your list of manuals |
Page 12 highlights
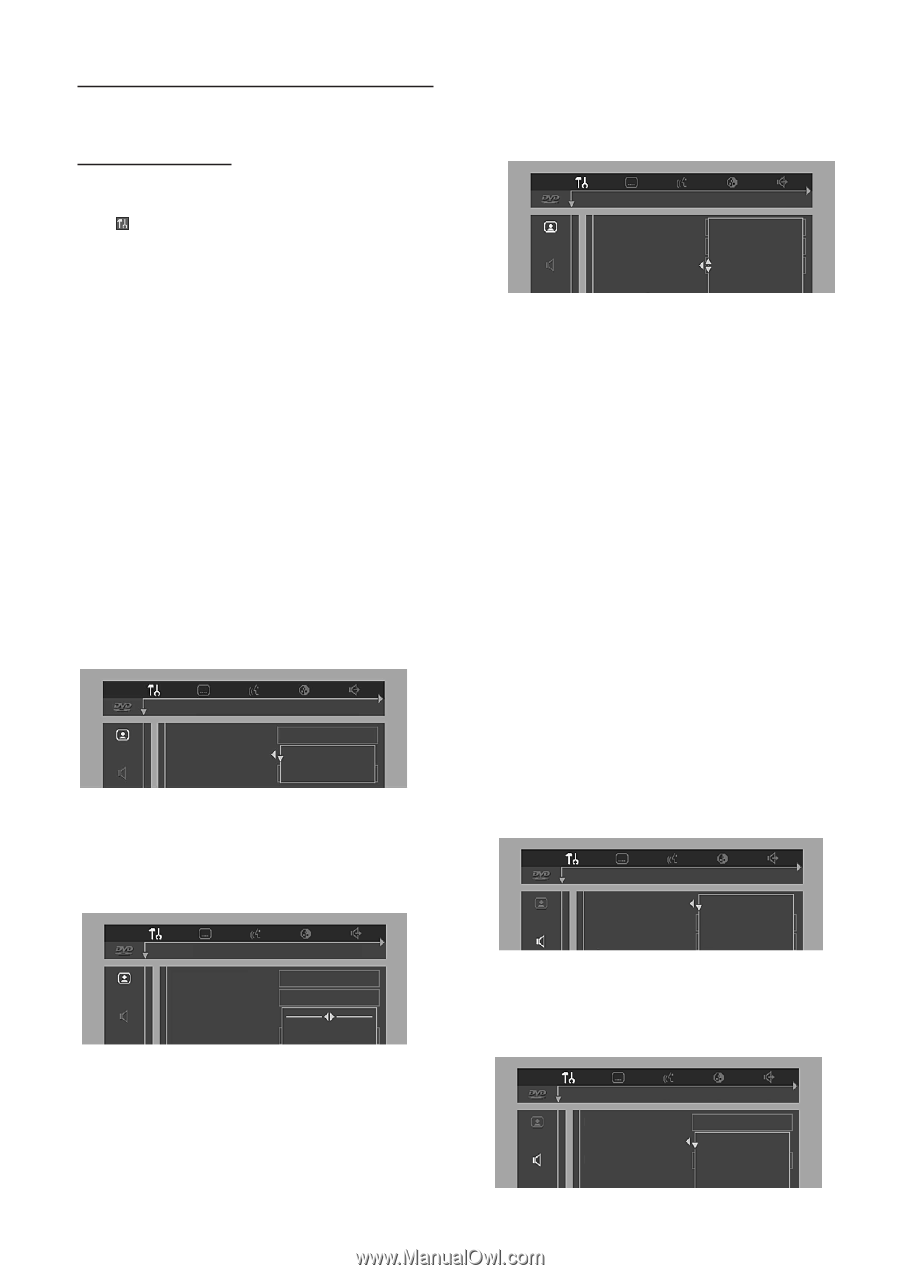
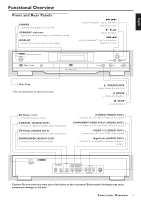
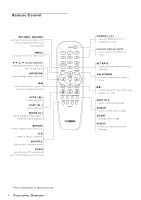
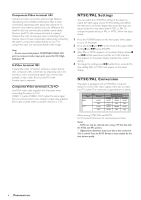
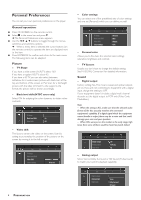
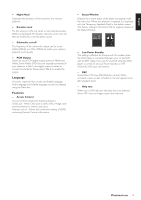
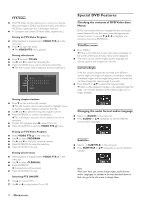
Personal Preferences You can set your own personal preferences on the player. General operation: ¶ Press ON SCREEN on the remote control. ¶ Select in the menu bar and press 4. ➜ The Personal Preferences menu appears. ¶ Use the 1 2 3 4 buttons to toggle through the menus, submenus and submenu options. ➜ When a menu item is selected, the cursor buttons (on the remote control) to operate the item are displayed next to the item. ¶ Press ENTER/OK to confirm and return to the main menu. The following items can be adapted: Picture - TV Shape If you have a wide screen (16:9) TV, select 16:9. If you have a regular (4:3) TV, select 4:3. If you have a 4:3 TV, you can also select between: Letterbox for a 'wide-screen' picture with black bars at the top and bottom of the screen, or Pan Scan, for a full-height picture with the sides trimmed. If a disc supports the format, the picture will be shown accordingly. - Black level shift (NTSC users only) Select ON for adapting the color dynamics to obtain richer contrasts. 1en 1en 1 2 TV shape Black Level Shift On Video Shift Off - Video shift The factory centers the video on the screen. Use this setting to personalize the position of the picture on the screen by moving it to the left or right. 1en 1en TV shape Black Level Shift Video Shift Colour settings 1 2 OK to exit 8 PREPARATION - Color settings You can select one of five predefined sets of color settings and one set (Personal) which you can define yourself. 1en 1en 1 2 TV shape Black Level Shift Video Shift Colour settings 1 Personal 2 Rich 3 Natural 4 Soft - Personal color Allows you to fine-tune the selected color settings saturation, brightness and contrast. - TV System Usually you don't have to change the default setting, See 'NTSC/PAL Conversion' for detailed information. Sound - Digital output Factory setting: ALL.This means coaxial and optical outputs are on. If you are not connecting to equipment with a digital input, change the setting to OFF. If your equipment doesn't include a digital multi-channel decoder, set the digital output to PCM only (Pulse Code Modulation). Note: - When the setting is ALL, make sure that the selected audio format of the disc you play matches the connected equipment's capability. If a digital signal which the equipment cannot handle is output, there may be a noise and that could damage your ears and your speakers. - When CDs were put on the market in the early stage, high tones from some of them would be heard as punch lacked. 1en 1en 1 2 Digital output Analog output Night mode Off PCM only All - Analog output Select Stereo, Dolby Surround or 3D Sound (TruSurround) to match your system's playback capability. 1en 1en 1 2 Digital output Analog output Night mode Stereo Dolby Surround 3D Sound
-
 1
1 -
2
-
3
-
4
-
5
-
6
-
 7
7 -
 8
8 -
 9
9 -
 10
10 -
 11
11 -
 12
12 -
 13
13 -
 14
14 -
 15
15 -
 16
16 -
 17
17 -
18
-
19
-
20
-
21
-
22
-
23
 |
 |