Yamaha EF2000iS Owners Manual - Page 30
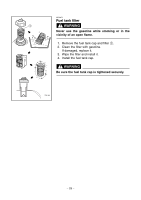
Be sure no foreign material enters the crankcase., Do not tilt the generator when adding engine oil.
 |
View all Yamaha EF2000iS manuals
Add to My Manuals
Save this manual to your list of manuals |
Page 30 highlights
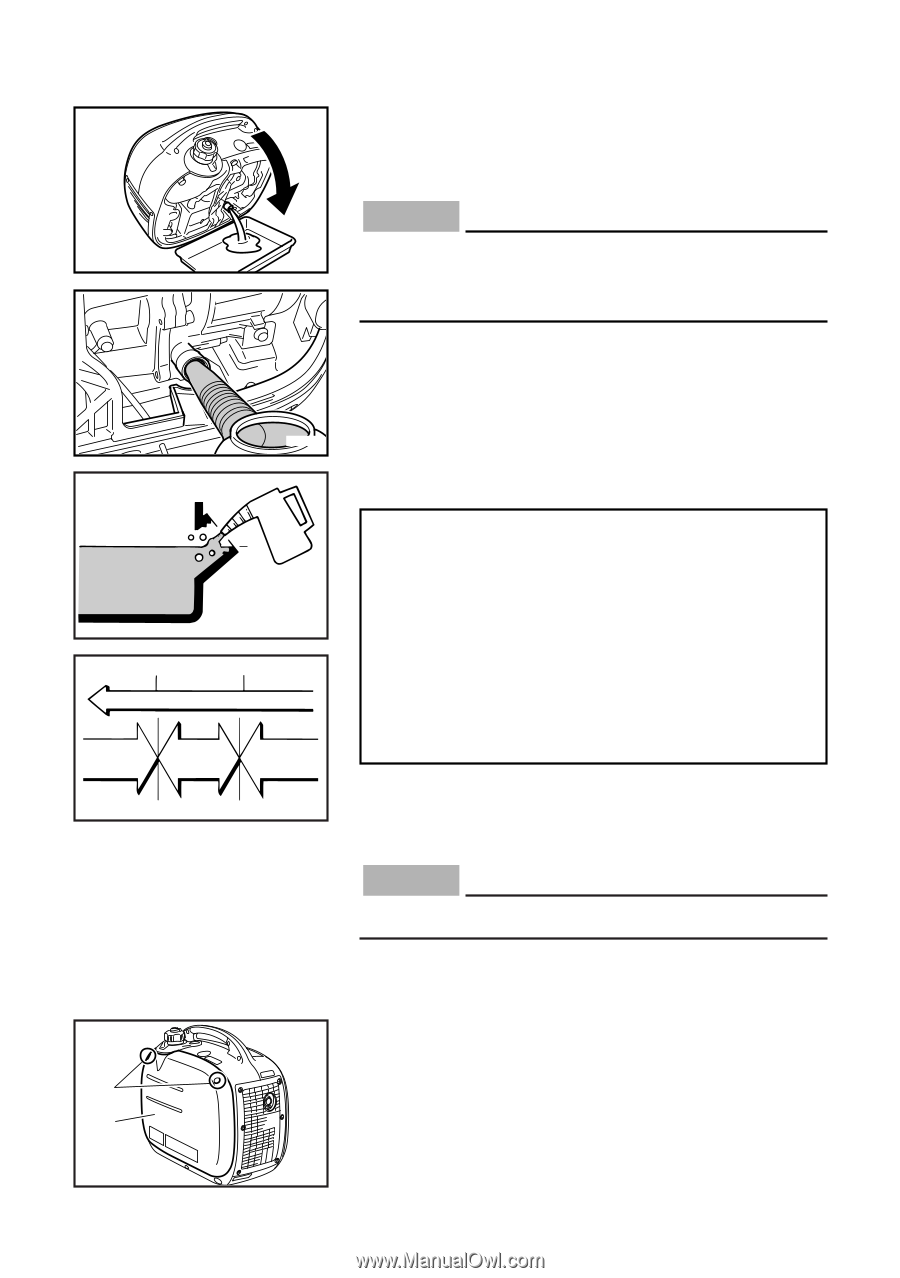
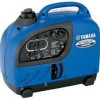
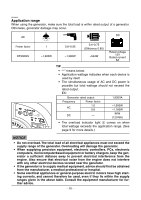
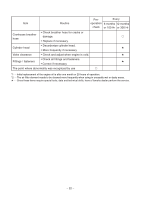
4. Place an oil pan under the engine. Tilt the generator to drain the oil completely. 5. Replace the generator on a level surface. NOTICE 7DK-055 Do not tilt the generator when adding engine oil. This could result in overfilling and damage to the engine. 7DK-033 q 700-006a 0°C 25°C å YAMALUBE 4 (10W-40) ∂ SAE 10W ç SAE #20 ∫ SAE #30 6. Add engine oil to the upper level 1. Recommended engine oil: åYAMALUBE 4 (10W-40), SAE 10W-30 or 10W-40 ∫SAE #30 çSAE #20 ∂SAE 10W Recommended engine oil grade: API Service SE type or higher Engine oil quantity: 0.4 L (0.42 US qt, 0.35 lmp qt) 32°F 80°F 7. Wipe the cover clean, and wipe up any spilled oil. NOTICE Be sure no foreign material enters the crankcase. 8. Install the oil filler cap. 9. Install the cover 2 and tighten the screws 1. 1 2 7DK-030 - 25 -
-
 1
1 -
2
-
3
-
4
-
5
-
6
-
7
-
8
-
9
-
10
-
11
-
12
-
13
-
14
-
15
-
16
-
17
-
18
-
19
-
20
-
21
-
22
-
23
-
24
-
 25
25 -
 26
26 -
 27
27 -
 28
28 -
 29
29 -
 30
30 -
 31
31 -
 32
32 -
 33
33 -
 34
34 -
 35
35 -
36
-
37
-
38
-
39
-
40
-
41
-
42
-
43
-
44
-
45
-
46
-
47
-
48
 |
 |