ZyXEL P-335U Quick Start Guide - Page 14
Set Up Your Computer's IP Address, Tools > Internet Options > Security >
 |
View all ZyXEL P-335U manuals
Add to My Manuals
Save this manual to your list of manuals |
Page 14 highlights
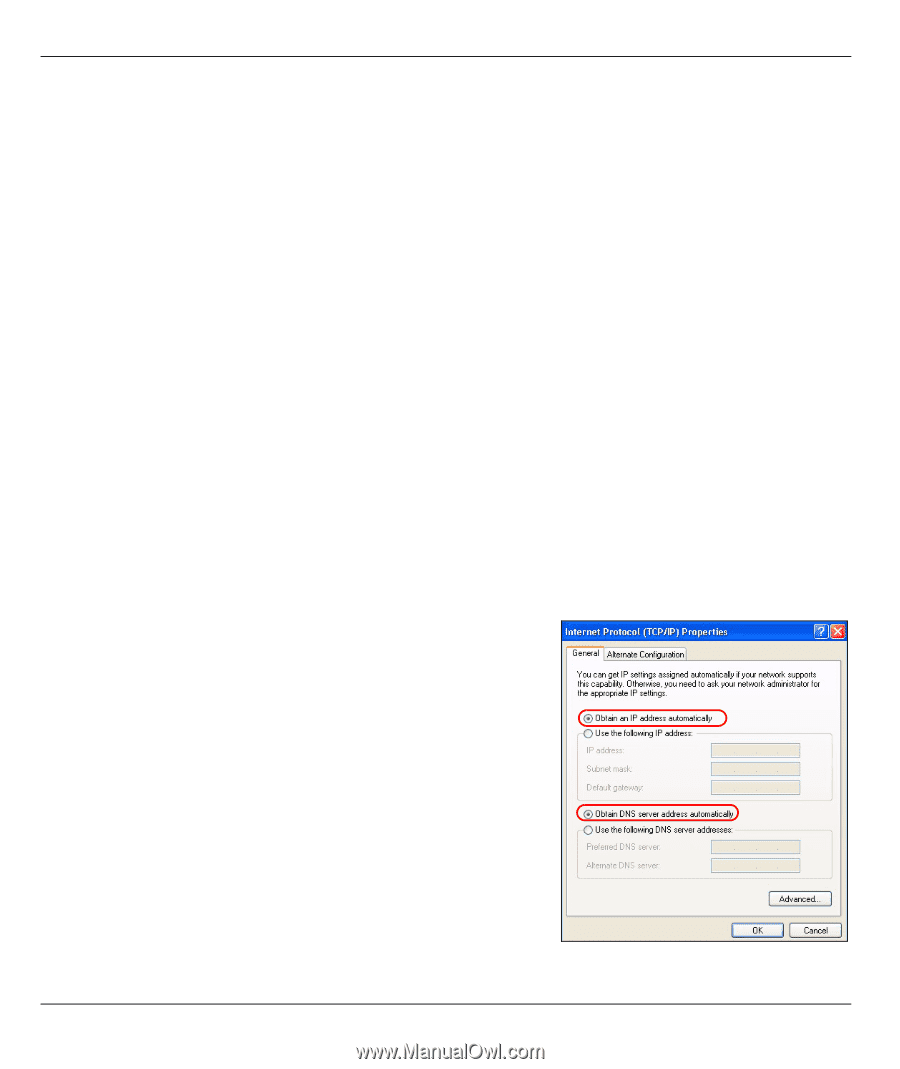
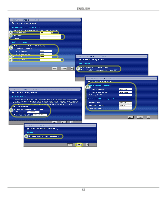
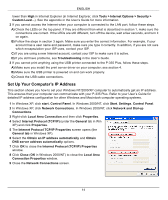
ENGLISH lower than High in Internet Explorer (in Internet Explorer, click Tools > Internet Options > Security > Custom Level...). See the appendix in the User's Guide for more information. 2 If you cannot access the Internet when your computer is connected to the LAN port, follow these steps. A) Check the LEDs on the top panel. If they are different than what is described in section 1, make sure the connections are correct. If the LEDs are still different, turn off the device, wait a few seconds, and turn it on again. B) Follow the steps in section 3 again. Make sure you enter the correct information. For example, if your account has a user name and password, make sure you type it correctly. In addition, if you are not sure which encapsulation your ISP uses, contact your ISP. C) If you are using a new Internet account, contact your ISP to make sure it is active. D) If you still have problems, see Troubleshooting in the User's Guide. 3 If you cannot print anything using the USB printer connected to the P-335 Plus, follow these steps. A) Make sure you install the print server driver on your computer; see section 4. B) Make sure the USB printer is powered on and can work properly. C) Check the USB cable connections. Set Up Your Computer's IP Address This section shows you how to set your Windows NT/2000/XP computer to automatically get an IP address. This ensures that your computer can communicate with your P-335 Plus. Refer to your User's Guide for detailed IP address configuration for other Windows and Macintosh computer operating systems. 1 In Windows XP, click start, Control Panel. In Windows 2000/NT, click Start, Settings, Control Panel. 2 In Windows XP, click Network Connections. In Windows 2000/NT, click Network and Dial-up Connections. 3 Right-click Local Area Connection and then click Properties. 4 Select Internet Protocol (TCP/IP) (under the General tab in Win XP) and click Properties. 5 The Internet Protocol TCP/IP Properties screen opens (the General tab in Windows XP). 6 Select the Obtain an IP address automatically and Obtain DNS server address automatically options. 7 Click OK to close the Internet Protocol (TCP/IP) Properties window. 8 Click Close (OK in Windows 2000/NT) to close the Local Area Connection Properties window. 9 Close the Network Connections screen. 14
-
 1
1 -
2
-
3
-
4
-
5
-
6
-
7
-
8
-
 9
9 -
 10
10 -
 11
11 -
 12
12 -
 13
13 -
 14
14 -
 15
15 -
 16
16 -
 17
17 -
 18
18 -
 19
19 -
20
-
21
-
22
-
23
-
24
-
25
-
26
-
27
-
28
-
29
-
30
-
31
-
32
-
33
-
34
-
35
-
36
-
37
-
38
-
39
-
40
-
41
-
42
-
43
-
44
-
45
-
46
-
47
-
48
-
49
-
50
-
51
-
52
-
53
-
54
-
55
-
56
-
57
-
58
-
59
-
60
-
61
-
62
-
63
-
64
-
65
-
66
-
67
-
68
-
69
-
70
-
71
-
72
-
73
-
74
-
75
-
76
-
77
-
78
-
79
-
80
-
81
-
82
-
83
-
84
-
85
-
86
-
87
-
88
-
89
-
90
-
91
-
92
-
93
-
94
-
95
 |
 |