2009 Nissan Xterra Owner's Manual - Page 305
2009 Nissan Xterra Manual
Page 305 highlights
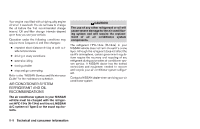
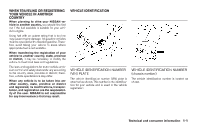
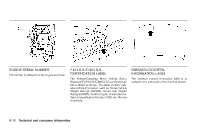
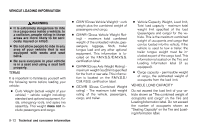
INSTALLING FRONT LICENSE PLATE WTI0100 WTI0167 LTI0137 TIRE AND LOADING INFORMATION LABEL The cold tire pressure is shown on the Tire and Loading Information label. The label is located as shown. AIR CONDITIONER SPECIFICATION LABEL The air conditioner specification label is affixed to the underside of the hood as shown. Use the following steps to mount the front license plate: 1. Make a shallow hole in each plastic finisher at the location mark (small dimple) using a 0.31 in (8 mm) drill. To avoid damaging the threads behind the finisher, apply only light pressure to the drill. 2. Mount the license plate bracket using two 8 mm slotted hex head screws. Technical and consumer information 9-11
-
 1
1 -
2
-
3
-
4
-
5
-
6
-
7
-
8
-
9
-
10
-
11
-
12
-
13
-
14
-
15
-
16
-
17
-
18
-
19
-
20
-
21
-
22
-
23
-
24
-
25
-
26
-
27
-
28
-
29
-
30
-
31
-
32
-
33
-
34
-
35
-
36
-
37
-
38
-
39
-
40
-
41
-
42
-
43
-
44
-
45
-
46
-
47
-
48
-
49
-
50
-
51
-
52
-
53
-
54
-
55
-
56
-
57
-
58
-
59
-
60
-
61
-
62
-
63
-
64
-
65
-
66
-
67
-
68
-
69
-
70
-
71
-
72
-
73
-
74
-
75
-
76
-
77
-
78
-
79
-
80
-
81
-
82
-
83
-
84
-
85
-
86
-
87
-
88
-
89
-
90
-
91
-
92
-
93
-
94
-
95
-
96
-
97
-
98
-
99
-
100
-
101
-
102
-
103
-
104
-
105
-
106
-
107
-
108
-
109
-
110
-
111
-
112
-
113
-
114
-
115
-
116
-
117
-
118
-
119
-
120
-
121
-
122
-
123
-
124
-
125
-
126
-
127
-
128
-
129
-
130
-
131
-
132
-
133
-
134
-
135
-
136
-
137
-
138
-
139
-
140
-
141
-
142
-
143
-
144
-
145
-
146
-
147
-
148
-
149
-
150
-
151
-
152
-
153
-
154
-
155
-
156
-
157
-
158
-
159
-
160
-
161
-
162
-
163
-
164
-
165
-
166
-
167
-
168
-
169
-
170
-
171
-
172
-
173
-
174
-
175
-
176
-
177
-
178
-
179
-
180
-
181
-
182
-
183
-
184
-
185
-
186
-
187
-
188
-
189
-
190
-
191
-
192
-
193
-
194
-
195
-
196
-
197
-
198
-
199
-
200
-
201
-
202
-
203
-
204
-
205
-
206
-
207
-
208
-
209
-
210
-
211
-
212
-
213
-
214
-
215
-
216
-
217
-
218
-
219
-
220
-
221
-
222
-
223
-
224
-
225
-
226
-
227
-
228
-
229
-
230
-
231
-
232
-
233
-
234
-
235
-
236
-
237
-
238
-
239
-
240
-
241
-
242
-
243
-
244
-
245
-
246
-
247
-
248
-
249
-
250
-
251
-
252
-
253
-
254
-
255
-
256
-
257
-
258
-
259
-
260
-
261
-
262
-
263
-
264
-
265
-
266
-
267
-
268
-
269
-
270
-
271
-
272
-
273
-
274
-
275
-
276
-
277
-
278
-
279
-
280
-
281
-
282
-
283
-
284
-
285
-
286
-
287
-
288
-
289
-
290
-
291
-
292
-
293
-
294
-
295
-
296
-
297
-
298
-
299
-
 300
300 -
 301
301 -
 302
302 -
 303
303 -
 304
304 -
 305
305 -
 306
306 -
 307
307 -
 308
308 -
 309
309 -
 310
310 -
311
-
312
-
313
-
314
-
315
-
316
-
317
-
318
-
319
-
320
-
321
-
322
-
323
-
324
-
325
-
326
-
327
-
328
-
329
-
330
-
331
-
332
-
333
-
334
-
335
-
336
 |
 |
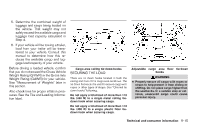
TIREANDLOADINGINFORMATION
LABEL
The cold tire pressure is shown on the Tire and
LoadingInformationlabel.Thelabelislocatedas
shown.
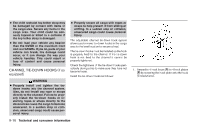
AIRCONDITIONERSPECIFICATION
LABEL
Theairconditionerspecificationlabelisaffixedto
theundersideofthehoodasshown.
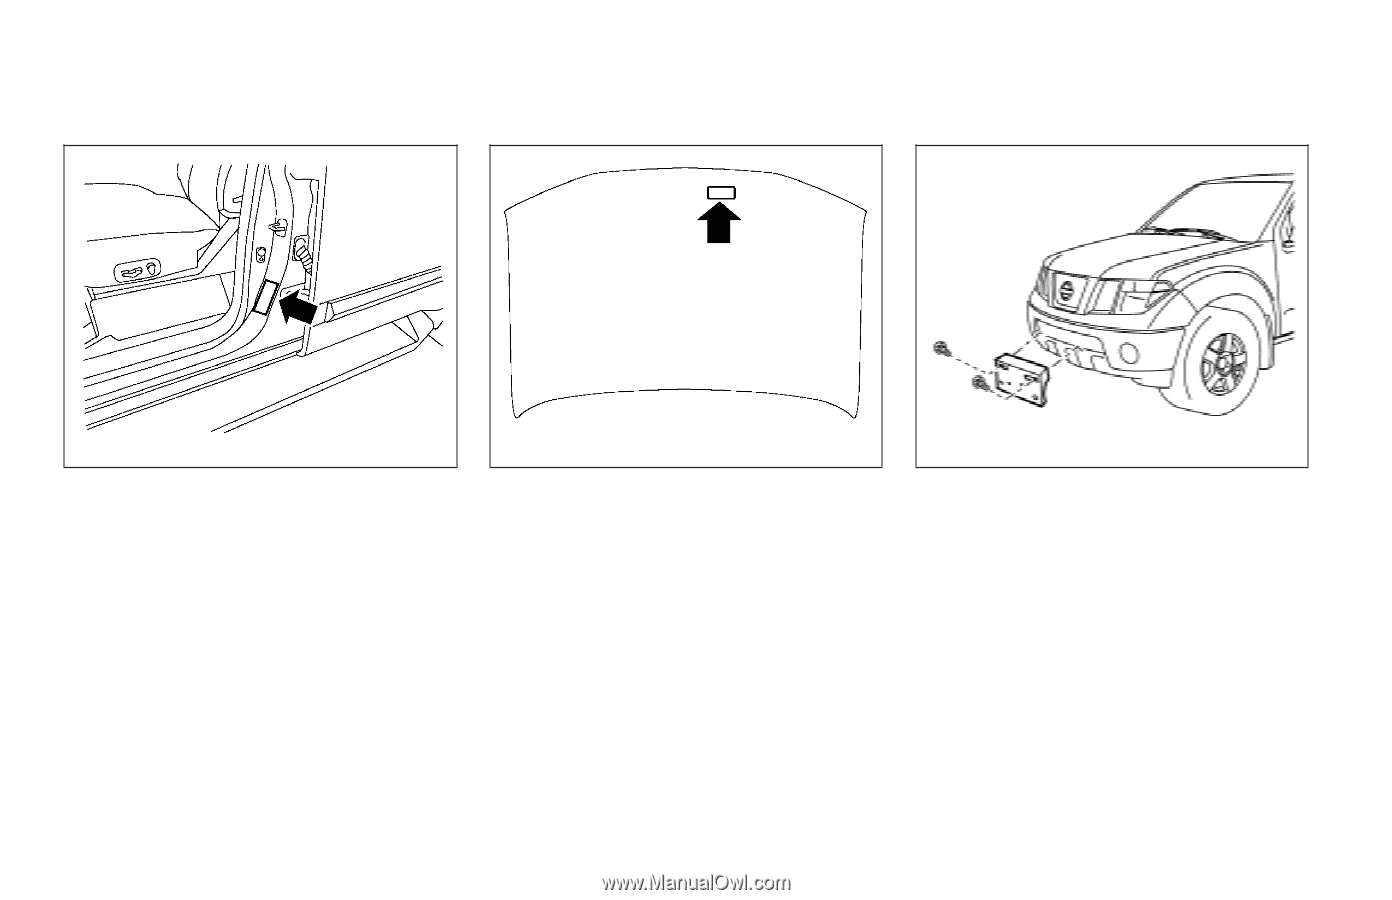
Usethefollowingstepstomountthefrontlicense
plate:
1. Makeashallowholeineachplasticfinisher
at the location mark (small dimple) using a
0.31 in (8 mm) drill. To avoid damaging the
threads behind the finisher, apply only light
pressuretothedrill.
2. Mountthelicenseplatebracketusingtwo
8
mmslottedhexheadscrews.
WTI0100
WTI0167
LTI0137
INSTALLINGFRONTLICENSEPLATE
Technicalandconsumerinformation
9-11