Acer X1120H User Manual - Page 34
V. Position vertical, H. Position
 |
View all Acer X1120H manuals
Add to My Manuals
Save this manual to your list of manuals |
Page 34 highlights
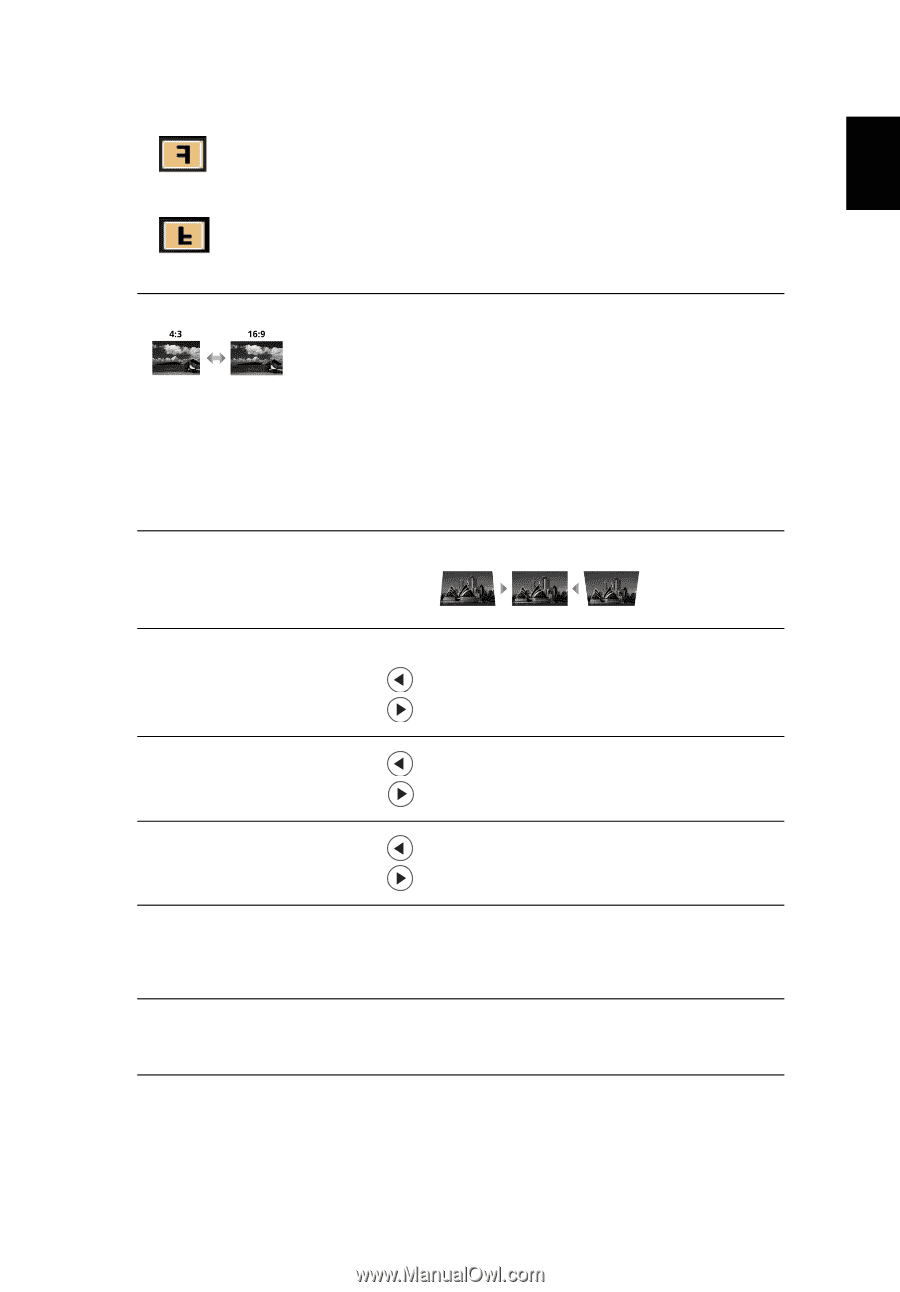
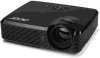
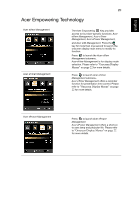
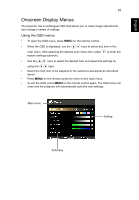
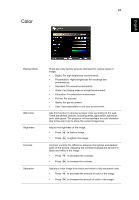
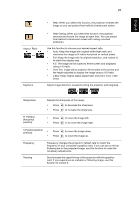
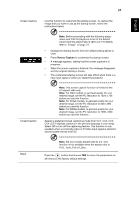
English English 25 Aspect Ratio Keystone • Rear: When you select this function, the projector reverses the image so you can project from behind a translucent screen. • Rear-Ceiling: When you select this function, the projector reverses and inverts the image at same time. You can project from behind a translucent screen with ceiling mounted projection. Use this function to choose your desired aspect ratio. • Auto: Keep the image with original width-higth ratio and maximize the image to fit native horizontal or vertical pixels. • Full: Keep the image with its original resolution, and resized to fit within the display area. • 4:3: The image will be scaled to fit the screen and displayed using a 4:3 ratio. • 16:9: The image will be scaled to fit the width of the screen and the height adjusted to display the image using a 16:9 ratio. • L.Box: Keep original signal aspect ratio and zoom in by 1.333 times. Adjust image distortion caused by tilting the projector (±40 degrees). Sharpeness Adjusts the sharpness of the image. • Press to decrease the sharpness. • Press to increase the sharpness. H. Position (horizontal position) • Press • Press to move the image left. to to move the image right. V. Position (vertical position) • • Press Press to move the image down. to move the image up. Frequency Tracking Frequency changes the projector's refresh rate to match the frequency of your computer's graphics card. If you can see a vertical flickering bar in the projected image, use this function to make the necessary adjustments. Synchronizes the signal timing of the projector with the graphics card. If you experience an unstable or flickering image, use this function to correct it.
-
 1
1 -
2
-
3
-
4
-
5
-
6
-
7
-
8
-
9
-
10
-
11
-
12
-
13
-
14
-
15
-
16
-
17
-
18
-
19
-
20
-
21
-
22
-
23
-
24
-
25
-
26
-
27
-
28
-
 29
29 -
 30
30 -
 31
31 -
 32
32 -
 33
33 -
 34
34 -
 35
35 -
 36
36 -
 37
37 -
 38
38 -
 39
39 -
40
-
41
-
42
-
43
-
44
-
45
-
46
-
47
-
48
-
49
-
50
-
51
-
52
-
53
-
54
-
55
-
56
-
57
-
58
-
59
-
60
-
61
-
62
-
63
-
64
-
65
-
66
-
67
 |
 |