Alpine HCE-C115 Owners Manual - Page 10
subit aucun
 |
UPC - 793276011091
View all Alpine HCE-C115 manuals
Add to My Manuals
Save this manual to your list of manuals |
Page 10 highlights
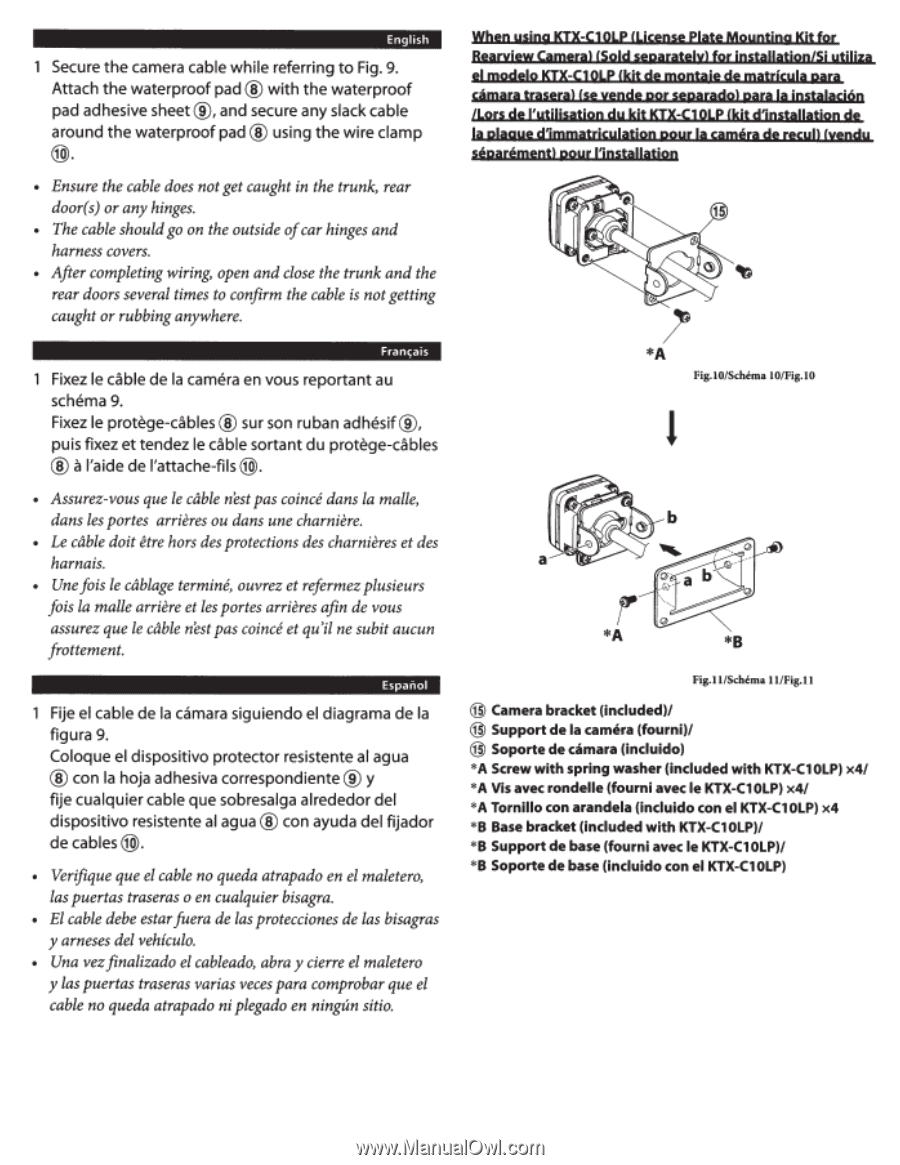
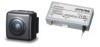
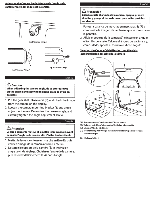
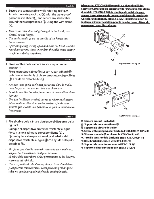
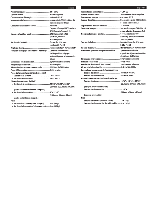
English Secure the camera cable while referring to Fig. 9. Attach the waterproof pad ® with the waterproof pad adhesive sheet@, and secure any slack cable around the waterproof pad® using the wire clamp @). • Ensure the cable does not get caught in the trunk, rear door(s) or any hinges. • The cable should go on the outside ofcar hinges and harness covers. • After completing wiring, open and close the trunk and the rear doors several times to confirm the cable is not getting caught or rubbing anywhere. Franc;ais Fixez le cable de Ia camera en vous reportant au schema 9. Fixez le protege-cables® sur son ruban adhesif@, puis fixez et tendez le cable sortant du protege-cables a ® l'aide de !'attache-fils@). • Assurez-vous que le cable n'est pas coince dans la malle, dans les partes arrieres ou dans une charniere. • Le cable doit etre hors des protections des charnieres et des harnais. • Une fois le cablage termine, ouvrez et refermez plusieurs fois la malle arriere et les partes arrieres afin de vous assurez que le cable n'est pas coince et qu'il ne subit aucun frottement. Espanol Fije el cable de Ia camara siguiendo el diagrama de Ia figura 9. Coloque el dispositive protector resistente al agua ® ® con Ia hoja adhesiva correspondiente y fije cualquier cable que sobresalga alrededor del dispositive resistente al agua ® con ayuda del fijador de cables@). • Verifique que el cable no queda atrapado en el maletero, las puertas traseras o en cualquier bisagra. • El cable debe estar fuera de las protecciones de las bisagras y arneses del vehiculo. • Una vez finalizado el cableado, abra y cierre el maletero y las puertas traseras varias veces para comprobar que el cable no queda atrapado ni plegado en ningun sitio. When usjnq KTX-Cl OLP (License plate Mountjnq Kjt for Rearyjew Cameral (Sold separately) for jnstallatjog/Sj utiliza el modelo KJX-Cl OLP Ckjt de moptaje de matricyla para clmara traseral (se yepde por separadol para Ia jpstalad6p /Lors de l'ytilisatjop dy kjt KTX-Cl OLP Ckjt d'jpstallatjop de Ia plaqye d1mmatrjcylatjop poyr Ia camera de recyll Cvepdy separemeptl poyr 11pstallatjop J *A Fig.10/Schema 10/Fig.10 l *B Fig.ll/Schema 11/Fig.ll @ Camera bracket (included)/ @ Support de Ia camera (fourni)/ @ Soporte de camara (incluido) *A Screw with spring washer (included with KTX-ClOLP) x4/ *A Vis avec rondelle (fourni avec le KJX-ClOLP) x4/ *A Tornillo con arandela (incluido con el KJX-ClOLP) x4 *B Base bracket (included with KTX-Cl OLP)/ *B Support de base (fourni avec le KTX-Cl OLP)/ *8 Soporte de base (incluido con el KTX-Cl OLP)
-
 1
1 -
2
-
3
-
4
-
 5
5 -
 6
6 -
 7
7 -
 8
8 -
 9
9 -
 10
10 -
 11
11 -
 12
12 -
 13
13 -
 14
14 -
 15
15 -
16
-
17
-
18
-
19
-
20
 |
 |