Alpine HCE-C115 Owners Manual - Page 13
must be protected, must be sealed, sealed, &caution, protege, doit etre protege, &Attention - hce c 115
 |
UPC - 793276011091
View all Alpine HCE-C115 manuals
Add to My Manuals
Save this manual to your list of manuals |
Page 13 highlights
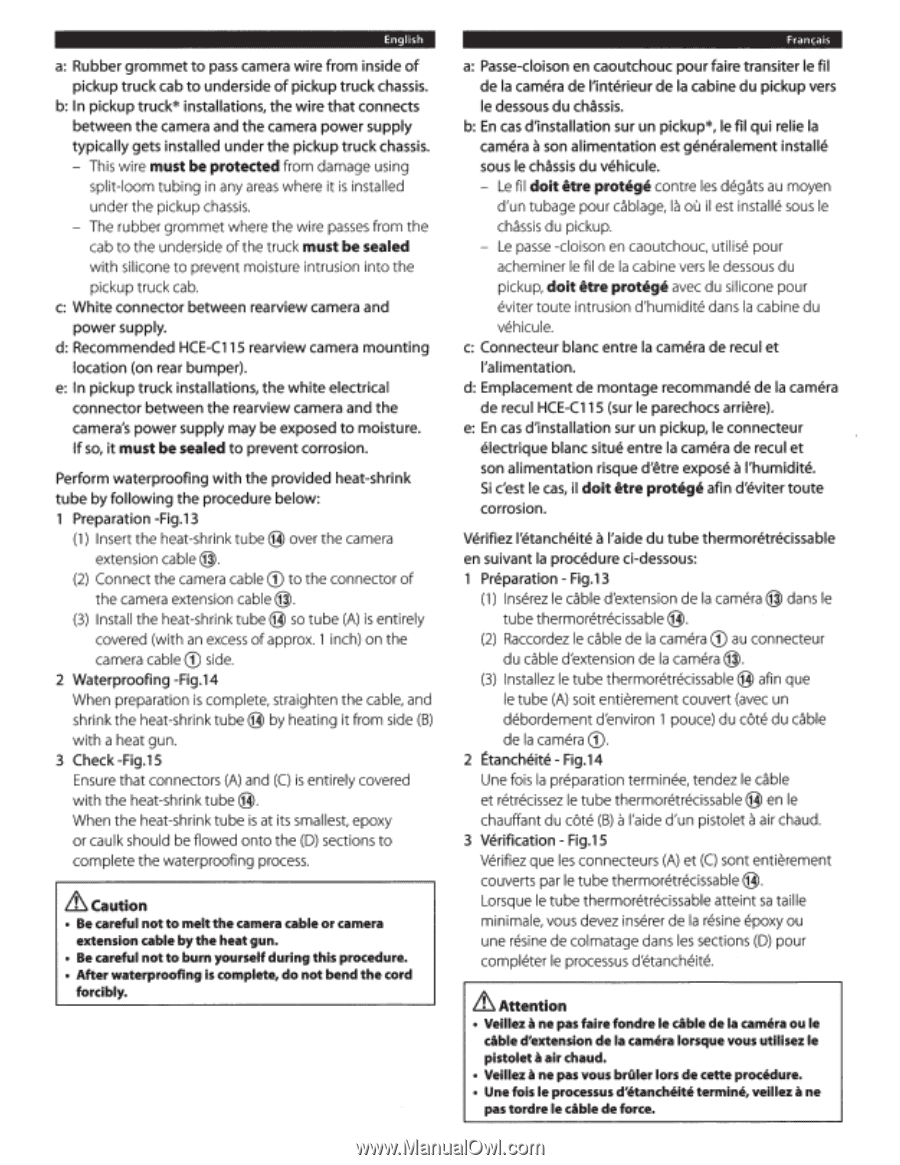
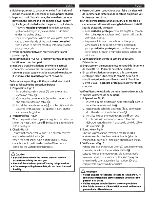
English a: Rubber grommet to pass camera wire from inside of pickup truck cab to underside of pickup truck chassis. b: In pickup truck* installations, the wire that connects between the camera and the camera power supply typically gets installed under the pickup truck chassis. - This wire must be protected from damage using split-loom tubing in any areas where it is installed under the pickup chassis. - The rubber grommet where the wire passes from the cab to the underside of the truck must be sealed with silicone to prevent moisture intrusion into the pickup truck cab. c: White connector between rearview camera and power supply. d: Recommended HCE-(115 rearview camera mounting location (on rear bumper). e: In pickup truck installations, the white electrical connector between the rearview camera and the camera's power supply may be exposed to moisture. If so, it must be sealed to prevent corrosion. Perform waterproofing with the provided heat-shrink tube by following the procedure below: 1 Preparation -Fig.13 (1) Insert the heat-shrink tube@ over the camera extension cable@. CD (2) Connect the camera cable to the connector of the camera extension cable@. (3) Install the heat-shrink tube@ so tube (A) is entirely covered (with an excess of approx. 1 inch) on the camera cable CD side. 2 Waterproofing -Fig.14 When preparation is complete, straighten the cable, and shrink the heat-shrink tube@ by heating it from side (B) with a heat gun. 3 Check -Fig.15 Ensure that connectors (A) and (C) is entirely covered with the heat-shrink tube@. When the heat-shrink tube is at its smallest, epoxy or caulk should be flowed onto the (D) sections to complete the waterproofing process. &caution • Be careful not to melt the camera cable or camera extension cable by the heat gun. • Be careful not to burn yourself during this procedure. • After waterproofing is complete, do not bend the cord forcibly. Franc;ais a: Passe-cloison en caoutchouc pour fa ire transiter le fil de Ia camera de l'interieur de Ia cabine du pickup vers le dessous du chassis. b: En cas d'installation sur un pickup*, le fil qui relie Ia a camera son alimentation est generalement installe sous le chassis du vehicule. - Le fil doit etre protege contre les degats au moyen d'un tubage pour cablage, Ia ou il est installe sous le chassis du pickup. - Le passe -cloison en caoutchouc, utilise pour acheminer le fil de Ia cabine vers le dessous du pickup, doit etre protege avec du silicone pour eviter toute intrusion d'humidite dans Ia cabine du vehicule. c: Connecteur blanc entre Ia camera de recul et !'alimentation. d: Emplacement de montage recommande de Ia camera de recul HCE-C115 (sur le parechocs arriere). e: En cas d'installation sur un pickup, le connecteur electrique blanc situe entre Ia camera de recul et son alimentation risque d'etre expose al'humidite. Si c'est le cas, il doit etre protege afin d'eviter toute corrosion. Verifiez l'etancheite aI'aide du tube thermoretrecissable en suivant Ia procedure ci-dessous: 1 Preparation- Fig.13 (1) lnserez le cable d'extension de Ia camera@ dans le tube thermoretrecissable @. CD (2) Raccordez le cable de Ia camera au connecteur du cable d'extension de Ia camera@. (3) lnstallez le tube thermoretrecissable@ afin que le tube (A) soit entierement couvert (avec un debordement d'environ 1 pouce) du cote du cable de Ia camera G). 2 Etancheite- Fig.14 Une fois Ia preparation terminee, tendez le cable et retrecissez le tube thermoretrecissable@ en le chauffant du cote (B) a l'aide d'un pistolet a air chaud. 3 Verification - Fig.15 Verifiez que les connecteurs (A) et (C) sont entierement couverts par le tube thermoretrecissable @. Lorsque le tube thermoretrecissable atteint sa taille minimale, vous devez inserer de Ia resine epoxy ou une resine de colmatage dans les sections (D) pour completer le processus d'etancheite. &Attention • Veillez ane pas faire fondre le cable de Ia camera ou le cable d'extension de Ia camera lorsque vous utilisez le pistolet aair chaud. • Veillez ane pas vous bruler lors de cette procedure. • Une fois le processus d'etancheite termine, veillez ane pas tordre le cable de force.
-
 1
1 -
2
-
3
-
4
-
5
-
6
-
7
-
 8
8 -
 9
9 -
 10
10 -
 11
11 -
 12
12 -
 13
13 -
 14
14 -
 15
15 -
 16
16 -
 17
17 -
 18
18 -
19
-
20
 |
 |