Alpine IDAX001 Owners Manual - Page 22
SETUP, Bluetooth Setting, General Setting - sirius
 |
UPC - 793276700339
View all Alpine IDAX001 manuals
Add to My Manuals
Save this manual to your list of manuals |
Page 22 highlights
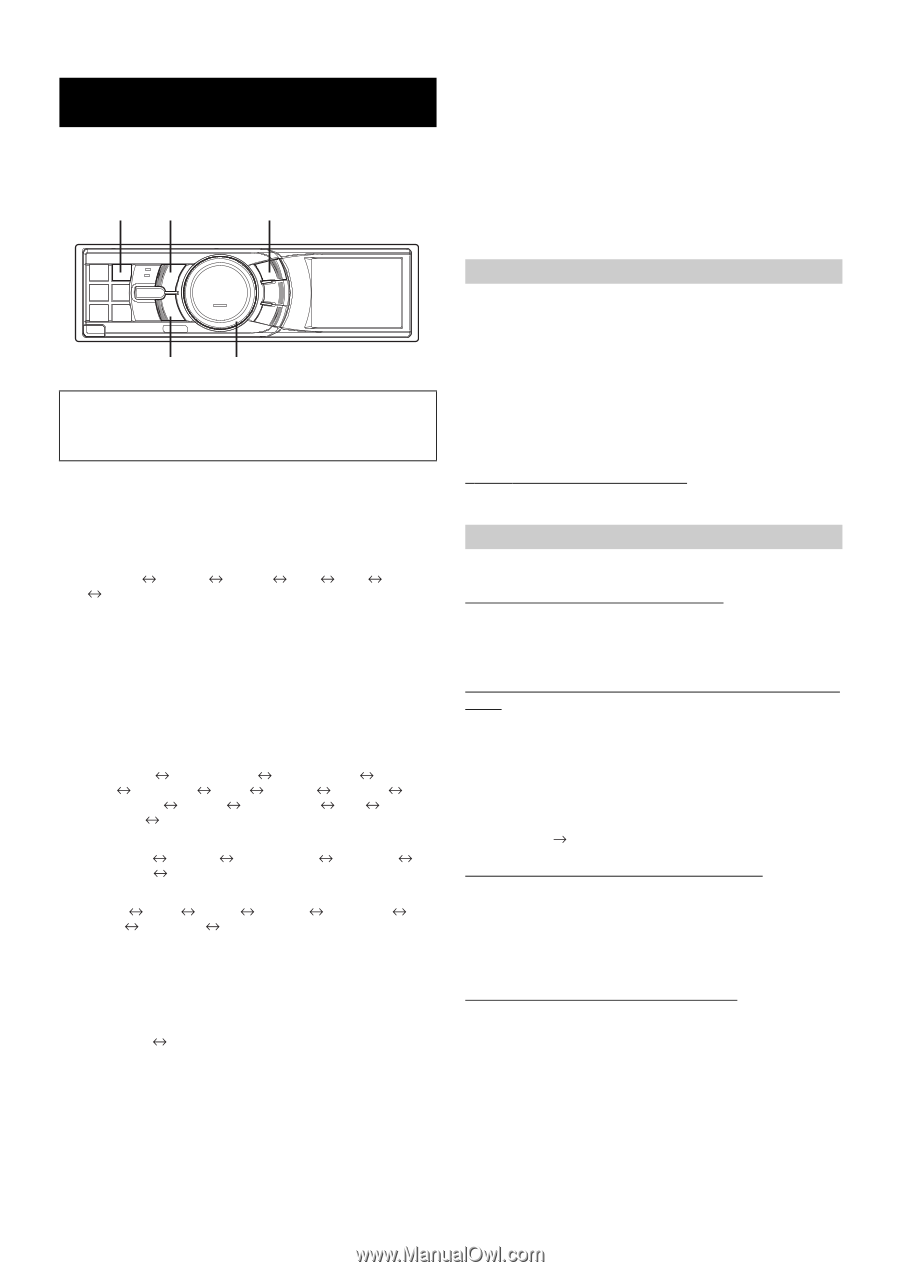
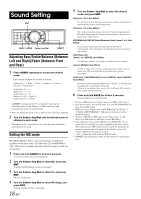
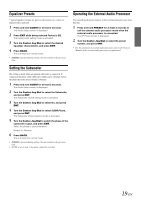
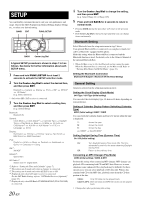
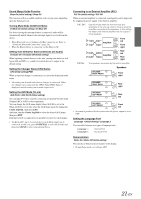
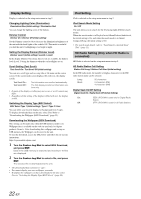
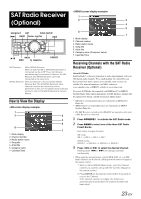
SETUP You can flexibly customize the unit to suit your own preferences and usage. Choose the SETUP menu from General Setting, Display Setting, etc., to select your desired setting. BAND ENT FUNC./SETUP BACK Center Jog Dial A typical SETUP procedure is shown in steps 1 to 5 as follows. See below for further information about each SETUP menu. 1 Press and hold FUNC./SETUP for at least 2 seconds to activate the SETUP selection mode. 2 Turn the Center Jog Dial to select the desired item, and then press ENT. Bluetooth General HD Radio* (e.g. Select General) Display iPod XM* SIRIUS* * Only when HD / SAT receiver is connected. 3 Turn the Center Jog Dial to select a setting item, and then press ENT. (e.g. Select Beep) Bluetooth: Bluetooth IN General: Clock Mode Clock Adjust*1 Calendar Type Daylight Time Play Mode Beep Int Mute Int Audio CHG Name*2 AUX IN AUX Name*3 P.IC Language Demo Display: Illumination BGV Select Dimmer Dimmer Level BGV Download Text Scroll iPod: Playlist Genre Artist Album Podcast Composer Song Audiobook XM*4: XM ADF SIRIUS*4: Game Alert HD Radio*5: Station Call Digital Seek *1 Refer to "Setting the Time and Calendar" (page 7). *2 The setting can be made only when a changer is connected. *3 The setting can be made only when AUX IN is set to ON. *4 Displayed only when SAT radio receiver is connected. For the SAT Radio Setting, refer to "SAT Radio Receiver (Optional)" (page 23). *5 Displayed only when HD Radio TUNER MODULE (TUA-T500 HD) is connected. 20-EN 4 Turn the Center Jog Dial to change the setting, and then press ENT. (e.g. Select Beep On or Beep Off.) 5 Press and hold BACK for 2 seconds to return to normal mode. • Pressing BACK during the procedure will return to the previous mode. • If the Center Jog Dial is turned 2 steps and held, you can change items continuously. Bluetooth Setting Select Bluetooth from the setup main menu in step 2 above. If an optional Bluetooth Box is connected, you can place a hands-free call by a Bluetooth- equipped mobile phone. Make this setting when the Bluetooth Box is connected and the Bluetooth function is used. For details, refer to the Owner's Manual of the optional Bluetooth Box. • When Int Mute is set to On, the Bluetooth setting cannot be made. When the Bluetooth box is connected, set Int Mute to Off. Refer to "Turning Mute Mode On/Off (Int Mute)" (page 21). Setting the Bluetooth Connection Bluetooth IN Adapter / Bluetooth IN Off (Initial Setting) General Setting General is selected on the setup main menu in step 2. Setting the Clock Display (Clock Mode) 24H Type / 12H Type (Initial setting) You can select the clock display type, 12-hour or 24-hour, depending on your preference. Setting of Calendar Display Pattern Switching (Calendar Type) M/D/Y (Initial setting) / D/M/Y / Y/M/D You can switch the calendar display pattern to be shown when the time is displayed. Y : M : D : ex. M/D/Y shows the year shows the month shows the day Dec/31/2007 Setting Daylight Saving Time (Summer Time) On / Off (Initial setting) On: Turn Daylight Saving Time mode ON. The time advances by one hour for areas observing Daylight Saving Time. Off: Return to the ordinary time. Connecting an MP3 Changer (Play Mode) CDDA (Initial setting) / CDDA & MP3 Perform this setting when connecting MP3 changer. MP3 changer can playback CDs containing both CD and MP3 data. However, in some situations (some enhanced CDs), playback may be difficult. For these special cases, you can select playback of CD data only. When a disc contains both CD or the MP3 data, playback starts from the CD data portion of the disc. CDDA : Only CD data can be played back. CDDA & MP3 : Both CD data and MP3 file tracks can be played back. • Change discs after performing this setting.
-
 1
1 -
2
-
3
-
4
-
5
-
6
-
7
-
8
-
9
-
10
-
11
-
12
-
13
-
14
-
15
-
16
-
 17
17 -
 18
18 -
 19
19 -
 20
20 -
 21
21 -
 22
22 -
 23
23 -
 24
24 -
 25
25 -
 26
26 -
 27
27 -
28
-
29
-
30
-
31
-
32
-
33
-
34
-
35
-
36
-
37
-
38
-
39
 |
 |