Brother International DCP-8060 Quick Setup Guide - English - Page 8
Release the Scanner Lock, 4 Install the Power Cord - usb
 |
UPC - 012502615064
View all Brother International DCP-8060 manuals
Add to My Manuals
Save this manual to your list of manuals |
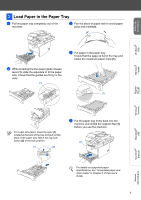
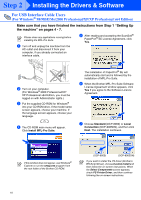
Page 8 highlights
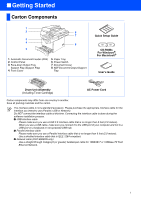
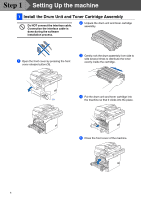
Step 1 Setting Up the machine 3 Release the Scanner Lock 1 Push the lever (1) in the direction shown to unlock the scanner. (The gray scanner lock lever is located at the back left side, under the document cover (2).) w (2) 4 Install the Power Cord Do not connect the Parallel or USB cable yet. 1 Make sure that the power switch is off. Connect the AC power cord to the machine. (1) 2 Plug the AC power cord into an AC outlet. Turn the power switch on. If Scanner locked appears on the LCD, immediately release the scanner lock and press Stop/Exit. (See "Release the Scanner Lock" on page 6.) 6
-
 1
1 -
2
-
 3
3 -
 4
4 -
 5
5 -
 6
6 -
 7
7 -
 8
8 -
 9
9 -
 10
10 -
 11
11 -
 12
12 -
 13
13 -
14
-
15
-
16
-
17
-
18
-
19
-
20
-
21
-
22
-
23
-
24
-
25
-
26
-
27
-
28
-
29
-
30
-
31
-
32
-
33
-
34
-
35
-
36
-
37
 |
 |

6
1
Push the lever
(1)
in the direction shown to
unlock the scanner.
(The gray scanner lock lever is located at
the back left side, under the document cover
(2)
.)
w
Do not connect the Parallel or USB
cable yet.
1
Make sure that the power switch is off.
Connect the AC power cord to the machine.
2
Plug the AC power cord into an AC outlet.
Turn the power switch on.
3
Release the Scanner
Lock
(2)
(1)
4
Install the Power Cord
If
Scanner locked
appears on the LCD,
immediately release the scanner lock and
press
Stop/Exit
. (See “Release the Scanner
Lock” on page 6.)
Step 1
Setting Up the machine