Canon imagePROGRAF iPF650 iPF650 655 750 755 Basic Guide Step3 - Page 18
Using the HDI Driver to Print Windows - plotter
 |
View all Canon imagePROGRAF iPF650 manuals
Add to My Manuals
Save this manual to your list of manuals |
Page 18 highlights
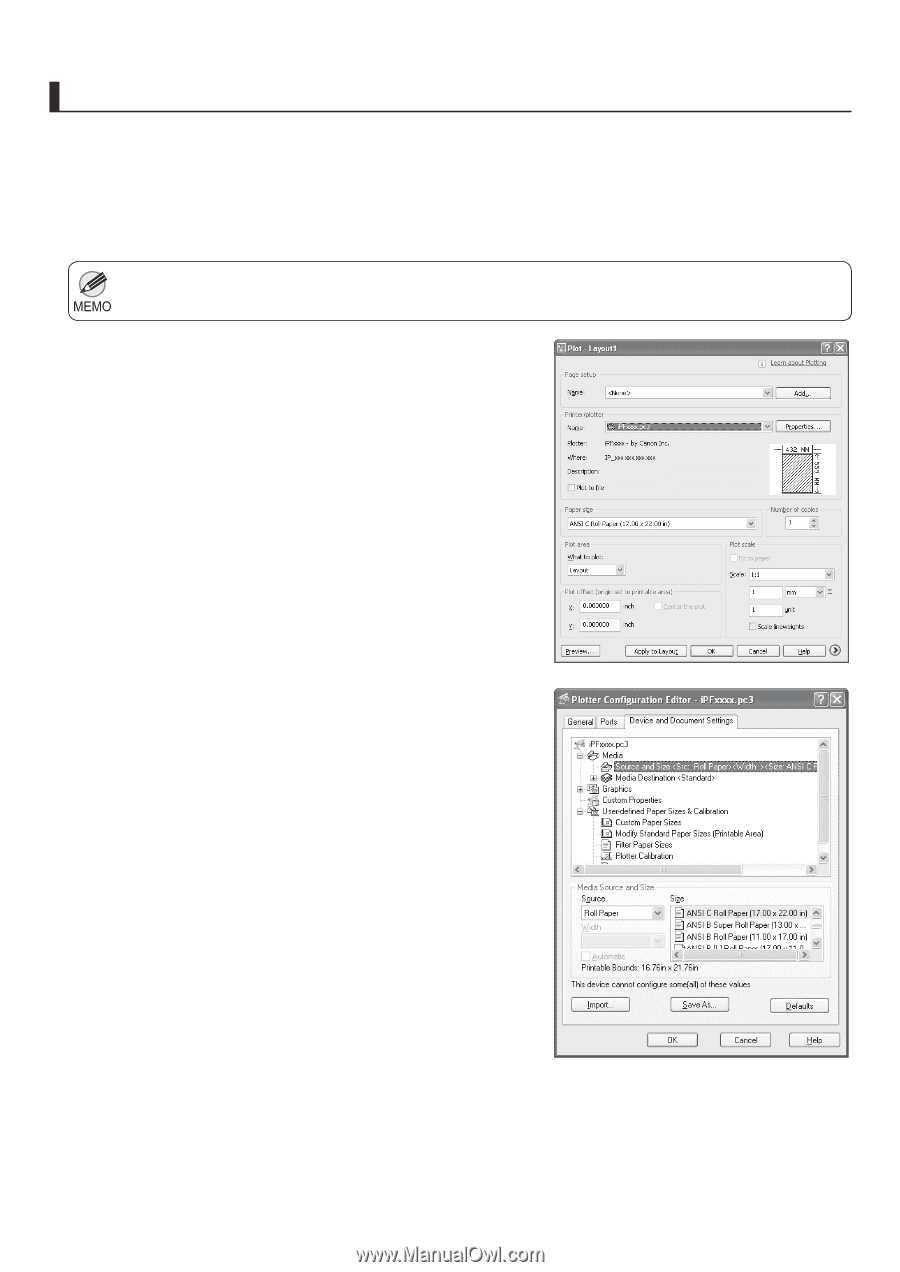
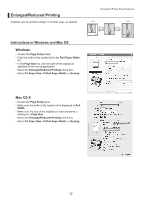
Convenient Printer Driver Features Using the HDI Driver to Print (Windows) Main features of the HDI Driver are as follows. • This is a specialized printer driver compatible with the HDI(Heidi Device Interface) architecture of Autodesk CAD software such as AutoCAD and AutoCAD LT (both referred to as AutoCAD in this manual, for convenience). • The driver enables optimal printing for the type of paper used, so that drawings created in AutoCAD are printed distinctly. • The version of operating system required for the HDI Driver varies depending on the version of AutoCAD used. For details, refer to the User Manual. • Display the Plot dialog box. • Make sure the printer name (indicated in the format iPFxxxx.pc3) is shown by Name under Printer/plotter. • Click the Properties button. The Plotter Configuration Editor dialog box is displayed. • Complete the settings required for printing. • Click the OK button to close the Plotter Configuration Editor dialog box. The Plot dialog box is displayed. • After completing required settings in the Plot dialog box, click the OK button. The printer now starts printing the print job. 18
-
 1
1 -
2
-
3
-
4
-
5
-
6
-
7
-
8
-
9
-
10
-
11
-
12
-
 13
13 -
 14
14 -
 15
15 -
 16
16 -
 17
17 -
 18
18 -
 19
19 -
 20
20
 |
 |