Cisco PLUSB10 User Guide - Page 11
Proceed to Using the Instant PowerLine Security - installing
 |
View all Cisco PLUSB10 manuals
Add to My Manuals
Save this manual to your list of manuals |
Page 11 highlights
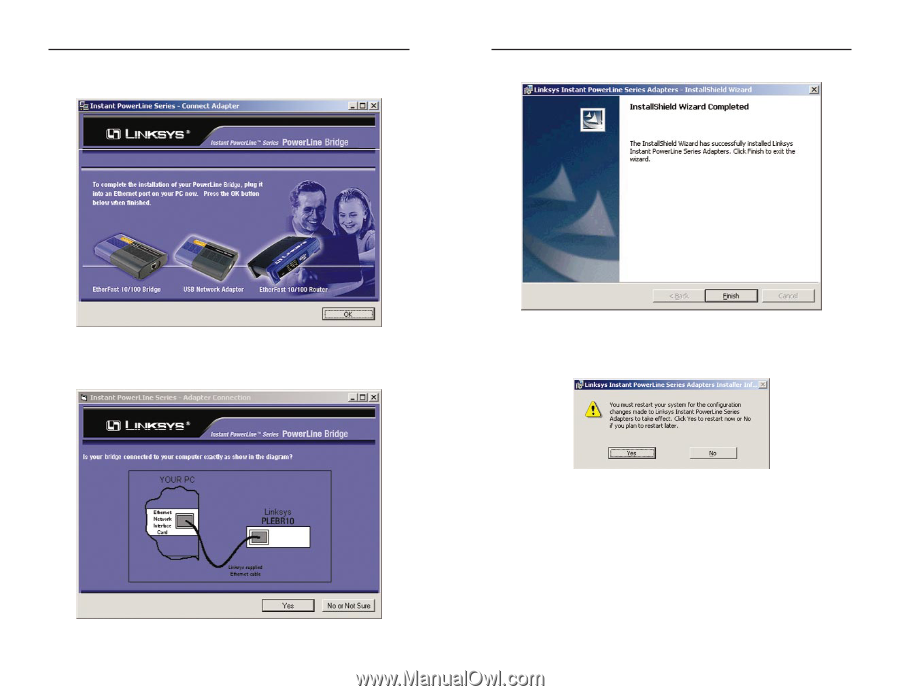
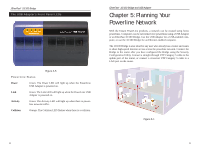
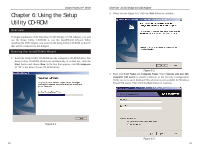
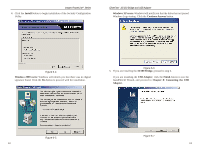
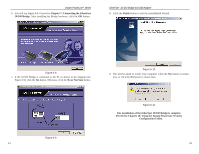
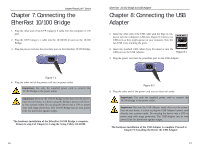
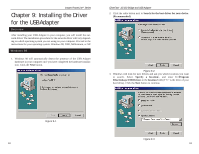
Instant PowerLineTM Series 6. You will see Figure 6-8. Proceed to Chapter 7: Connecting the EtherFast 10/100 Bridge. After installing the Bridge hardware, click the OK button. EtherFast® 10/100 Bridge and USB Adapter 8. Click the Finish button to exit the InstallShield Wizard. Figure 6-8 7. If the 10/100 Bridge is connected to the PC as shown in the diagram (see Figure 6-9), click the Yes button. Otherwise, click the No or Not Sure button. Figure 6-10 9. You will be asked to restart your computer. Click the Yes button to restart now, or click the No button to restart later. Figure 6-9 14 Figure 6-11 The installation of the EtherFast 10/100 Bridge is complete. Proceed to Chapter 10: Using the Instant PowerLine Security Configuration Utility. 15
-
 1
1 -
2
-
3
-
4
-
5
-
 6
6 -
 7
7 -
 8
8 -
 9
9 -
 10
10 -
 11
11 -
 12
12 -
 13
13 -
 14
14 -
 15
15 -
 16
16 -
17
-
18
-
19
-
20
-
21
-
22
-
23
-
24
-
25
-
26
 |
 |