Dell 1720 User's Guide (HTML) - Page 30
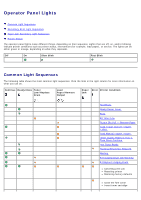
Cleaning the Printhead Lens - all lights flashing
 |
UPC - 884116025122
View all Dell 1720 manuals
Add to My Manuals
Save this manual to your list of manuals |
Page 30 highlights
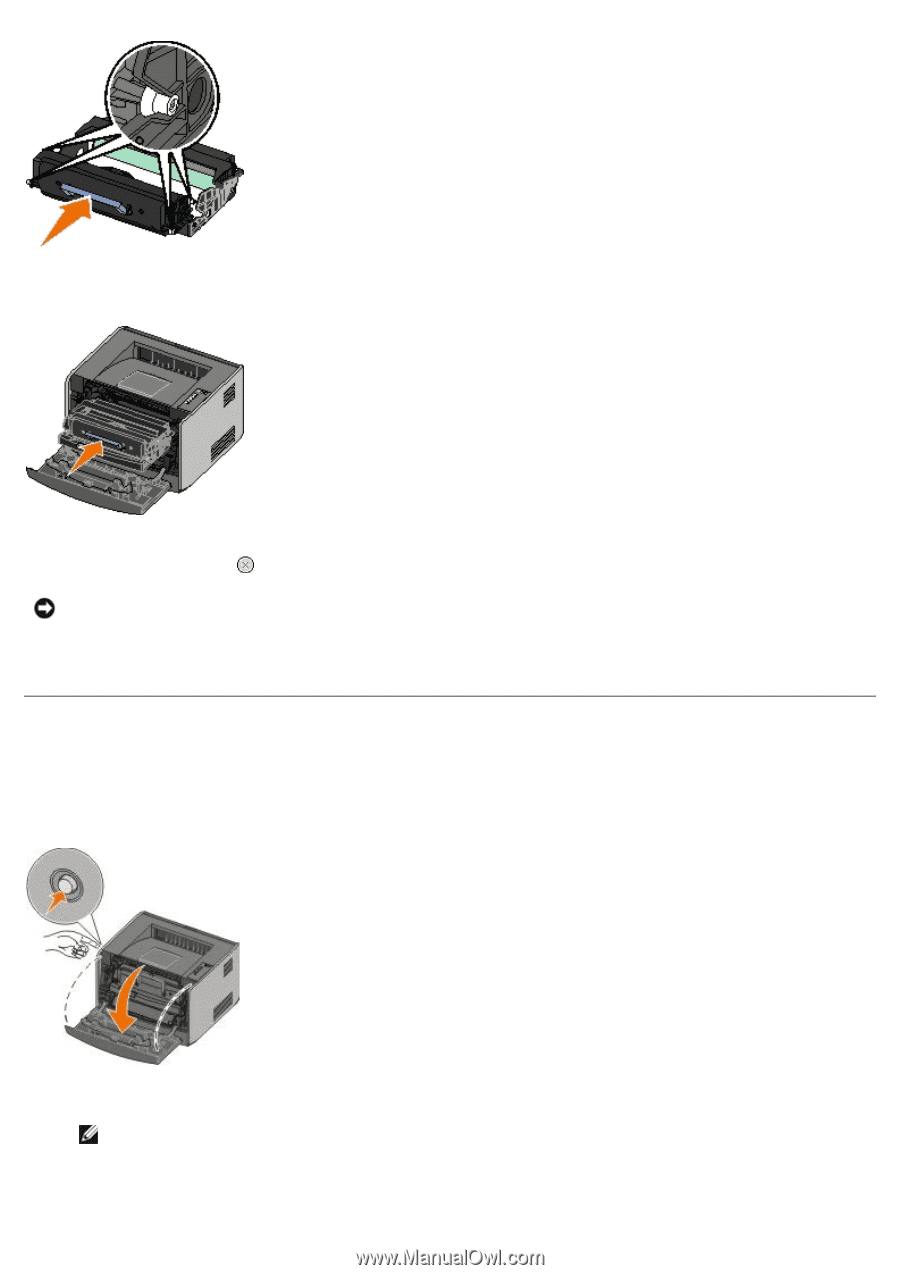
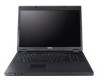
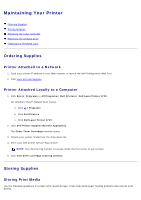
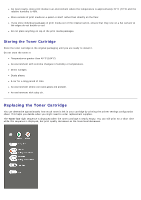
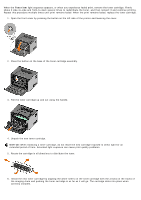
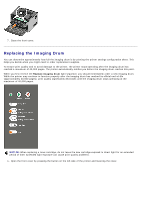
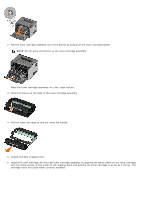
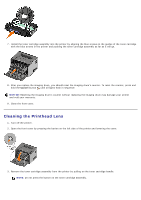
7. Install the toner cartridge assembly into the printer by aligning the blue arrows on the guides of the toner cartridge with the blue arrows in the printer and pushing the toner cartridge assembly as far as it will go. 8. After you replace the imaging drum, you should reset the imaging drum's counter. To reset the counter, press and hold the Cancel button until all lights flash in sequence. NOTICE: Resetting the imaging drum's counter without replacing the imaging drum may damage your printer and void your warranty. 9. Close the front cover. Cleaning the Printhead Lens 1. Turn off the printer. 2. Open the front cover by pressing the button on the left side of the printer and lowering the cover. 3. Remove the toner cartridge assembly from the printer by pulling on the toner cartridge handle. NOTE: Do not press the button on the toner cartridge assembly.
-
 1
1 -
2
-
3
-
4
-
5
-
6
-
7
-
8
-
9
-
10
-
11
-
12
-
13
-
14
-
15
-
16
-
17
-
18
-
19
-
20
-
21
-
22
-
23
-
24
-
 25
25 -
 26
26 -
 27
27 -
 28
28 -
 29
29 -
 30
30 -
 31
31 -
 32
32 -
 33
33 -
 34
34 -
 35
35 -
36
-
37
-
38
-
39
-
40
-
41
-
42
-
43
-
44
-
45
-
46
-
47
-
48
-
49
-
50
-
51
-
52
-
53
-
54
-
55
-
56
-
57
-
58
-
59
-
60
-
61
-
62
-
63
-
64
-
65
-
66
-
67
-
68
-
69
-
70
-
71
-
72
-
73
-
74
-
75
-
76
-
77
-
78
-
79
-
80
-
81
-
82
-
83
-
84
-
85
-
86
-
87
-
88
 |
 |