Dell Inspiron N5110 Service Manual - Page 14
Replacing the Top Cover
 |
View all Dell Inspiron N5110 manuals
Add to My Manuals
Save this manual to your list of manuals |
Page 14 highlights
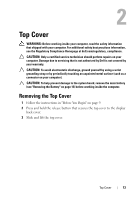
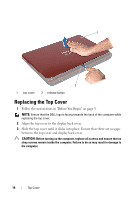
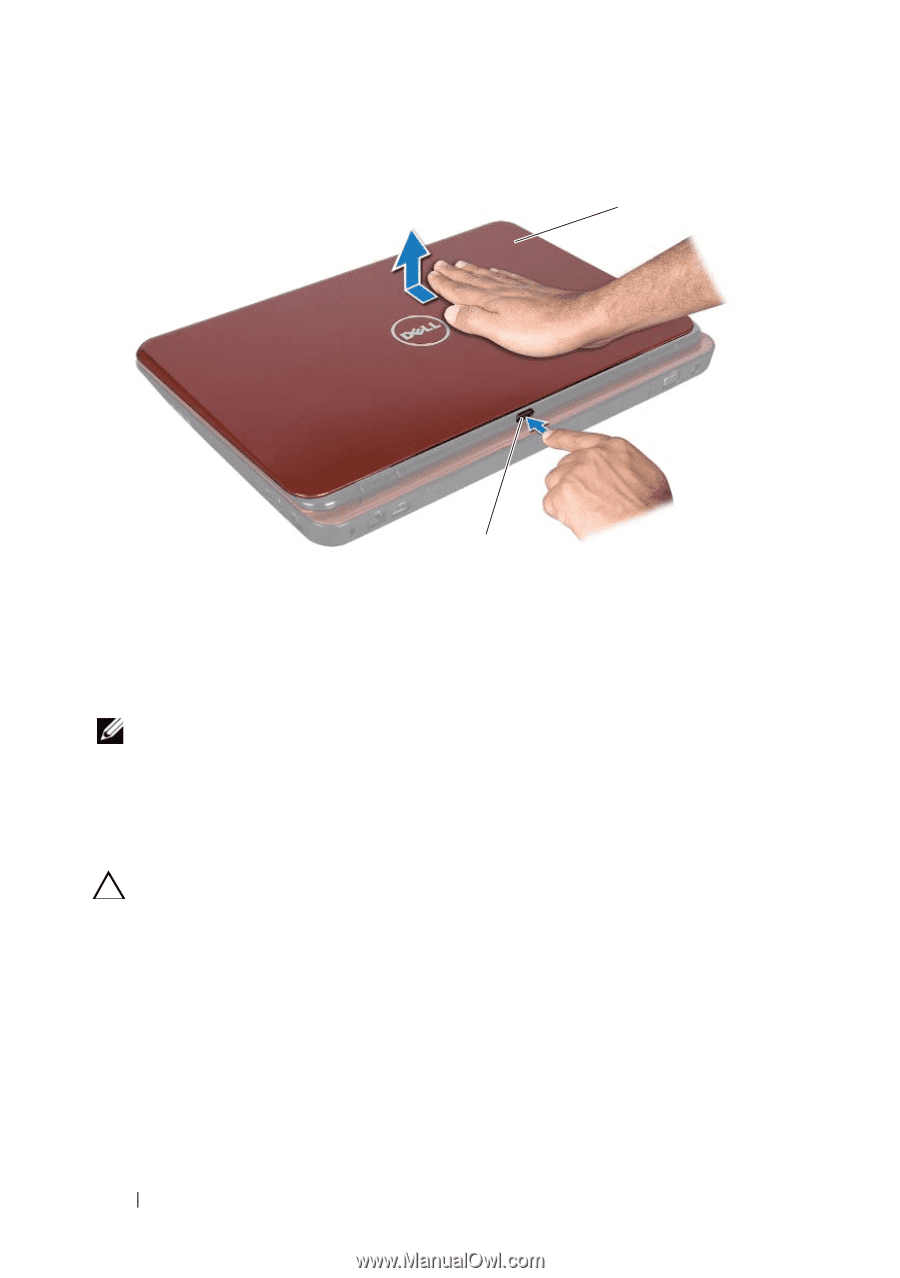
1 2 1 top cover 2 release button Replacing the Top Cover 1 Follow the instructions in "Before You Begin" on page 9. NOTE: Ensure that the DELL logo is facing towards the back of the computer while replacing the top cover. 2 Align the top cover to the display back cover. 3 Slide the top cover until it clicks into place. Ensure that there are no gaps between the top cover and display back cover. CAUTION: Before turning on the computer, replace all screws and ensure that no stray screws remain inside the computer. Failure to do so may result in damage to the computer. 14 Top Cover
-
 1
1 -
2
-
3
-
4
-
5
-
6
-
7
-
8
-
 9
9 -
 10
10 -
 11
11 -
 12
12 -
 13
13 -
 14
14 -
 15
15 -
 16
16 -
 17
17 -
 18
18 -
 19
19 -
20
-
21
-
22
-
23
-
24
-
25
-
26
-
27
-
28
-
29
-
30
-
31
-
32
-
33
-
34
-
35
-
36
-
37
-
38
-
39
-
40
-
41
-
42
-
43
-
44
-
45
-
46
-
47
-
48
-
49
-
50
-
51
-
52
-
53
-
54
-
55
-
56
-
57
-
58
-
59
-
60
-
61
-
62
-
63
-
64
-
65
-
66
-
67
-
68
-
69
-
70
-
71
-
72
-
73
-
74
-
75
-
76
-
77
-
78
-
79
-
80
-
81
-
82
-
83
-
84
-
85
-
86
-
87
-
88
-
89
-
90
 |
 |
14
Top Cover
Replacing the Top Cover
1
Follow the instructions in "Before You Begin" on page 9.
NOTE:
Ensure that the DELL logo is facing towards the back of the computer while
replacing the top cover.
2
Align the top cover to the display back cover.
3
Slide the top cover until it clicks into place. Ensure that there are no gaps
between the top cover and display back cover.
CAUTION:
Before turning on the computer, replace all screws and ensure that no
stray screws remain inside the computer. Failure to do so may result in damage to
the computer.
1
top cover
2
release button
1
2