Epson WorkForce WF-2540 User Guide - Page 15
Changing LCD Screen Language, Redial/Pause, Stop/Reset, Speed Dial/Group Dial, Wi-Fi Setup - all in one printer
 |
View all Epson WorkForce WF-2540 manuals
Add to My Manuals
Save this manual to your list of manuals |
Page 15 highlights
3 The Fax button 4 The LCD screen 5 The arrow buttons and the OK button 6 The number pad 7 The Redial/Pause button 8 The Stop/Reset button 9 The WiFi light 10 The ADF light 11 The Scan button 12 The Menu button 13 The Back button 14 The Speed Dial/Group Dial button 15 The Wi-Fi Setup button 16 The Start B&W button 17 The Start Color button Parent topic: Setting Up the Control Panel Changing LCD Screen Language You can change the language used on the LCD screen. 1. Press the Menu button. 2. Press the up or down arrow buttons to select Printer Setup and press the OK button. You see this screen: 15
-
 1
1 -
2
-
3
-
4
-
5
-
6
-
7
-
8
-
9
-
 10
10 -
 11
11 -
 12
12 -
 13
13 -
 14
14 -
 15
15 -
 16
16 -
 17
17 -
 18
18 -
 19
19 -
 20
20 -
21
-
22
-
23
-
24
-
25
-
26
-
27
-
28
-
29
-
30
-
31
-
32
-
33
-
34
-
35
-
36
-
37
-
38
-
39
-
40
-
41
-
42
-
43
-
44
-
45
-
46
-
47
-
48
-
49
-
50
-
51
-
52
-
53
-
54
-
55
-
56
-
57
-
58
-
59
-
60
-
61
-
62
-
63
-
64
-
65
-
66
-
67
-
68
-
69
-
70
-
71
-
72
-
73
-
74
-
75
-
76
-
77
-
78
-
79
-
80
-
81
-
82
-
83
-
84
-
85
-
86
-
87
-
88
-
89
-
90
-
91
-
92
-
93
-
94
-
95
-
96
-
97
-
98
-
99
-
100
-
101
-
102
-
103
-
104
-
105
-
106
-
107
-
108
-
109
-
110
-
111
-
112
-
113
-
114
-
115
-
116
-
117
-
118
-
119
-
120
-
121
-
122
-
123
-
124
-
125
-
126
-
127
-
128
-
129
-
130
-
131
-
132
-
133
-
134
-
135
-
136
-
137
-
138
-
139
-
140
-
141
-
142
-
143
-
144
-
145
-
146
-
147
-
148
-
149
-
150
-
151
-
152
-
153
-
154
-
155
-
156
-
157
-
158
-
159
-
160
-
161
-
162
-
163
-
164
-
165
-
166
-
167
-
168
-
169
-
170
-
171
-
172
-
173
-
174
-
175
-
176
-
177
-
178
-
179
-
180
-
181
-
182
-
183
-
184
-
185
-
186
-
187
-
188
-
189
-
190
-
191
-
192
-
193
-
194
-
195
-
196
-
197
-
198
-
199
-
200
-
201
-
202
-
203
-
204
-
205
-
206
-
207
-
208
-
209
-
210
-
211
-
212
-
213
-
214
-
215
-
216
-
217
-
218
-
219
-
220
-
221
-
222
-
223
-
224
-
225
-
226
-
227
-
228
-
229
-
230
-
231
-
232
-
233
-
234
-
235
-
236
-
237
-
238
-
239
-
240
-
241
-
242
-
243
-
244
-
245
-
246
-
247
-
248
-
249
-
250
-
251
-
252
-
253
-
254
-
255
-
256
-
257
-
258
-
259
-
260
-
261
-
262
-
263
-
264
-
265
-
266
-
267
-
268
-
269
-
270
-
271
-
272
-
273
-
274
-
275
-
276
-
277
-
278
-
279
-
280
-
281
-
282
-
283
 |
 |
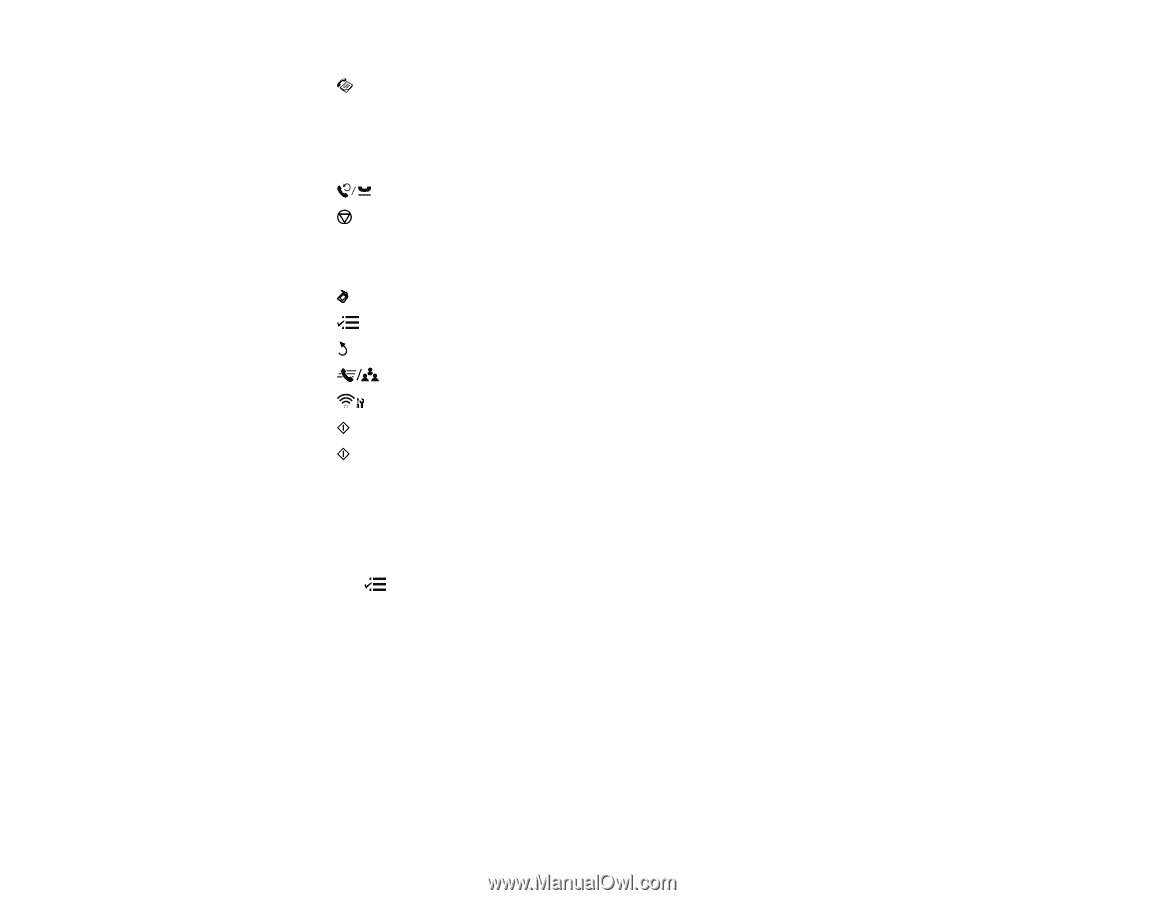
3
The
Fax
button
4
The LCD screen
5
The arrow buttons and the
OK
button
6
The number pad
7
The
Redial/Pause
button
8
The
Stop/Reset
button
9
The WiFi light
10
The
ADF
light
11
The
Scan
button
12
The
Menu
button
13
The
Back
button
14
The
Speed Dial/Group Dial
button
15
The
Wi-Fi Setup
button
16
The
Start B&W
button
17
The
Start Color
button
Parent topic:
Setting Up the Control Panel
Changing LCD Screen Language
You can change the language used on the LCD screen.
1.
Press the
Menu
button.
2.
Press the up or down arrow buttons to select
Printer Setup
and press the
OK
button.
You see this screen:
15