Gateway 838GM User Guide - Page 101
Setting up a wireless Ethernet network
 |
View all Gateway 838GM manuals
Add to My Manuals
Save this manual to your list of manuals |
Page 101 highlights
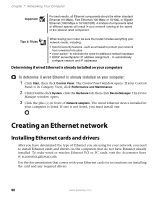
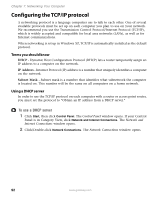
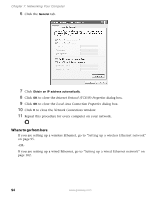
Creating an Ethernet network Setting up a wireless Ethernet network See the instructions that came with your access point or wireless access point router for initial setup. How you set up your access point varies depending on the features of the access point and your networking situation. Mounting the access point When selecting a place to mount your access point, consider the following guidelines: ■ Mount your access point as high as possible (to avoid interference from natural obstacles and appliances). ■ Mount your access point in a location where you can run an Ethernet cable from the access point to either your wired Ethernet network or your cable or DSL modem. Configuring the access point Important The following configuration information applies to the Linksys wireless access point router with 4-port switch. For any other brand or model of access point, see the manufacturer's documentation, which may accompany the access point or be available from the manufacturer's Web site. To configure the Linksys wireless access point router with 4-port switch: 1 If you are connecting any wired devices to your wireless access point router, follow the instructions in "Setting up a network using a router" on page 102, then go to Step 7. -OR- If you are not connecting any wired devices to your wireless access point router, go to Step 2. 2 Plug one end of a straight-through cable into the WAN port on the wireless access point router and the other end into the DSL or cable modem. 3 Plug one end of the power adapter into the AC connector on the router and the other end into a grounded, 110V electrical outlet. 4 Turn on the DSL or cable modem. 5 Press the reset button on the wireless access point router. 6 Temporarily connect a computer to the wireless access point router using a straight-through cable and turn the computer on. 7 From one of the computers plugged into your wireless access point router, open your Web browser. www.gateway.com 95
-
 1
1 -
2
-
3
-
4
-
5
-
6
-
7
-
8
-
9
-
10
-
11
-
12
-
13
-
14
-
15
-
16
-
17
-
18
-
19
-
20
-
21
-
22
-
23
-
24
-
25
-
26
-
27
-
28
-
29
-
30
-
31
-
32
-
33
-
34
-
35
-
36
-
37
-
38
-
39
-
40
-
41
-
42
-
43
-
44
-
45
-
46
-
47
-
48
-
49
-
50
-
51
-
52
-
53
-
54
-
55
-
56
-
57
-
58
-
59
-
60
-
61
-
62
-
63
-
64
-
65
-
66
-
67
-
68
-
69
-
70
-
71
-
72
-
73
-
74
-
75
-
76
-
77
-
78
-
79
-
80
-
81
-
82
-
83
-
84
-
85
-
86
-
87
-
88
-
89
-
90
-
91
-
92
-
93
-
94
-
95
-
 96
96 -
 97
97 -
 98
98 -
 99
99 -
 100
100 -
 101
101 -
 102
102 -
 103
103 -
 104
104 -
 105
105 -
 106
106 -
107
-
108
-
109
-
110
-
111
-
112
-
113
-
114
-
115
-
116
-
117
-
118
-
119
-
120
-
121
-
122
-
123
-
124
-
125
-
126
-
127
-
128
-
129
-
130
-
131
-
132
-
133
-
134
-
135
-
136
-
137
-
138
-
139
-
140
-
141
-
142
-
143
-
144
 |
 |
