Haier PBFS21EDAS User Manual - Page 10
Preparation before Usage, Start using
 |
View all Haier PBFS21EDAS manuals
Add to My Manuals
Save this manual to your list of manuals |
Page 10 highlights
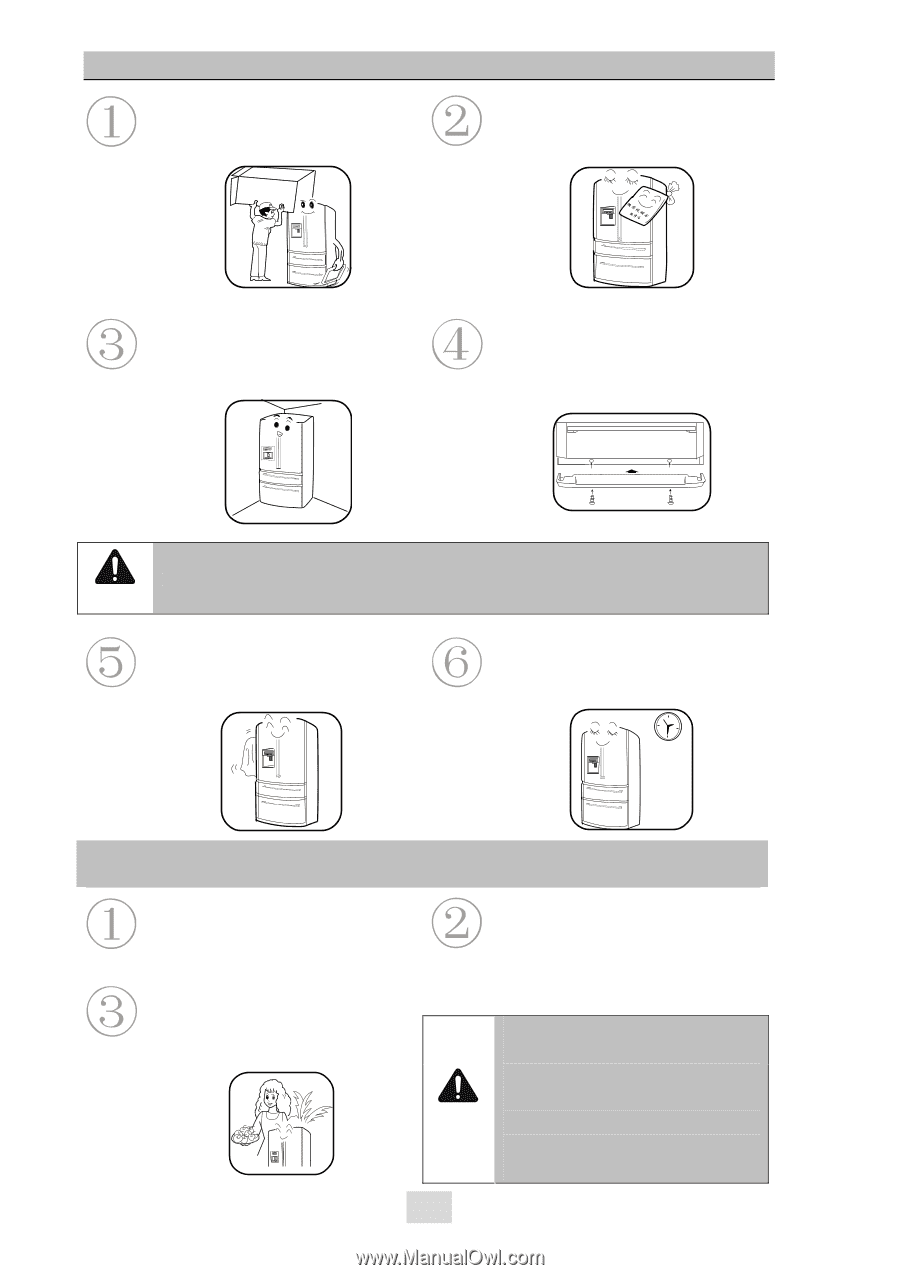
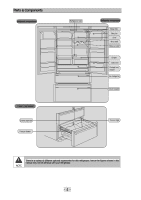
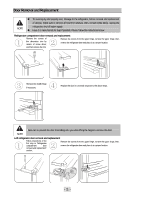
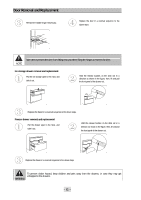
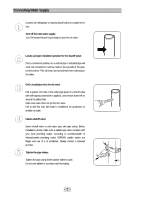
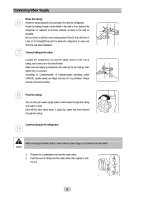
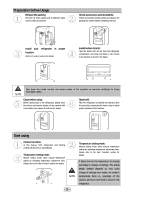
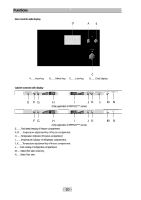
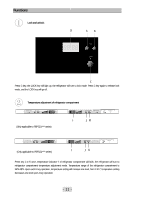
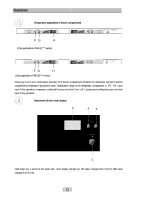
Preparation before Usage Remove the packing Remove the foam support and all adhesive tapes used to retain accessories. Check accessories and documents: Check accessories and documents according to the packing list. Call the dealer if anything's left out. Install your refrigerator in location: Refer to 'Location' section for details. proper Install bottom trim kit: Take the bottom trim kit out from the refrigerator compartment, and install and fasten it with screws to the position as shown in the figure. NOTE Take down the model number and serial number of the machine on warranty certificate for future information query. Clean before using: Before storing food in the refrigerator, please clean the interior and exterior surface of the machine with soda solution (one spoon of soda into 4 L water). Stand still: After the refrigerator is installed and cleaned, allow 6 hours before connecting the mains, thus to obtain proper operation of the machine. Start using Connect to mains: At first start-up, both refrigeration and freezing controls will be set to 4 automatically. Temperature setting mode: Manual setting mode: allow manual temperature setting by operating temperature adjustment keys. Please refer to the later 'Function' section for details. NOTE - 9 - Temperature setting mode: Manual setting mode: allow manual temperature setting by operating temperature adjustment keys. Please refer to the later 'Function' section for details. It takes time for the temperature to change according to change of settings. The actual length needed depends on how much change of settings were made, the ambient temperature there is, openings of the door(s), and how much food is stored in the refrigerator.
-
 1
1 -
2
-
3
-
4
-
 5
5 -
 6
6 -
 7
7 -
 8
8 -
 9
9 -
 10
10 -
 11
11 -
 12
12 -
 13
13 -
 14
14 -
 15
15 -
16
-
17
-
18
-
19
-
20
-
21
-
22
-
23
-
24
-
25
-
26
-
27
-
28
-
29
 |
 |