HP Omni 27-1054 Wall Mounting Guide - Page 18
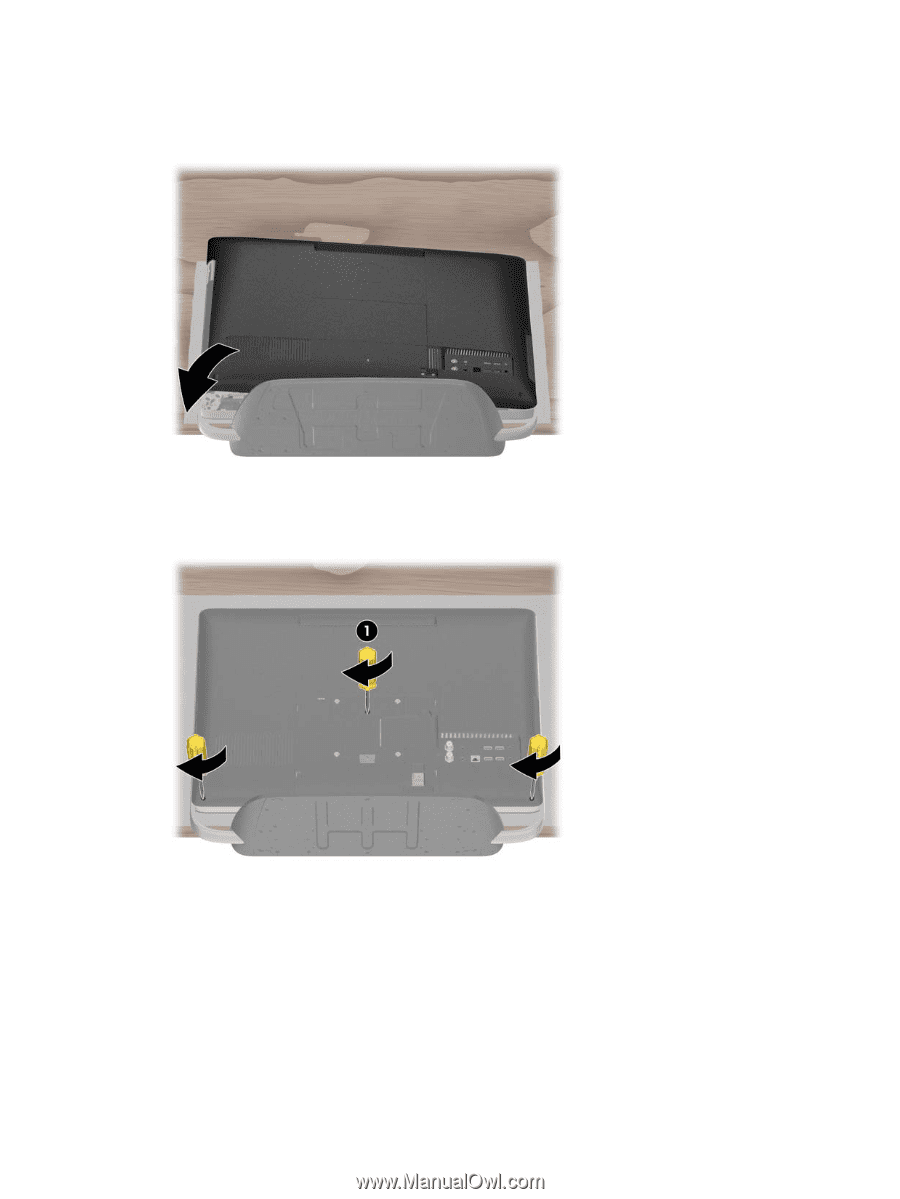
computer. If present, tighten the screw 1 at the center of the back cover.
 |
View all HP Omni 27-1054 manuals
Add to My Manuals
Save this manual to your list of manuals |
Page 18 highlights
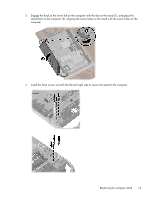
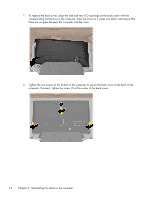
7. To replace the back cover, align the side and rear I/O openings on the back cover with the corresponding connectors on the computer. Press the cover so it snaps into place, and ensure that there are no gaps between the computer and the cover. 8. Tighten the two screws at the bottom of the computer to secure the back cover to the back of the computer. If present, tighten the screw (1) at the center of the back cover. 14 Chapter 2 Reinstalling the stand on the computer
-
 1
1 -
2
-
3
-
4
-
5
-
6
-
7
-
8
-
9
-
10
-
11
-
12
-
 13
13 -
 14
14 -
 15
15 -
 16
16 -
 17
17 -
 18
18 -
 19
19
 |
 |
7.
To replace the back cover, align the side and rear I/O openings on the back cover with the
corresponding connectors on the computer. Press the cover so it snaps into place, and ensure that
there are no gaps between the computer and the cover.
8.
Tighten the two screws at the bottom of the computer to secure the back cover to the back of the
computer. If present, tighten the screw (1) at the center of the back cover.
14
Chapter 2
Reinstalling the stand on the computer