Hotpoint RGA724EKWH Installation Instructions - Page 10
Oven, Oven Lighting Instructions for Standing Pilot Models
 |
UPC - 084691131717
View all Hotpoint RGA724EKWH manuals
Add to My Manuals
Save this manual to your list of manuals |
Page 10 highlights
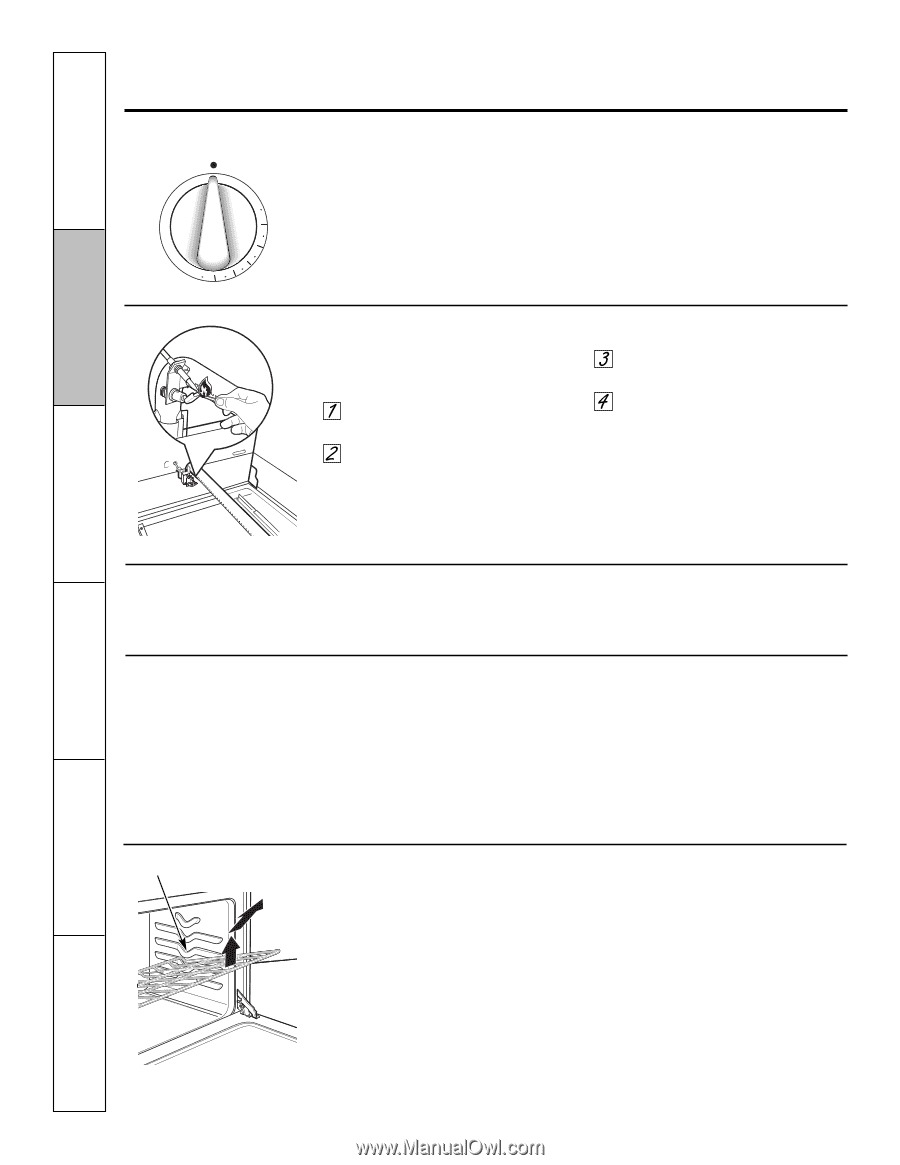
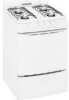
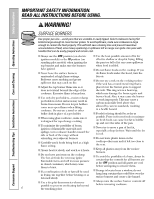
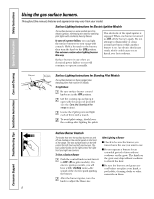
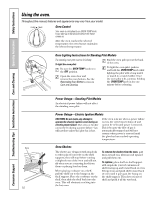
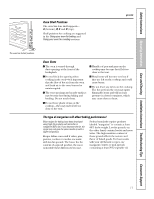
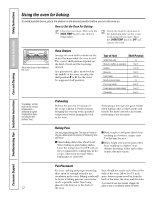
Consumer Support Troubleshooting Tips Installation Instructions Care and Cleaning Operating Instructions Safety Instructions ROIL Using the oven. Throughout this manual, features and appearance may vary from your model. B 450 500 OVEN TEMP OFF 400 260 300 350 Oven Control Your oven is controlled by an OVEN TEMP knob. It can take up to 90 seconds before the flame comes on. After the oven reaches the selected temperature, the oven burner maintains the selected temperature. Oven Lighting Instructions for Standing Pilot Models The standing oven pilot must be lit initially. To light the oven pilot: Be sure the OVEN TEMP knob is in the OFF position. Open the oven door and remove the oven bottom. See the Removable Oven Bottom section in Care and Cleaning. Find the oven pilot port at the back of the oven. To light the oven pilot, push in and hold the OVEN TEMP knob while lighting the pilot with a long match or match in a match holder. Once the oven pilot is lit, continue holding the OVEN TEMP knob in for one minute before releasing. Bump 10 Power Outage-Standing Pilot Models An electrical power failure will not affect the standing oven pilot. Power Outage-Electric Ignition Models CAUTION: Do not make any attempt to operate the electric ignition oven during an electric power failure. The oven or broiler cannot be lit during a power failure. Gas will not flow unless the glow bar is hot. If the oven is in use when a power failure occurs, the oven burner shuts off and cannot be re-lit until power is restored. This is because the flow of gas is automatically stopped and will not resume when power is restored until the glow bar has reached operating temperature. Oven Shelves The shelves are designed with stop-locks so when placed correctly on the shelf supports, they will stop before coming completely out of the oven and will not tilt when you are removing food from them or placing food on them. When placing cookware on a shelf, pull the shelf out to the bump on the shelf support. Place the cookware on the shelf, then slide the shelf back into the oven. This will eliminate reaching into the hot oven. To remove the shelves from the oven, pull them toward you, tilt front end upward and pull them out. To replace, place shelf on shelf support with stop-locks (curved extension of shelf) facing up and toward back of oven. Tilt up front and push shelf toward back of oven until it goes past the bump on the shelf support. Then lower front of shelf and push it all the way back.
-
 1
1 -
2
-
3
-
4
-
 5
5 -
 6
6 -
 7
7 -
 8
8 -
 9
9 -
 10
10 -
 11
11 -
 12
12 -
 13
13 -
 14
14 -
 15
15 -
16
-
17
-
18
-
19
-
20
-
21
-
22
-
23
-
24
-
25
-
26
-
27
-
28
-
29
-
30
-
31
-
32
-
33
-
34
-
35
-
36
 |
 |