Insignia NSAV511 User Manual (English) - Page 16
Sender, Signal Status - setup
 |
View all Insignia NSAV511 manuals
Add to My Manuals
Save this manual to your list of manuals |
Page 16 highlights
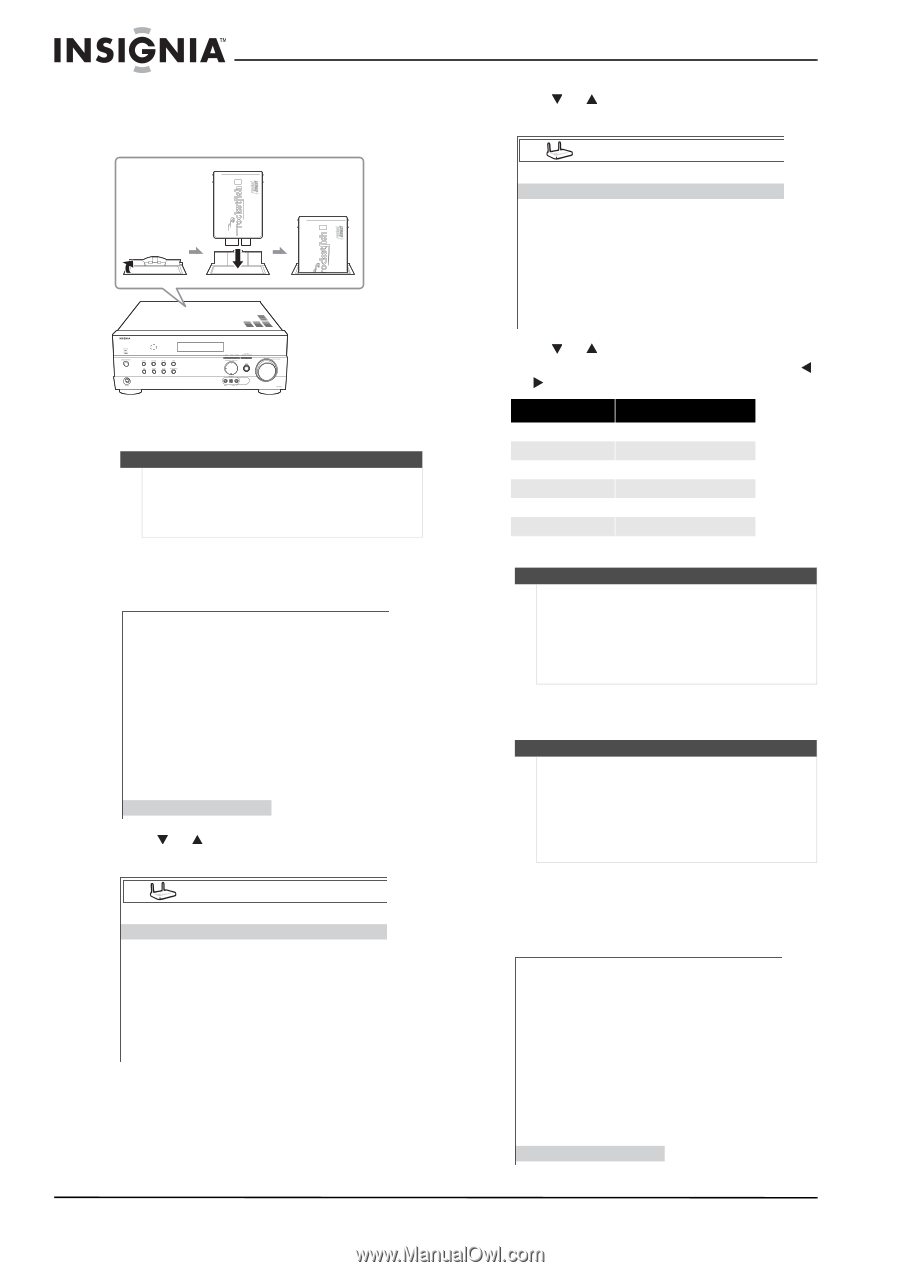
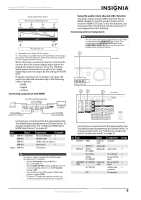
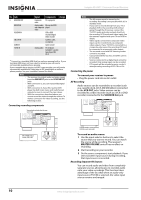
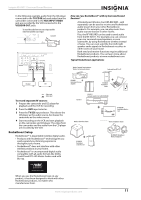
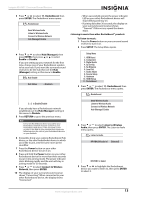
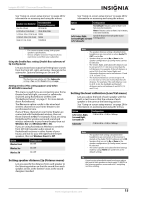
Initial Rocketboost setup Insert the RF-RBCARD into the Rocketboost Module Slot on the top of NS-AV511 receiver. Insignia NS-AV511 Surround Sound Receiver 3 Press or to select Send Wireless Audio, then press ENTER. The Send Audio menu opens. Send Audio Front Surround Subwoofer < Enabled > Enabled Enabled Setting up your surround sound receiver to send audio to other Rocketboost receivers Note This is only required if you are using Rocketboost™ for your wireless surround sound, wireless subwoofer, or if you are sending the front left/right speaker audio signals to Rocketboost receivers in other rooms of your house. To set up your surround sound receiver to send audio to other Rocketboost receivers: 1 Press SETUP. The Setup Menu opens. Setup Menu 1. HDMI Input 2. Component 3. Digital Audio 4. Sp Config 5. Sp Distance 6. Level Cal 7. Audio Adjust 8. Source Setup 9. Hardware 10. HDMI Setup 11. Rocketboost 2 Press or to select 11. Rocketboost, then press ENTER. The Rocketboost menu opens. Rocketboost Send Wireless Audio Listen to Wireless Audio Connect to Wireless Network Hub (Manager) Enable [< >] to Enable/Disable 4 Press or to select the Sender you want (Front, Surround, or Subwoofer), then press or to Enable or Disable the selected sender. Sender Front Enabled Front Disabled Surround Enabled Surround Disabled Subwoofer Enabled Subwoofer Disabled Signal Status Front is ON Front is OFF Surround signal is ON Surround signal is OFF Subwoofer signal is ON Subwoofer signal is OFF Note • • The Front sender should be enabled if you want to send the front left/right audio signals to other Rocketboost receivers (for example Rocketboost headphones or Rocketboost receiver products in other rooms of your house.) We recommend that you do not enable channels that you will not be using. Establishing communications with other Rocketboost products Note Every Rocketboost™ network must contain a device called a Hub, which directs network data traffic and helps devices join the network. The network can have only one hub. If you are setting up your network for the first time, choose one of your Rocketboost™ senders to be your hub. If you already have a Rocketboost™ network, then set the Hub (Manager) setting in to Disable. To connect to a Rocketboost wireless network: 1 Press the Power button on your surround sound receiver to turn it on. 2 Press SETUP. The Setup Menu opens. Setup Menu 1. HDMI Input 2. Component 3. Digital Audio 4. Sp Config 5. Sp Distance 6. Level Cal 7. Audio Adjust 8. Source Setup 9. Hardware 10. HDMI Setup 11. Rocketboost 12 www.insigniaproducts.com
-
 1
1 -
2
-
3
-
4
-
5
-
6
-
7
-
8
-
9
-
10
-
 11
11 -
 12
12 -
 13
13 -
 14
14 -
 15
15 -
 16
16 -
 17
17 -
 18
18 -
 19
19 -
 20
20 -
 21
21 -
22
-
23
-
24
-
25
-
26
-
27
-
28
-
29
-
30
-
31
-
32
-
33
-
34
-
35
-
36
-
37
-
38
 |
 |