JVC THD60 Instructions
JVC THD60 - TH D60 Home Theater System Manual
 |
UPC - 046838031052
View all JVC THD60 manuals
Add to My Manuals
Save this manual to your list of manuals |
JVC THD60 manual content summary:
- JVC THD60 | Instructions - Page 1
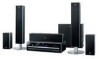
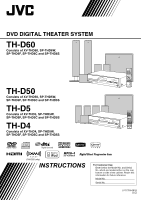
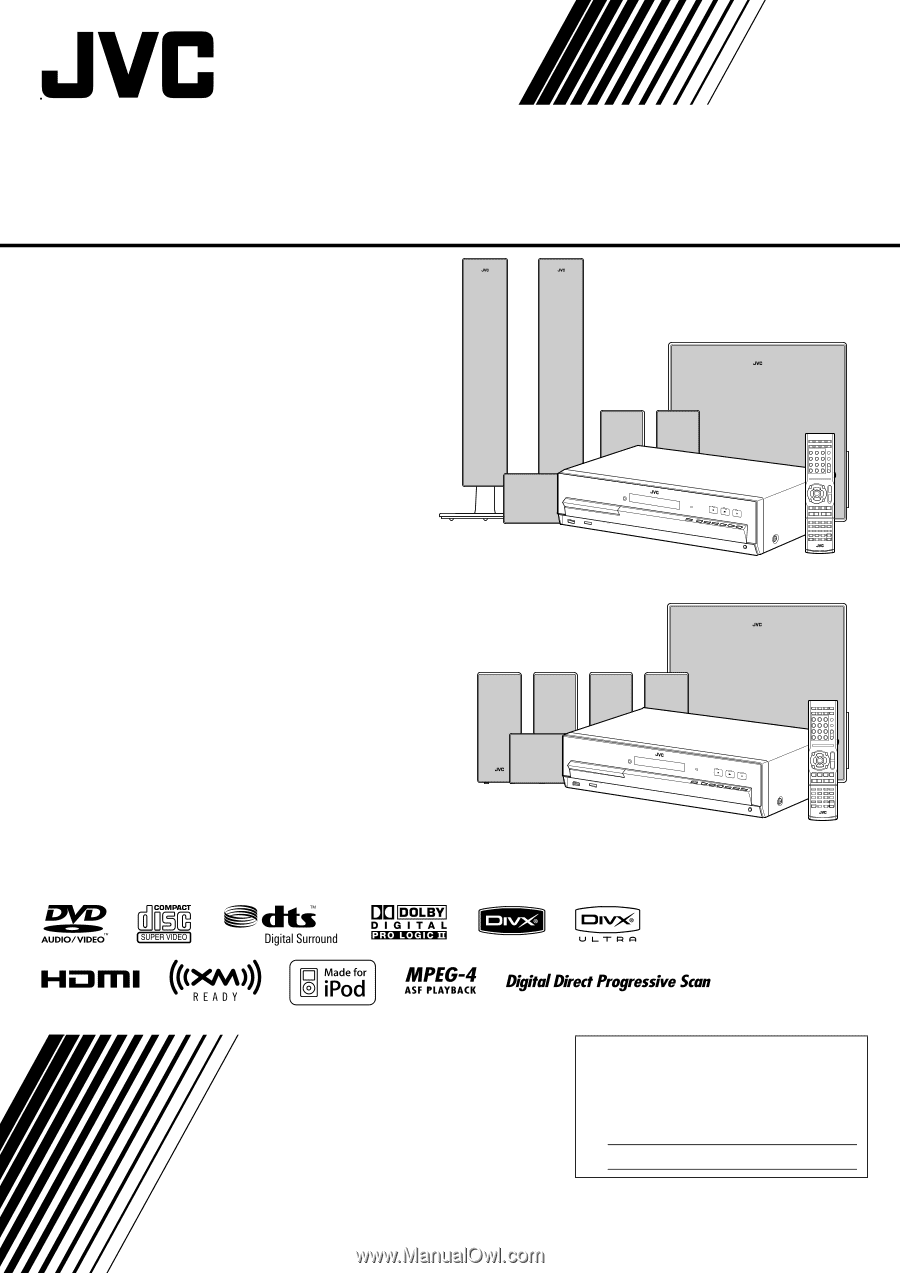
DVD DIGITAL THEATER SYSTEM TH-D60 Consists of XV-THD60, SP-THD6W, SP-THD6F, SP-THD6C and SP-THD6S TH-D50 Consists of XV-THD50, SP-THD5W, SP-THD5F, SP-THD5C and SP-THD5S TH-D5 Consists of XV-THD5, SP-THD5W, SP-THD5F, SP-THD5C and SP-THD5S TH-D4 Consists of XV-THD4, SP-THD5W, SP-THD5F, SP-THD5C - JVC THD60 | Instructions - Page 2
et indications diverses CAUTION - button! Disconnect the mains plug to shut the power off completely (the STANDBY lamp goes off). When installing the system is on standby, the STANDBY lamp lights red. • When the system is turned on, the STANDBY lamp goes off. The power can be remote controlled. - JVC THD60 | Instructions - Page 3
receiver is connected. Consult the dealer or an experienced radio/TV technician for help. CAUTION Changes or modifications not approved by JVC could void the user's authority to operate the equipment. For Canada THIS DIGITAL APPARATUS DOES NOT EXCEED THE CLASS B LIMITS FOR RADIO NOISE EMISSIONS FROM - JVC THD60 | Instructions - Page 4
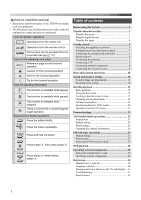
A. Table of contents Before using this System 2 Playable discs/devices/files 3 Playable disc types 3 Playable digital devices 3 Playable file types 4 Getting started 5 Checking the supplied accessories 5 Putting batteries into the remote control 5 Connecting the speakers and subwoofer - JVC THD60 | Instructions - Page 5
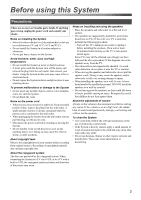
is set at a high level, the sudden blast of sound could permanently damage your hearing and/ or blow out the speakers. To clean the System • Use a soft cloth. Follow the relevant instructions on the use of chemically-coated cloths. • If the System is heavily stained, apply a small amount of water or - JVC THD60 | Instructions - Page 6
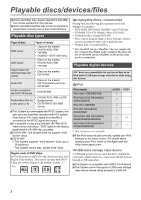
, the use of Non-DVD side of a DualDisc on this product may not be recommended. Playable digital devices JVC bears no responsibility for any loss of data in an iPod and/or USB mass storage class device while using this System. iPod iPod model iPod nano 1GB/2GB/4GB iPod nano (2nd Generation) 2GB - JVC THD60 | Instructions - Page 7
less (30 fps), and 720 x 576 pixels or less (25 fps). • Audio stream should conform to Dolby Digital (including multi-channel) or MPEG1 Audio Layer-3 (MP3). • The System does not support GMC (Global Motion Compression). • Files encoded in the interlaced scanning mode may not be played back correctly - JVC THD60 | Instructions - Page 8
accessories Connecting the speakers and subwoofer If anything is missing, contact your dealer immediately. • Remote control (x 1) • Batteries (x 2) • FM antenna (x 1) • AM loop antenna (x 1) • Composite video cord (x 1) • Connector for iPod - TH-D60/TH-D50: Docking station for iPod (x 1) - TH - JVC THD60 | Instructions - Page 9
horizontally so that the JVC logos are positioned as illustrated below. Ex.: TV L R SL SR TH-D50/TH-D5/TH-D4 only: you can also lay the front speakers as illustrated below. TV Surround left (SL) Surround right (SR) To obtain the best possible surround sound from this System, place all the - JVC THD60 | Instructions - Page 10
system-TH-D60 only XM Mini-Tuner Home Dock antenna (not supplied) XM Mini-Tuner (not supplied) For better reception, install the XM Mini-Tuner Home Dock ) Turn it Digital Content Protection) source, allow a few seconds for the sound sound may come out during playback of sources such as DVD - JVC THD60 | Instructions - Page 11
supplied) A From digital coaxial output B From digital optical output The initial setting for the audio input setting is "COAX." When using OPTICAL terminal, change the setting to "OPT" before playing back. ( 14) Connecting an analog component RCA pin plug cord (not supplied) DVD player, etc - JVC THD60 | Instructions - Page 12
Digital coaxial cable (not supplied) Digital optical cable (not supplied) A From digital coaxial output B From digital optical output Connection for "VIDEO" -TH-D50/THD5/TH ( 14) Connecting the AC power cord Plug in the System only after all the connections have been completed. Available video - JVC THD60 | Instructions - Page 13
or putting on the headphones. Set the remote control mode before operation. STANDBY lamp: • Goes off when the System is turned on. • Lights when the System is turned off. Point at the remote sensor directly. Display To change the display brightness A TH-D60 only: XM Satellite Radio indicators - JVC THD60 | Instructions - Page 14
volume level. Prohibiting disc ejection 1 Turn off the System. 2 Lock the disc tray. «Hold (On the center unit) "LOCKED" appears on the display. To unlock the disc tray, perform the above procedure again. "UNLOCKED" appears on the display. *1TH-D60 only *2TH-D50/TH-D5/TH-D4: The FM/AM button - JVC THD60 | Instructions - Page 15
remote control mode before operation. Sound mode according to your speaker layout ( 6). 1 Turn off the System. ( 11) 2 «Hold 3 Select the TH-D60: DVD, USB, IPod, VIDEO1*1, VIDEO2 TH-D50/TH-D5/TH-D4: DVD, USB, IPod, VIDEO - TH-D60: FM, AM and VIDEO1*2 TH-D50/TH-D5/TH-D4: FM and AM TH - JVC THD60 | Instructions - Page 16
System automatically selects a proper multi-channel surround mode, such as "DOLBY D (Dolby Digital)" or "DTS (DTS Digital surround mode setting is ineffective. For DVD Audio, when "LR ONLY" appears on sound, as if in an outdoor stadium ALL ST (All Channel Stereo) Reproduces a larger stereo sound - JVC THD60 | Instructions - Page 17
jacks*1. ( 7) 1 Select "DVD" or "USB" as the source connection via the OPTICAL terminal You can System is the TH-D60, make the audio input setting for both "VIDEO1" and "VIDEO2." *1"AIN.1" or "AIN.2" appears on TH-D60, and "AIN." on TH-D50/TH-D5/TH when your TV supports progressive video signals. - JVC THD60 | Instructions - Page 18
starts. • MP3/WMA/WAV: The file control display appears on the TV. ( 22) Playing back a file on a USB mass storage class device 1 Connect a USB mass storage class device while the System is turned off. USB mass storage class device 2 Turn on the System, then select "USB" as the source - JVC THD60 | Instructions - Page 19
iPod is connected to the USB MEMORY terminal, "RESTRICT" appears on the display. This System may not playback some USB mass storage class devices and does not support DRM (Digital File number Group (G) number and file (F) number *1For DVD Video, DVD Audio, DVD VR, VCD, SVCD, or CD, you can change - JVC THD60 | Instructions - Page 20
disc menu Locating a desired scene or song For DVD Video/DVD Audio 1 For a DVD Video disc * or For a DVD Audio disc * 2 Select the desired item, buttons. * TH-D50/TH-D5/TH-D4: The TOP MENU/PG button is used instead of TOP MENU/PG/DIRECT. For VCD/SVCD with PBC The Play Back Control function (PBC - JVC THD60 | Instructions - Page 21
playback Press the button repeatedly until both the program window and disappear from the TV. To program the tracks in the bonus group on a DVD Audio disc, perform the "Playing back a bonus group" procedure ( 20) before operation. You can program up to 99 steps. * For details on using the - JVC THD60 | Instructions - Page 22
Disc/file playback Advanced operations Changing the language/sound/scene angle To do Disc/file Select the subtitle language*1 *2 • To show/hide the subtitle, press SUBTITLE. Select the audio language/audio channel*2 «Hold Select the view angle For DVD Audio, the functions take effect for the - JVC THD60 | Instructions - Page 23
picture Controls the contrast Controls the color depth Controls the tint Controls the sharpness 3 Adjust the parameter, then confirm the selection. Selecting browsable still pictures While playing back a track linked to browsable still pictures (B.S.P), you can select the still pictures (turn the - JVC THD60 | Instructions - Page 24
discs *4During playback of DVD Video or DVD VR discs, A-B repeat play is available only within the same title/program. *5A-B repeat play is not available during program and random playback. The contents of the on-screen bar differ according to the type of discs/files. *1TH-D50/TH-D5/TH-D4: The ON - JVC THD60 | Instructions - Page 25
pressed or playback is stopped. File control display Ex.: Current group/total group * To display the playlist Select or The System starts playing the first item. Play 2 Select "DVD," "FILE" appears, and when the source is "USB," "USB" appears. *2For MP3/WMA/WAV only. 3 * TH-D50/TH-D5/TH-D4 - JVC THD60 | Instructions - Page 26
the remote control mode before operation. For disc playback You can change the settings of the System according LANGUAGE SUBTITLE Select the language for the DVD/DivX menu. Select the language for language for the screen. See "Language code list" ( 30) for the code of each language, such as " - JVC THD60 | Instructions - Page 27
playing Dolby Digital software. DVD" or "USB." Select whether the System TEST TONE: Turns on/off the guide icons. The System has its own Registration Code for DivX playback. You can confirm the code of your System. • Once you play back a disc created by using the Registration Code, the System's code - JVC THD60 | Instructions - Page 28
TH-D60 only. Set the remote control advertising-supported code. The 8-digit (alphanumeric) ID code is displayed. • To cancel the ID code display, select any channel other than "Channel 0." Finding the best position for the XM Mini-Tuner Home Dock antenna You can place the XM Mini-Tuner Home Dock - JVC THD60 | Instructions - Page 29
buttons" ( 10). You can also select a preset number by pressing PRESET(/CAT) UP or PRESET(/CAT) DOWN when the System is not in the category search mode (the CAT indicator is turned off). To exit from the category search mode, see the left column. * For details on using the number buttons, see - JVC THD60 | Instructions - Page 30
remote control mode before operation. * • Select the desired source ("FM" or "AM") you want to listen to. ( 11) * TH-D50/TH-D5/TH to a preset station Select a preset number.* Manual tuning Tuning in to a station You can also the station search starts. The system tunes in the first station of - JVC THD60 | Instructions - Page 31
the volume after playback has started. 1 Connect an iPod while the System is turned off. TH-D60/TH-D50: Docking station for iPod (supplied) * * Attach the dock adapter (supplied for the iPod or separately purchased) before placing the iPod. ( 32) TH-D5/TH-D4: Skip to the next/previous item - JVC THD60 | Instructions - Page 32
tuner or CATV converter VCR/DBS Turns the power on and off CH +/- Changes the channels 1-10, 0, h10 (100+) Selects the channels Setting the manufacturer's code Before operating external components from the remote control, set the manufacturer's code. 1 Set the remote control mode (see above - JVC THD60 | Instructions - Page 33
References Manufacturer's code list Language code list TV JVC Hitachi Magnavox Mitsubishi Panasonic Philips RCA Danish MI Maori TE Telugu DZ Bhutani MK Macedonian TG Tajik EL Greek ML Malayalam TH Thai EO Esperanto MN Mongolian TI Tigrinya ET Estonian MO Moldavian TK Turkmen EU Basque - JVC THD60 | Instructions - Page 34
exist or is not subscribed yet. and "CH- - -" Troubleshooting Power does not come on. ZThe power plug is not inserted securely. Plug it in securely. Unable to operate the System from the remote control. ZThe path between the remote control and the remote sensor on the center unit is blocked. ZThe - JVC THD60 | Instructions - Page 35
PBC function is used. No sound is heard from the external home control technology licensed by Digital Content Protection, LLC. • XM Ready® is a registered trademark of XM Satellite Radio Inc. All rights reserved. Attaching the dock adapter to the docking station Dock adapter (supplied for iPod - JVC THD60 | Instructions - Page 36
167 W, RMS at 3 Ω at 100 Hz, with 10 % total harmonic distortion. Audio section Digital Input*1 DIGITAL IN OPTICAL: COAXIAL*2: -21 dBm to -15 dBm (660 nm ±30 nm) 0.5 V(p-p)/75 Ω Video section Video System: NTSC Horizontal Resolution: 500 lines Signal-to-Noise Ratio: 64 dB Video Output Level - JVC THD60 | Instructions - Page 37
Frequency Range: 90 Hz to 20 000 Hz Sound Pressure Level: 75 dB/W•m Dimensions (W × H × D): 98.5 mm × 214.5 mm × 93.5 mm (3-15/16 inches × 8-1/2 inches × 3-11/16 inches) Mass: 0.85 kg (1.9 lbs) each Satellite speakers (For TH-D50/TH-D5/ TH-D4) Front speakers (SP-THD5F) Type: 1-Way Bass - JVC THD60 | Instructions - Page 38
- JVC THD60 | Instructions - Page 39
- JVC THD60 | Instructions - Page 40
EN © 2007 Victor Company of Japan, Limited 0107RYMMDWJEM TH-D60/TH-D50/ DVD DIGITAL THEATER SYSTEM TH-D5/TH-D4
-
 1
1 -
 2
2 -
 3
3 -
 4
4 -
 5
5 -
 6
6 -
 7
7 -
8
-
9
-
10
-
11
-
12
-
13
-
14
-
15
-
16
-
17
-
18
-
19
-
20
-
21
-
22
-
23
-
24
-
25
-
26
-
27
-
28
-
29
-
30
-
31
-
32
-
33
-
34
-
35
-
36
-
37
-
38
-
39
-
40
 |
 |
INSTRUCTIONS
LVT1704-001B
[J,C]
For Customer Use:
Enter below the Model No. and Serial
No. which are located either on the rear,
bottom or side of the cabinet. Retain this
information for future reference.
Model No.
Serial No.
TH-D60
Consists of XV-THD60, SP-THD6W,
SP-THD6F, SP-THD6C and SP-THD6S
TH-D50
Consists of XV-THD50, SP-THD5W,
SP-THD5F, SP-THD5C and SP-THD5S
TH-D5
Consists of XV-THD5, SP-THD5W,
SP-THD5F, SP-THD5C and SP-THD5S
TH-D4
Consists of XV-THD4, SP-THD5W,
SP-THD5F, SP-THD5C and SP-THD5S
DVD DIGITAL THEATER SYSTEM
(TH-D60 only)