Kyocera KM-5530 Scan System (D) Operation Guide (Setup) - Page 8
Preparations
 |
View all Kyocera KM-5530 manuals
Add to My Manuals
Save this manual to your list of manuals |
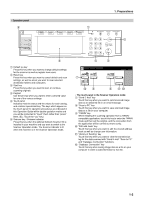
Page 8 highlights
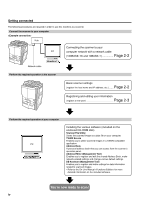
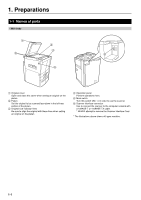
1. Preparations 1-1 Names of parts • Main body 1 Original cover Open and close this cover when setting an original on the platen. 2 Platen Set the original to be scanned face-down in the left-rear portion of the platen. 3 Original size indicator lines Be sure to align the original with these lines when setting an original on the platen. 4 Operation panel Perform operations here. 5 Main switch Turn this switch ON ( | ) in order to use the scanner. 6 Scanner interface connector Use to connect the scanner to the computer network with a 10BASE-T or 100BASE-TX cable. * NEVER attempt to remove the Scanner Interface Card. * The illustrations above show a 45 ppm machine. 1-1
-
 1
1 -
2
-
 3
3 -
 4
4 -
 5
5 -
 6
6 -
 7
7 -
 8
8 -
 9
9 -
 10
10 -
 11
11 -
 12
12 -
 13
13 -
14
-
15
-
16
-
17
-
18
-
19
-
20
-
21
-
22
-
23
-
24
-
25
-
26
-
27
-
28
-
29
-
30
-
31
-
32
 |
 |
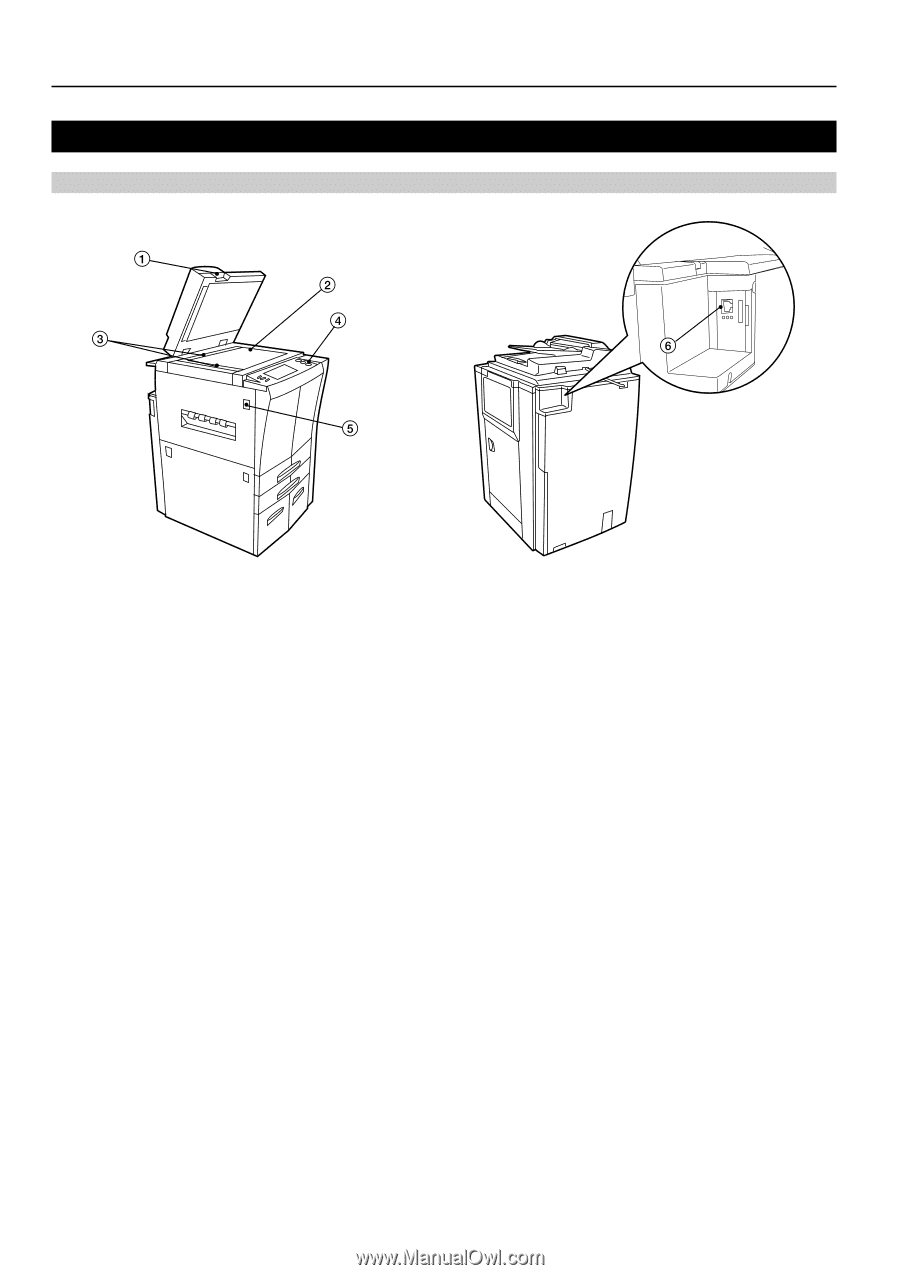
1. Preparations
1-1
Names of parts
•
Main body
1-1
1
Original cover
Open and close this cover when setting an original on the
platen.
2
Platen
Set the original to be scanned face-down in the left-rear
portion of the platen.
3
Original size indicator lines
Be sure to align the original with these lines when setting
an original on the platen.
4
Operation panel
Perform operations here.
5
Main switch
Turn this switch ON ( | ) in order to use the scanner.
6
Scanner interface connector
Use to connect the scanner to the computer network with
a 10BASE-T or 100BASE-TX cable.
* NEVER attempt to remove the Scanner Interface Card.
*
The illustrations above show a 45 ppm machine.