LG 60PC1D Owners Manual - Page 28
Screen Setup for PC mode
 |
UPC - 719192170421
View all LG 60PC1D manuals
Add to My Manuals
Save this manual to your list of manuals |
Page 28 highlights
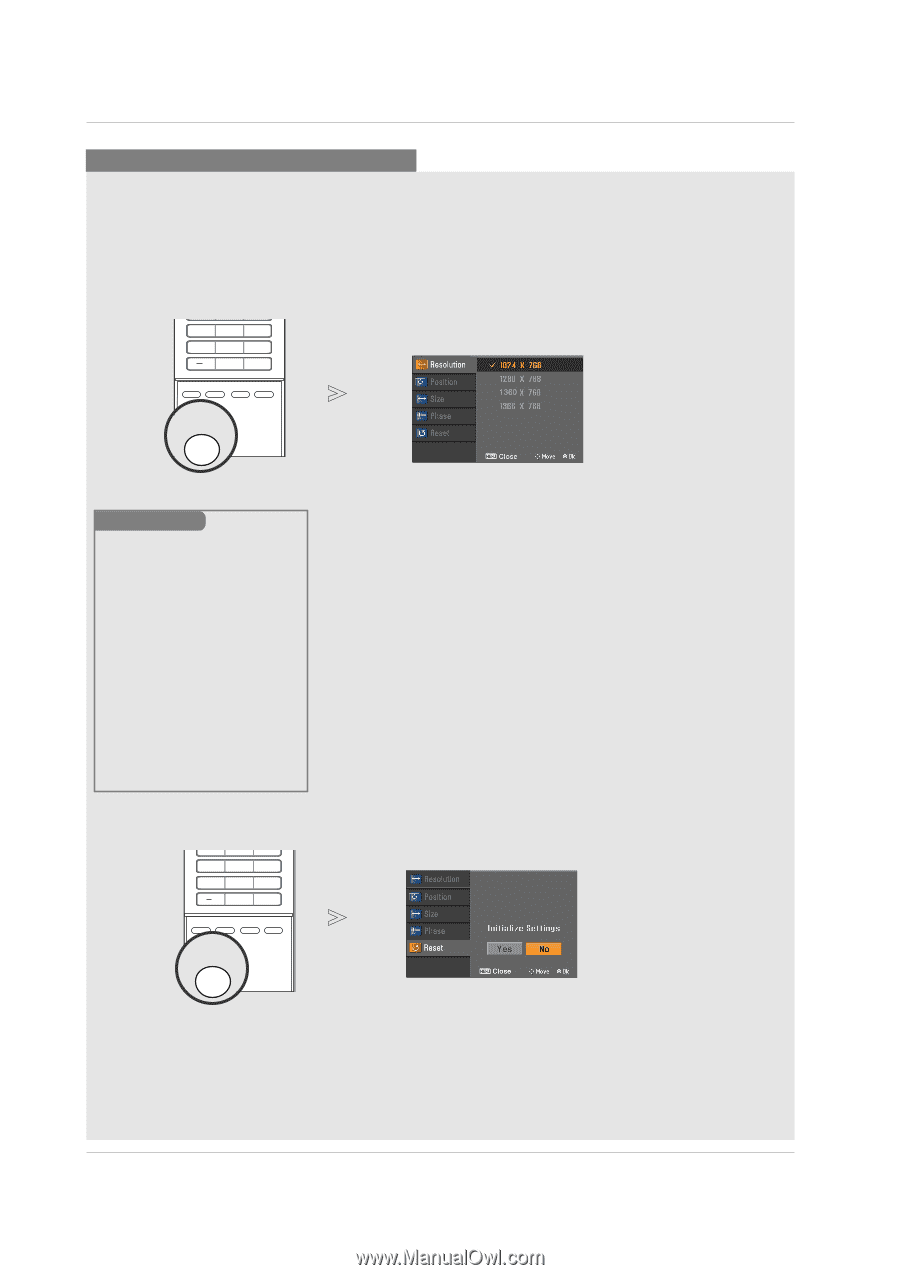
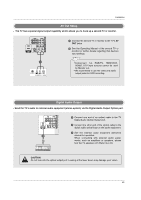
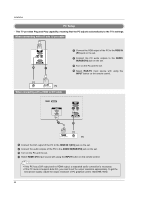
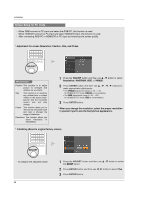
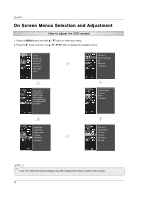
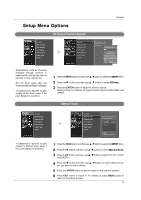
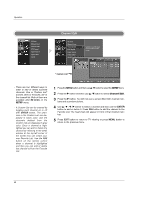
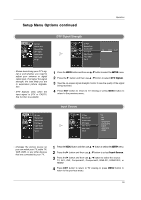
Installation Screen Setup for PC mode - When RGB connect to PC input and select the RGB-PC, this function is used. - When HDMI/DVI connect to PC input and select HDMI/DVI input, this function is used. - After connecting RGB-PC or HDMI/DVI to PC input and checking the screen quality. * Adjustment for screen Resolution, Position, Size, and Phase 4 5 6 7 8 9 0 FLASHBK EZ PIC EZ SOUND SAP CC ADJUST ADJUST Mini Glossary Position This function is to adjust picture to left/right and up/down as you prefer. Size This function is to minimize any vertical bars or stripes visible on the screen background. And the horizontal screen size will also change. Phase This function allows you to remove any horizontal noise and clear or sharpen the image of characters. Resolution This function allows you select Resolution of XGA/WXGA. 1 Press the ADJUST button and then use D / E button to select Resolution, POSITION, SIZE, or PHASE. 2 Press ENTER button and then use D / E / F / G buttons to make appropriate adjustments. • The PHASE adjustment range is -16 ~ +16. (In HDMI/DVI-PC mode, PHASE is not available.) • The SIZE adjustment range is -30 ~ +30. (In HDMI/DVI-PC mode, SIZE is not available.) 3 Press ENTER button. * When you change the resolution, select the proper resolution in present input to see the best picture appearance. * Initializing (Reset to original factory values) 1 2 3 4 5 6 7 8 9 0 FLASHBK EZ PIC EZ SOUND SAP CC ADJUST ADJUST - To initialize the adjusted values 28 1 Press the ADJUST button and then use D / E button to select the RESET option. 2 Press ENTER button and then use F / G button to select Yes. 3 Press ENTER button.
-
 1
1 -
2
-
3
-
4
-
5
-
6
-
7
-
8
-
9
-
10
-
11
-
12
-
13
-
14
-
15
-
16
-
17
-
18
-
19
-
20
-
21
-
22
-
 23
23 -
 24
24 -
 25
25 -
 26
26 -
 27
27 -
 28
28 -
 29
29 -
 30
30 -
 31
31 -
 32
32 -
 33
33 -
34
-
35
-
36
-
37
-
38
-
39
-
40
-
41
-
42
-
43
-
44
-
45
-
46
-
47
-
48
-
49
-
50
-
51
-
52
-
53
-
54
-
55
-
56
-
57
-
58
-
59
-
60
-
61
-
62
-
63
-
64
-
65
-
66
-
67
-
68
 |
 |