Lexmark E260dn Quick Reference - Page 7
Clearing jams behind the photoconductor kit and toner cartridge
 |
View all Lexmark E260dn manuals
Add to My Manuals
Save this manual to your list of manuals |
Page 7 highlights
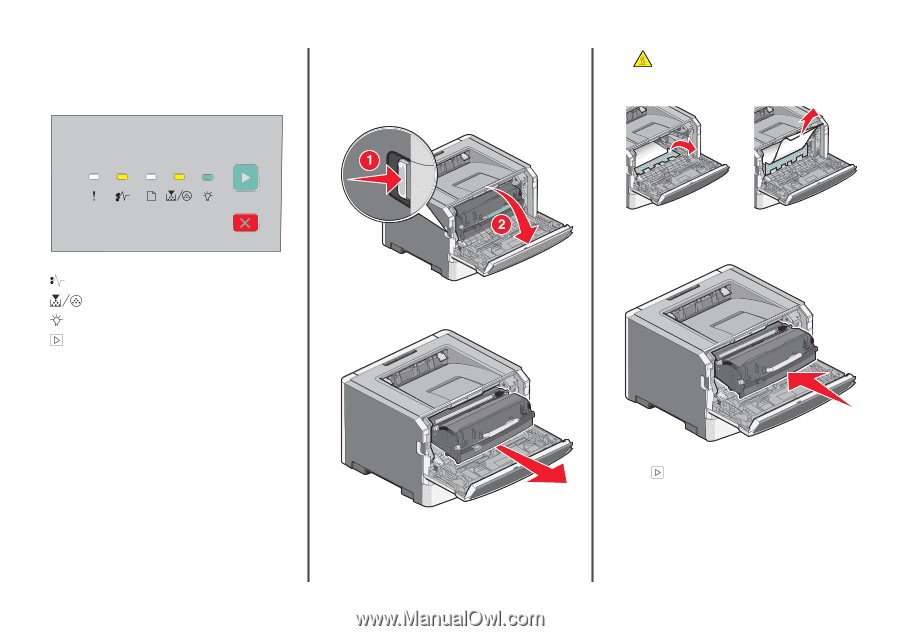
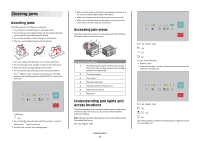
Try one of the following: • Remove Tray 1. • Open the front door, and then remove the photoconductor kit and toner cartridge unit. • Remove Tray 2. Clearing jams behind the photoconductor kit and toner cartridge 1 Push the release button, and then lower the front door. CAUTION-HOT SURFACE: The inside of the printer might be hot. To reduce the risk of injury from a hot component, allow the surface to cool before touching. 3 Remove the jammed paper. 251.yy Paper jam - On - On - On - On Remove the jam from the manual feeder. 2 Lift and pull the unit containing the photoconductor kit and the toner cartridge out of the printer. Set the unit aside on a flat, clean surface. Note: If the paper is not easy to remove, then open the rear door to remove the paper. 4 Align and reinstall the unit. Warning-Potential Damage: Do not touch the photoconductor on the underside of the photoconductor kit. Use the cartridge handle whenever you are holding the cartridge. Clearing jams 7 5 Close the front door. 6 Press to continue printing. Clearing jams from the standard exit bin A duplex print job was sent to the printer using a paper size not supported for duplex printing. A sheet is jammed in the standard exit bin.
-
 1
1 -
 2
2 -
 3
3 -
 4
4 -
 5
5 -
 6
6 -
 7
7 -
 8
8 -
 9
9
 |
 |