Lexmark Prevail Pro700 Quick Reference - Page 17
Copying
 |
View all Lexmark Prevail Pro700 manuals
Add to My Manuals
Save this manual to your list of manuals |
Page 17 highlights
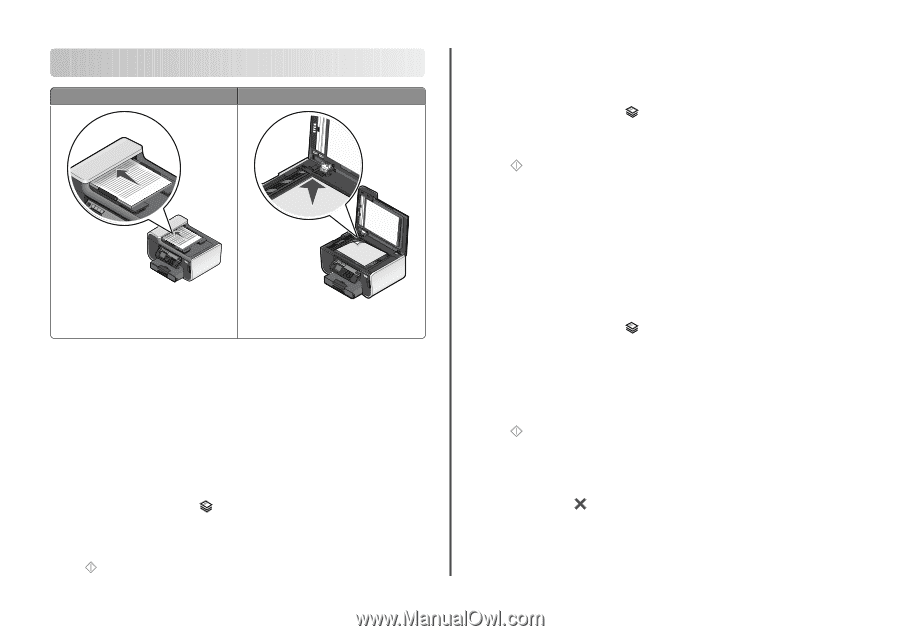
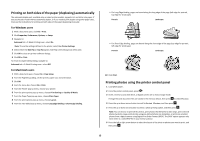
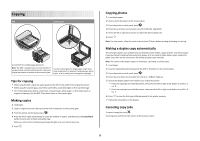
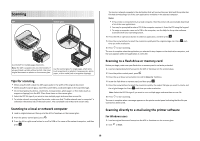
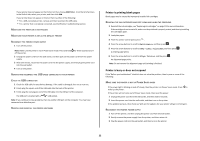
Copying ADF Scanner glass Use the ADF for multiple-page documents. Note: The ADF is available only on select models. If you purchased a printer without an ADF, then load original documents or photos on the scanner glass. Use the scanner glass for single pages, small items (such as postcards or photos), transparencies, photo paper, or thin media (such as magazine clippings). Tips for copying • When using the ADF, adjust the paper guide on the ADF to the width of the original document. • When using the scanner glass, close the scanner lid to avoid dark edges on the scanned image. • Do not load postcards, photos, small items, transparencies, photo paper, or thin media (such as magazine clippings) into the ADF. Place these items on the scanner glass. Making copies 1 Load paper. 2 Load an original document faceup into the ADF or facedown on the scanner glass. 3 From the printer control panel, press . 4 Press the left or right arrow button to select the number of copies, and then press the Color/Black button to set a color or black-and-white copy. When you select color or black-only printing, the light near your choice comes on. 5 Press . Copying photos 1 Load photo paper. 2 Place a photo facedown on the scanner glass. 3 From the printer control panel, press . 4 Press the up or down arrow button to scroll to Photo Reprint. 5 Press the left or right arrow button to select the desired photo size. 6 Press . Note: For best results, allow the prints to dry at least 24 hours before stacking, displaying, or storing. Making a duplex copy automatically The automatic duplex unit, available only on selected printer models, supports letter- and A4-size paper. If you purchased a model without automatic duplex, or if you need to make duplex copies using other paper sizes, then see the instructions for making a duplex copy manually. Note: You cannot make duplex copies on envelopes, card stock, or photo paper. 1 Load paper. 2 Load an original document faceup into the ADF or facedown on the scanner glass. 3 From the printer control panel, press . 4 Press the up or down arrow button to scroll to 2-Sided Copies. 5 Choose the duplex option that matches your original document: • If you are copying a one-sided document, then press the left or right arrow button to scroll to 1 to 2. • If you are copying a two-sided document, then press the left or right arrow button to scroll to 2 to 2. 6 Press to save the first page of the document to the printer memory. 7 Follow the instructions on the display. Canceling copy jobs To cancel a copy job, press . Scanning stops and the printer returns to the previous menu. 17
-
 1
1 -
2
-
3
-
4
-
5
-
6
-
7
-
8
-
9
-
10
-
11
-
 12
12 -
 13
13 -
 14
14 -
 15
15 -
 16
16 -
 17
17 -
 18
18 -
 19
19 -
 20
20 -
 21
21 -
 22
22 -
23
-
24
 |
 |