Lexmark Z604 User's Guide for Windows - Page 14
Printing on both sides of a sheet of paper, Step 2: Customize the print settings
 |
View all Lexmark Z604 manuals
Add to My Manuals
Save this manual to your list of manuals |
Page 14 highlights
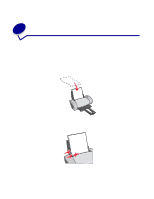
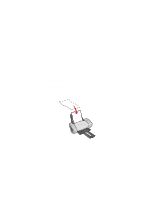
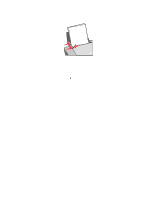
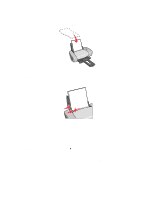
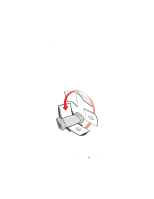
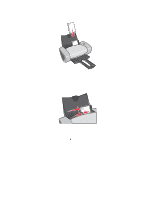
Step 2: Customize the print settings 1 With your document open, click File Print. The Print dialog box appears. 2 From the Print dialog box, click Properties, Preferences, or Options. 3 Select a print quality: a From Print Properties dialog box, select the Quality/Copies tab. b From the Quality/Speed area, select Better or Best. Note: Higher print quality settings result in better quality documents, but may take longer to print. 4 Select a paper type: a From Print Properties dialog box, select the Paper Setup tab. b From the Type area, select Plain Paper. 5 Select a paper size: a From Print Properties dialog box, select the Paper Setup tab. b From the Paper Size menu, select the correct size. For more information about printing on custom size paper, see "Printing on custom size paper" on page 40. 6 Click OK. Step 3: Print your document Click OK. Note: The paper exit tray holds up to 25 sheets of premium paper. If you want to print more than 25 pages, remove the first 25 sheet, before you continue printing. Printing on both sides of a sheet of paper You can conserve paper by printing on both sides. Load up to 100 sheets of paper at a time, depending on the thickness of the paper. Printing on both sides of a sheet of paper 14
-
 1
1 -
2
-
3
-
4
-
5
-
6
-
7
-
8
-
 9
9 -
 10
10 -
 11
11 -
 12
12 -
 13
13 -
 14
14 -
 15
15 -
 16
16 -
 17
17 -
 18
18 -
 19
19 -
20
-
21
-
22
-
23
-
24
-
25
-
26
-
27
-
28
-
29
-
30
-
31
-
32
-
33
-
34
-
35
-
36
-
37
-
38
-
39
-
40
-
41
-
42
-
43
-
44
-
45
-
46
-
47
-
48
-
49
-
50
-
51
-
52
-
53
-
54
-
55
-
56
-
57
-
58
-
59
-
60
-
61
-
62
-
63
-
64
-
65
-
66
-
67
-
68
-
69
 |
 |