Maytag MEDE900VJ Installation Instructions - Page 2
Installation, Requirements - specifications
 |
UPC - 883049144764
View all Maytag MEDE900VJ manuals
Add to My Manuals
Save this manual to your list of manuals |
Page 2 highlights
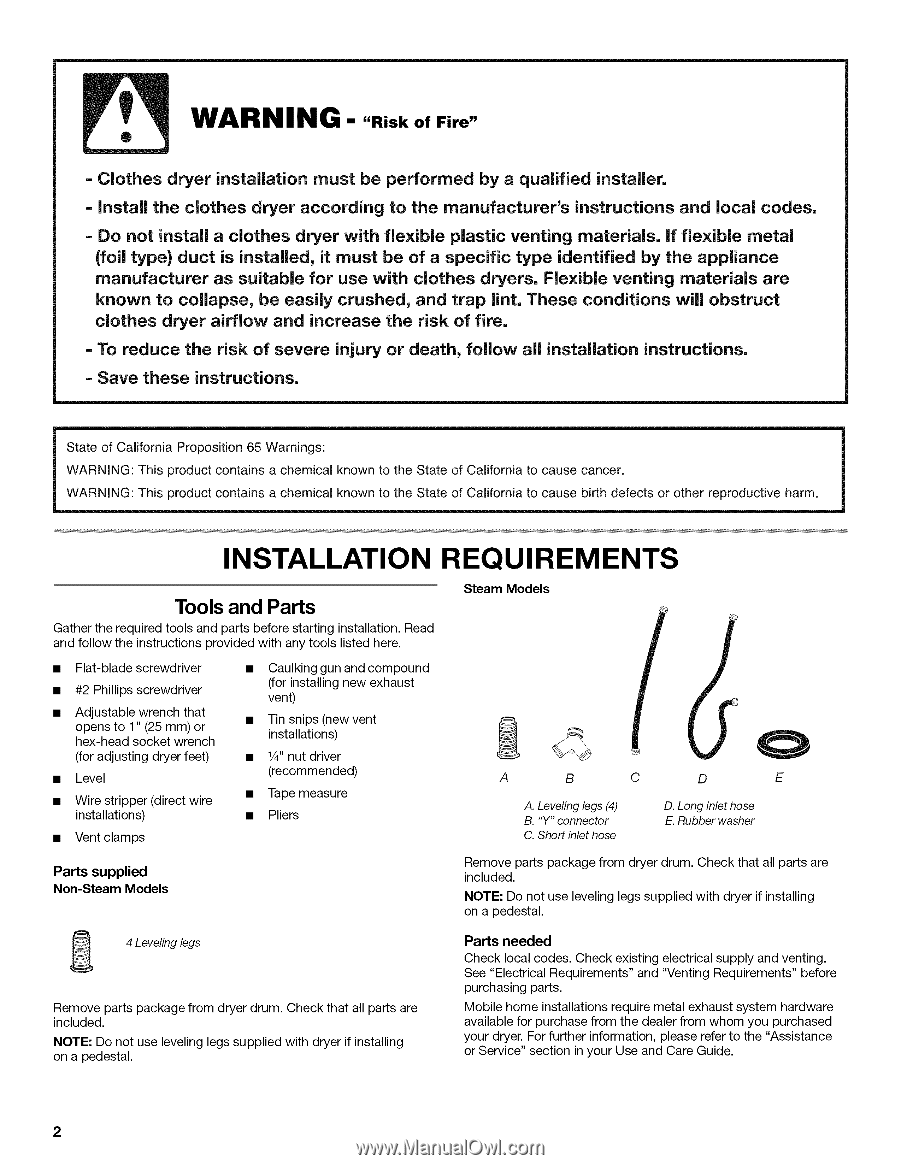
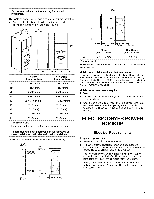
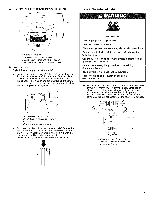
WARNING - "Risk of Fire" - Clothes dryer installation must be performed by a qualified installer. - Install the clothes dryer according to the manufacturer's instructions and local codes. - Do not install a clothes dryer with flexibJe plastic venting materials, if fle×ible metal (foiJ type) duct is instaJled, it must be of a specific type identified by the appliance manufacturer as suitable for use with clothes dryers. Fle×ible venting materials are known to collapse, be easily crushed, and trap lint. These conditions will obstruct clothes dryer airflow and increase the risk of fire. - To reduce the risk of severe injury or death, follow all installation instructions. - Save these instructions. State of California Proposition 65 Warnings: WARNING: This product contains a chemical known to the State of California to cause cancer. WARNING: This product contains a chemical known to the State of California to cause birth defects or other reproductive harm. INSTALLATION REQUIREMENTS Tools and Parts Gather the required tools and parts before starting installation. Read and follow the instructions provided with any tools listed here. • Flat-blade screwdriver • #2 Phillips screwdriver • Adjustable wrench that opens to 1" (25 mm) or hex-head socket wrench (for adjusting dryer feet) • Level • Caulking gun and compound (for installing new exhaust vent) • Tin snips (new vent installations) • 1¼,n, ut driver (recommended) • Wire stripper (direct wire installations) • Tape measure • Pliers • Vent clamps Parts supplied Non-Steam Models Steam Models A B C D E A. Levelinglegs (4) B. "Y" connector C. Short inlet hose D. Long inlet hose E. Rubber washer Remove parts package from dryer drum. Check that all parts are included. NOTE: Do not use leveling legs supplied with dryer if installing on a pedestal. 4 Leveling legs Remove parts package from dryer drum. Check that all parts are included. NOTE: Do not use leveling legs supplied with dryer if installing on a pedestal. Parts needed Check local codes. Check existing electrical supply and venting. See "Electrical Requirements" and "Venting Requirements" before purchasing parts. Mobile home installations require metal exhaust system hardware available for purchase from the dealer from whom you purchased your dryer. For further information, please refer to the "Assistance or Service" section in your Use and Care Guide. 2
-
 1
1 -
 2
2 -
 3
3 -
 4
4 -
 5
5 -
 6
6 -
 7
7 -
 8
8 -
9
-
10
-
11
-
12
-
13
-
14
-
15
-
16
 |
 |