Motorola MOTO U9 Quick Start Guide - Page 3
insert your SIM card, insert a memory card, insert the battery, charge the battery - usb
 |
View all Motorola MOTO U9 manuals
Add to My Manuals
Save this manual to your list of manuals |
Page 3 highlights
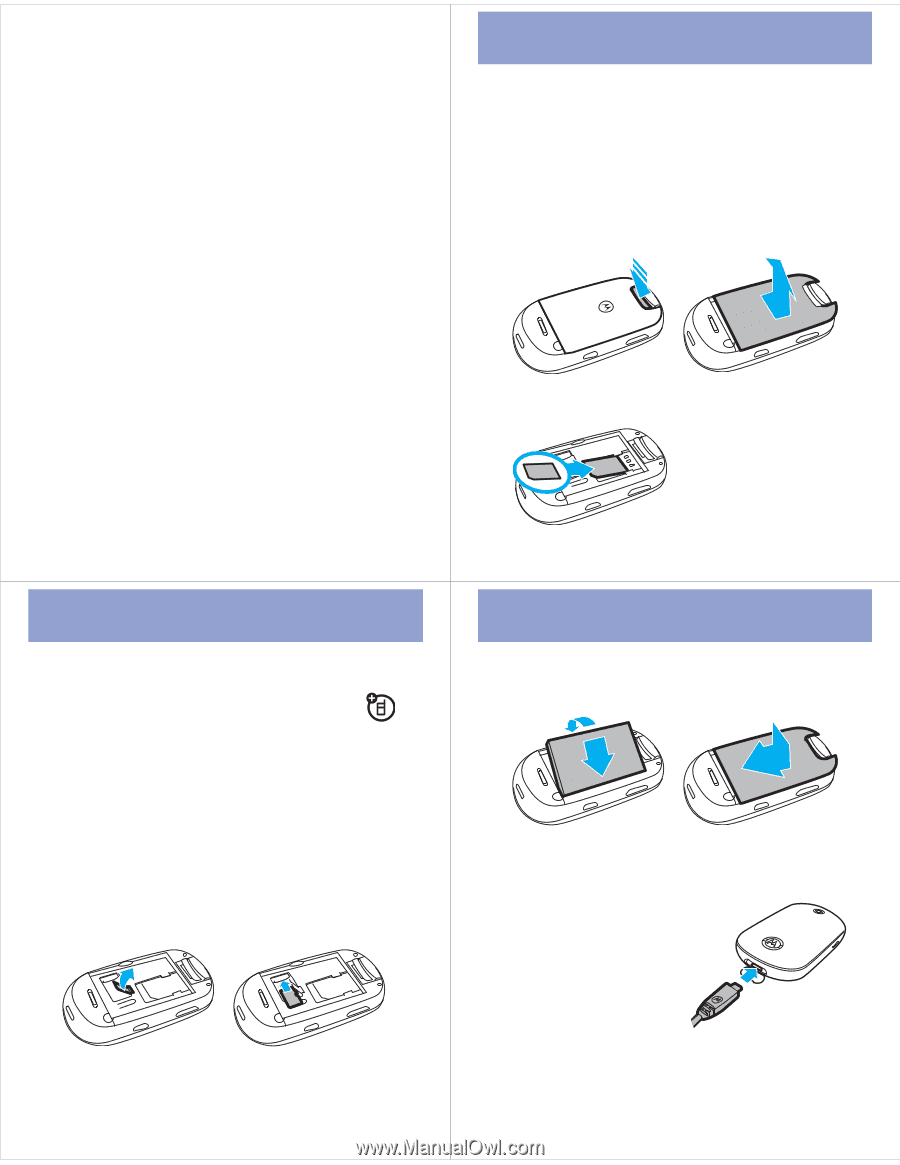
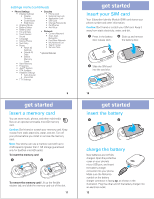
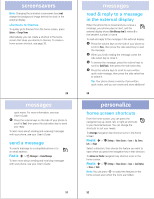
settings menu (continued) • Phone Settings • Display Settings • Display Timeout • Screensaver • Brightness • Airplane Mode • Battery Meter • Battery Save • Time & Date • Touch Sensor Sound • Language • Talking Phone • Text Entry • Reset • Reset All Settings • Delete All Data • Delete Memory Cards • View Memory • Properties • Java™ System • OTA Updates • Headset Settings • Auto-Answer • Voice Dial • TTY Settings • Security • Phone Lock • External Key Lock • Application Lock • SIM Lock • Change Passwords • Certificates • Anti-Virus • Network • Current Network • Scan Avail. Networks • Find New Network • My Network List • Search Setup • Service Tone * optional features 9 get started insert a memory card You can store music, photos, and other multimedia files on an optional removable microSD memory card. Caution: Don't bend or scratch your memory card. Keep it away from static electricity, water, and dirt. Turn off your phone before you install or remove the memory card. Note: Your phone can use a memory card with up to 4 GB capacity (greater than 1 GB storage guaranteed only for SanDisk microSD cards). To insert the memory card: 1 2 To remove the memory card: Lift up the flexible retainer tab, and slide the memory card out of the slot. 11 get started insert getstarted your SIM card Your Subscriber Identity Module (SIM) card stores your phone number and other information. Caution: Don't bend or scratch your SIM card. Keep it away from static electricity, water, and dirt. 1 Press in the battery door release latch. 2 Slide up and remove the battery door. 3 Slide the SIM card into the card slot. 10 get started insert the battery 1 2 charge the battery New batteries are not fully charged. Open the protective cover on your phone's micro-USB port, and insert the battery charger connector into your phone. Make sure the Motorola symbol on the battery charger connector is facing up, as shown in the illustration. Plug the other end of the battery charger into an electrical outlet. 12
-
 1
1 -
 2
2 -
 3
3 -
 4
4 -
 5
5 -
 6
6 -
 7
7 -
 8
8 -
 9
9 -
10
 |
 |