NEC NP-UM330X NP02Wi Installation Manual - Page 16
ENG-14, Launch the software and perform calibration.
 |
View all NEC NP-UM330X manuals
Add to My Manuals
Save this manual to your list of manuals |
Page 16 highlights
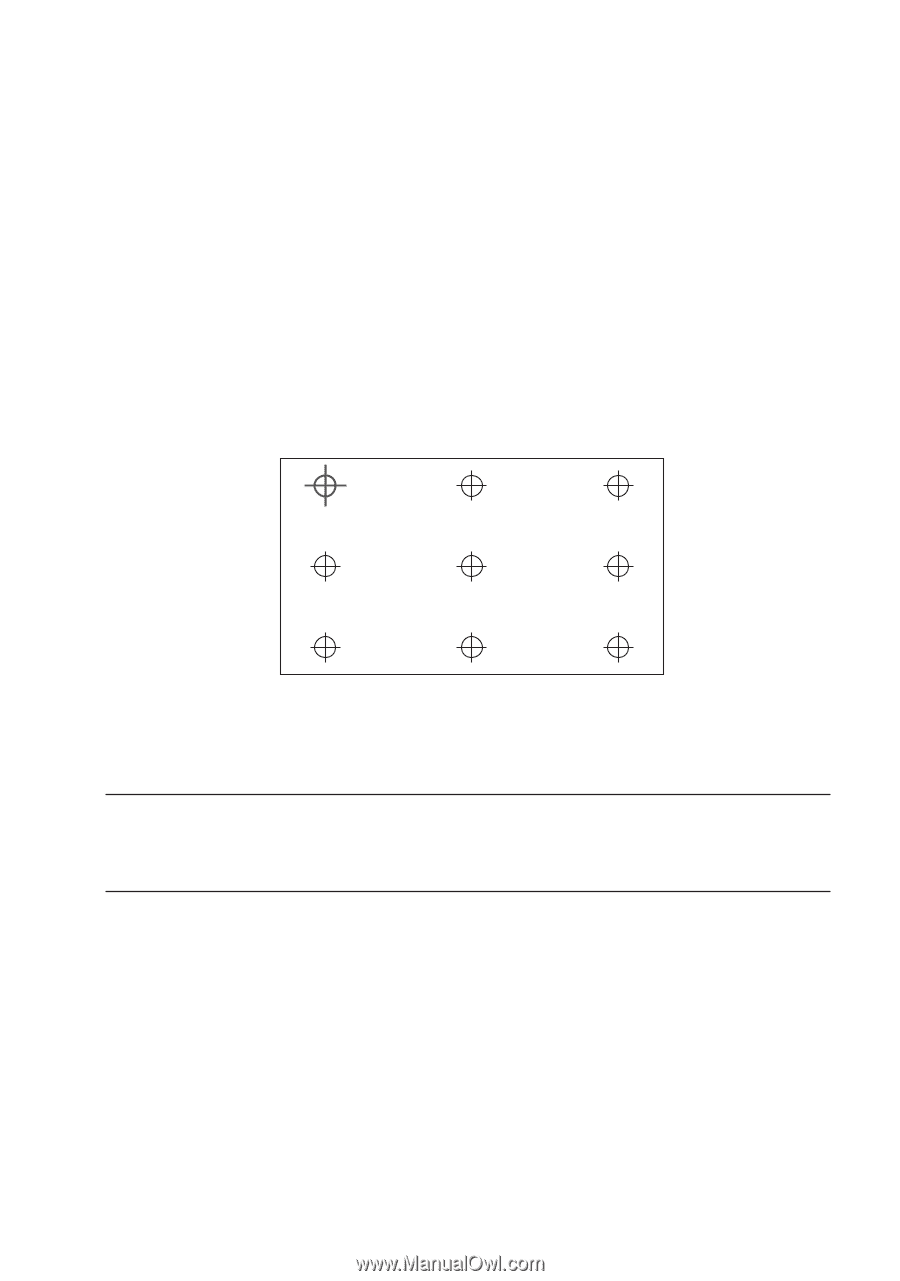
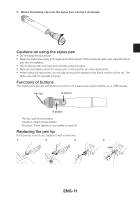
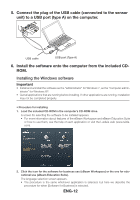
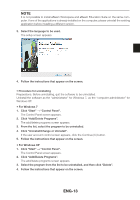
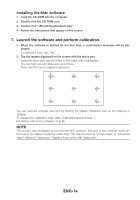
Installing the Mac software 1. Load the CD-ROM into the computer. 2. Double click the CD-ROM icon. 3. Double click "eBeamEducationSuite.pkg". 4. Follow the instructions that appear on the screen. 7. Launch the software and perform calibration. 1. When the software is started for the first time, a confirmation message will be displayed. To calibrate it now, click "Yes". 2. Tap the targets displayed on the screen with the stylus pen. Using the stylus pen, tap the center of the target when highlighted. You can now use your stylus pen as a mouse. Press the ESC key to suspend calibration. You can start the software next time by clicking the eBeam Interactive icon on the Desktop or Taskbar. To change your calibration data, select [Calibrate Interactive Area...]. For details, refer to the software's help file. NOTE This product was developed for use with the NEC projector. Because of this, there are some differences in the eBeam Interactive online help. The help file refers to "mouse insert" or "interactive stylus" instead of "stylus pen". Replace these terms with "stylus pen" ENG-14
-
 1
1 -
2
-
3
-
4
-
5
-
6
-
7
-
8
-
9
-
10
-
 11
11 -
 12
12 -
 13
13 -
 14
14 -
 15
15 -
 16
16 -
 17
17 -
 18
18 -
 19
19 -
 20
20 -
 21
21 -
22
-
23
-
24
-
25
-
26
-
27
-
28
-
29
-
30
-
31
-
32
-
33
-
34
-
35
-
36
-
37
-
38
-
39
-
40
-
41
-
42
-
43
-
44
-
45
-
46
-
47
-
48
-
49
-
50
-
51
-
52
-
53
-
54
-
55
-
56
-
57
-
58
-
59
-
60
-
61
-
62
-
63
-
64
-
65
-
66
-
67
-
68
-
69
-
70
-
71
-
72
-
73
-
74
-
75
-
76
-
77
-
78
-
79
-
80
-
81
-
82
-
83
-
84
-
85
-
86
-
87
-
88
-
89
-
90
-
91
-
92
-
93
-
94
-
95
-
96
-
97
-
98
-
99
-
100
-
101
-
102
-
103
-
104
-
105
-
106
-
107
-
108
-
109
-
110
-
111
-
112
-
113
-
114
-
115
-
116
-
117
-
118
-
119
-
120
-
121
-
122
-
123
-
124
-
125
-
126
-
127
-
128
-
129
-
130
-
131
-
132
-
133
-
134
-
135
-
136
-
137
-
138
-
139
-
140
-
141
-
142
-
143
-
144
-
145
-
146
-
147
-
148
-
149
-
150
-
151
-
152
-
153
-
154
-
155
-
156
-
157
-
158
-
159
-
160
-
161
-
162
-
163
-
164
-
165
-
166
-
167
-
168
-
169
-
170
-
171
-
172
-
173
-
174
-
175
-
176
-
177
-
178
-
179
-
180
-
181
-
182
-
183
-
184
-
185
-
186
-
187
-
188
-
189
-
190
-
191
-
192
 |
 |