Netgear WNR1000v3 WNR1000v3 Setup Manual - Page 9
Router Label, WPS button, Wireless On/Off button - login
 |
View all Netgear WNR1000v3 manuals
Add to My Manuals
Save this manual to your list of manuals |
Page 9 highlights
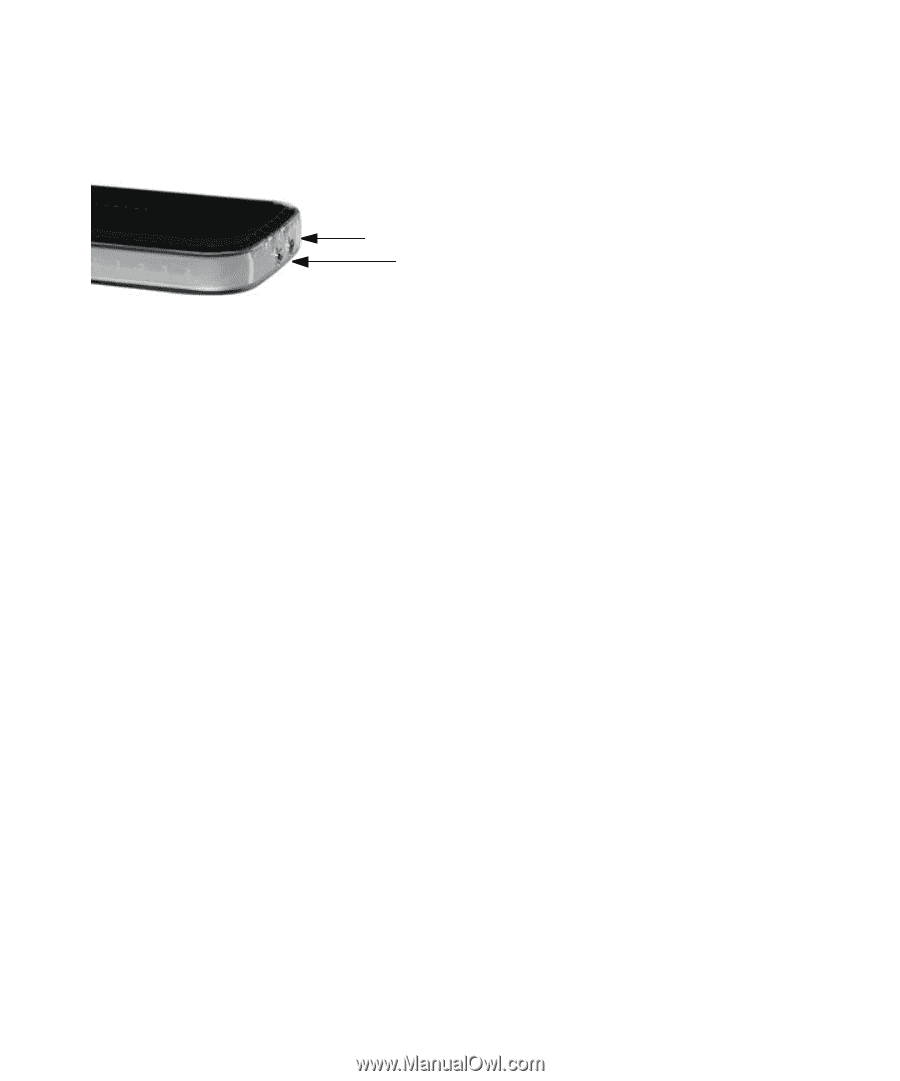
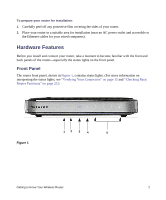
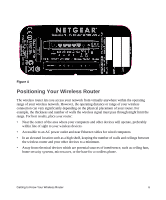
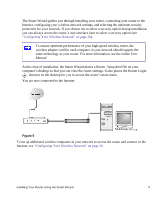
1 2 Figure 3 1. WPS button - Turns on Push 'N' Connect (WPS). When Push 'N' Connect is active and ready to add a wireless client through WPS, the Push 'N' Connect LED on the front of the wireless router is blinking. See "Push 'N' Connect" on page 3. 2. Wireless On/Off button - Turns the Wireless network on and off. When the Wireless network is enabled, the Wireless LED on the front of the router is solid blue. See "Wireless" on page 3. Router Label The label on the bottom of the wireless router shows the router's MAC address, serial number, security PIN, and factory default login information. The ports on the router are color-coded to distinguish your Internet port from the other four ports that connect to the wired computer(s) on your Local Area Network (LAN). Getting to Know Your Wireless Router 5
-
 1
1 -
2
-
3
-
 4
4 -
 5
5 -
 6
6 -
 7
7 -
 8
8 -
 9
9 -
 10
10 -
 11
11 -
 12
12 -
 13
13 -
 14
14 -
15
-
16
-
17
-
18
-
19
-
20
-
21
-
22
-
23
-
24
-
25
-
26
-
27
-
28
-
29
-
30
-
31
-
32
-
33
-
34
-
35
-
36
-
37
-
38
-
39
-
40
-
41
-
42
 |
 |