Panasonic KXWT125 KXWT125 User Guide - Page 6
Charging the Batteries, Charger Wall Mounting
 |
View all Panasonic KXWT125 manuals
Add to My Manuals
Save this manual to your list of manuals |
Page 6 highlights
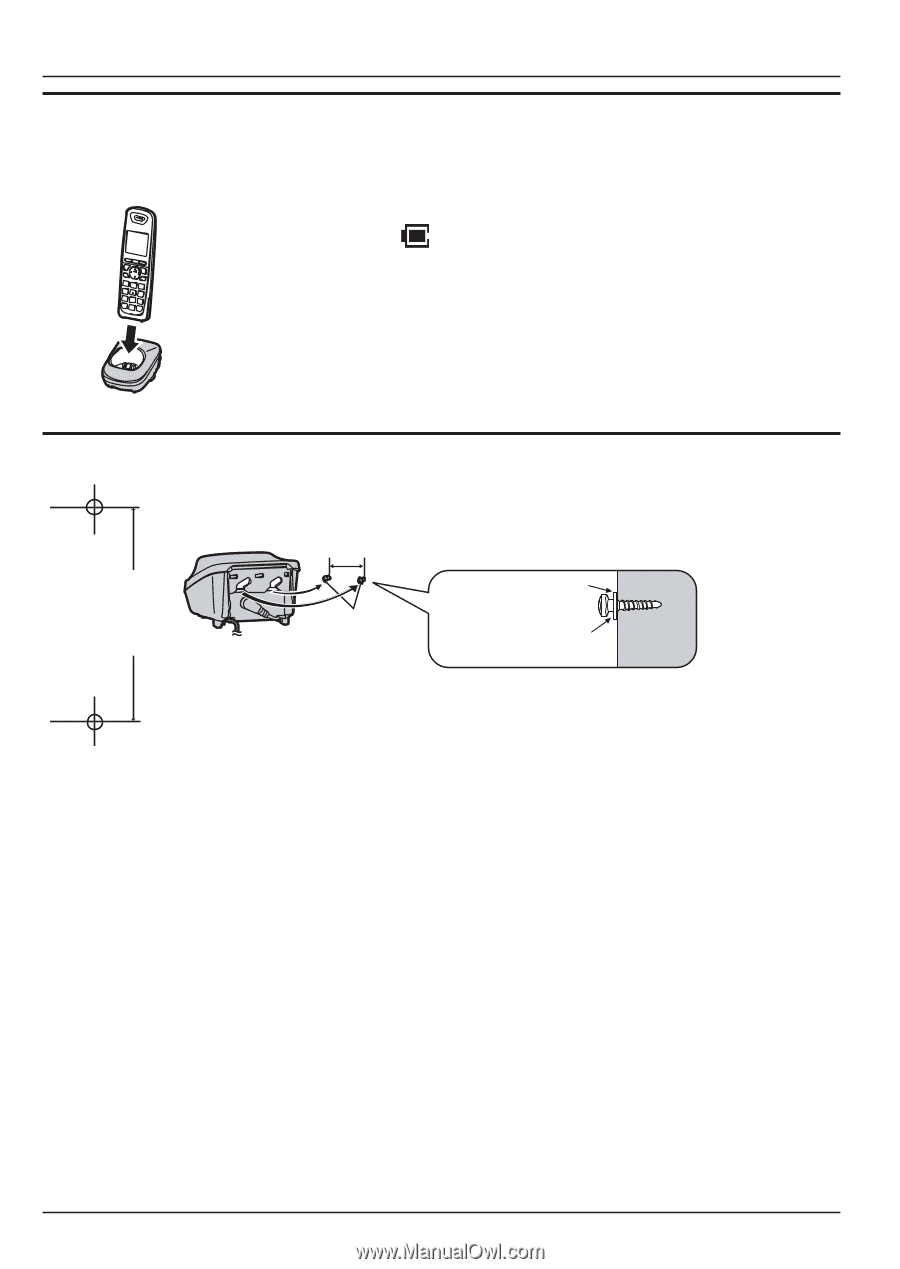
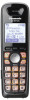
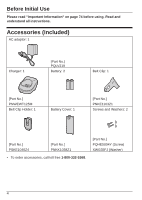
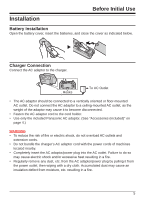
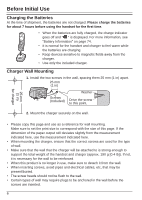
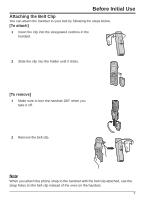
Before Initial Use Charging the Batteries At the time of shipment, the batteries are not charged. Please charge the batteries for about 7 hours before using the handset for the first time. • When the batteries are fully charged, the charge indicator goes off and " " is displayed. For more information, see "Battery Information" on page 74. • It is normal for the handset and charger to feel warm while the batteries are charging. • Keep devices sensitive to magnetic fields away from the charger. • Use only the included charger. Charger Wall Mounting 1. Install the two screws in the wall, spacing them 25 mm (1 in) apart. 25 mm (1 in) 25 mm (1 in) for charger Screws (Included) Washer Drive the screw to this point. 2. Mount the charger securely on the wall. • Please copy this page and use as a reference for wall mounting. Make sure to set the print size to correspond with the size of this page. If the dimension of the paper output still deviates slightly from the measurement indicated here, use the measurement indicated here. • When mounting the charger, ensure that the correct screws are used for the type of wall. • Make sure that the wall that the charger will be attached to is strong enough to support the total weight of the handset and charger (approx. 190 g [0.4 lb]). If not, it is necessary for the wall to be reinforced. • When this product is no longer in use, make sure to detach it from the wall. • When inserting screws, avoid pipes and electrical cables, etc, that may be present/buried. • The screw heads should not be flush to the wall. • Certain types of wall may require plugs to be anchored in the wall before the screws are inserted. 6
-
 1
1 -
 2
2 -
 3
3 -
 4
4 -
 5
5 -
 6
6 -
 7
7 -
 8
8 -
 9
9 -
 10
10 -
 11
11 -
 12
12 -
13
-
14
-
15
-
16
-
17
-
18
-
19
-
20
-
21
-
22
-
23
-
24
-
25
-
26
-
27
-
28
-
29
-
30
-
31
-
32
-
33
-
34
-
35
-
36
-
37
-
38
-
39
-
40
-
41
-
42
-
43
-
44
-
45
-
46
-
47
-
48
-
49
-
50
-
51
-
52
-
53
-
54
-
55
-
56
-
57
-
58
-
59
-
60
-
61
-
62
-
63
-
64
-
65
-
66
-
67
-
68
-
69
-
70
-
71
-
72
-
73
-
74
-
75
-
76
-
77
-
78
-
79
-
80
-
81
-
82
-
83
-
84
 |
 |