Samsung HL-S4266W User Manual (ENGLISH) - Page 28
Option 1: Setting the Clock Automatically,
 |
UPC - 036725242692
View all Samsung HL-S4266W manuals
Add to My Manuals
Save this manual to your list of manuals |
Page 28 highlights
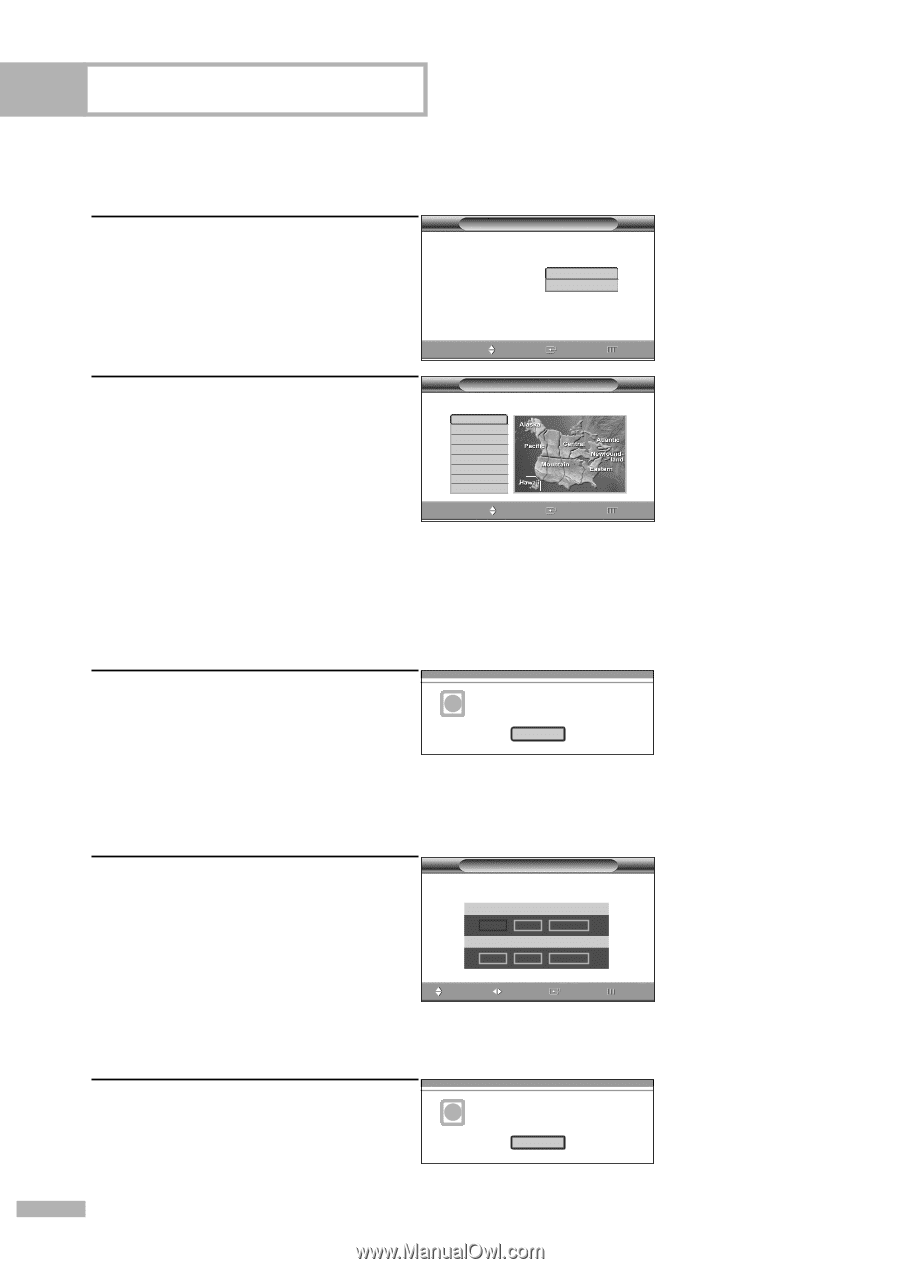
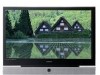
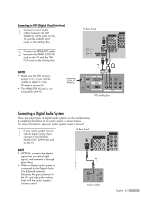
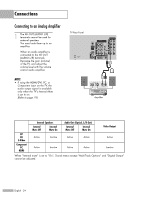
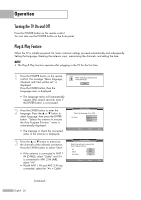
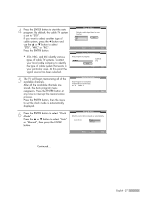
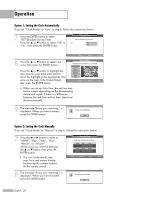
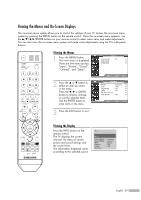
Operation Option 1: Setting the Clock Automatically If you set "Clock Mode" to "Auto" in step 6, follow the instructions below. 7 Press the ENTER button to select "DST"(Daylight Saving Time). Press the ... or † button to select "Off" or "On", then press the ENTER button. Plug & Play Set to daylight saving time. DST Off On Move Enter Skip 8 Press the ... or † button to select time zone, then press the ENTER button. Press the ... or † button to highlight the time zone for your local area (and to move the highlight to the appropriate time zone on the map of the United States), then press the ENTER button. Plug & Play Select the time zone where you are located. Newfoundland Atlantic Eastern Central Mountain Pacific Alaska Hawaii Move Enter Skip • When you set up Auto Time, the set time may not be correct depending on the broadcasting station and signal. If there is a difference between the real time and set time, please set the time manually. 9 The message "Enjoy your watching." is displayed. When you have finished, press the ENTER button. i Enjoy your watching. OK Option 2: Setting the Clock Manually If you set "Clock Mode" to "Manual" in step 6, follow the instructions below. 7 Press the œ or √ button to move to "Month", "Day", "Year", "Hour", "Minute", or "am/pm". Set the clock you want by pressing the ... or † button, then press the ENTER button. • You can set the month, day, year, hour and minute directly by pressing the number buttons on the remote control. Plug & Play Enter the current date and time. Month ▲ -- ▼ Hour -- Day -Minute -- Year ---am/pm -- Adjust Move Enter Skip 8 The message "Enjoy your watching." is displayed. When you have finished, press the ENTER button. i Enjoy your watching. OK English - 28
-
 1
1 -
2
-
3
-
4
-
5
-
6
-
7
-
8
-
9
-
10
-
11
-
12
-
13
-
14
-
15
-
16
-
17
-
18
-
19
-
20
-
21
-
22
-
 23
23 -
 24
24 -
 25
25 -
 26
26 -
 27
27 -
 28
28 -
 29
29 -
 30
30 -
 31
31 -
 32
32 -
 33
33 -
34
-
35
-
36
-
37
-
38
-
39
-
40
-
41
-
42
-
43
-
44
-
45
-
46
-
47
-
48
-
49
-
50
-
51
-
52
-
53
-
54
-
55
-
56
-
57
-
58
-
59
-
60
-
61
-
62
-
63
-
64
-
65
-
66
-
67
-
68
-
69
-
70
-
71
-
72
-
73
-
74
-
75
-
76
-
77
-
78
-
79
-
80
-
81
-
82
-
83
-
84
-
85
-
86
-
87
-
88
-
89
-
90
-
91
-
92
-
93
-
94
-
95
-
96
-
97
-
98
-
99
-
100
-
101
-
102
-
103
-
104
-
105
-
106
-
107
-
108
-
109
-
110
-
111
-
112
-
113
-
114
-
115
-
116
-
117
-
118
-
119
-
120
-
121
-
122
-
123
-
124
-
125
-
126
-
127
-
128
-
129
-
130
-
131
-
132
 |
 |