Samsung L73 User Manual - Page 47
DPOF : Print size, DPOF : Index, Rotating an image
 |
UPC - 044701007456
View all Samsung L73 manuals
Add to My Manuals
Save this manual to your list of manuals |
Page 47 highlights
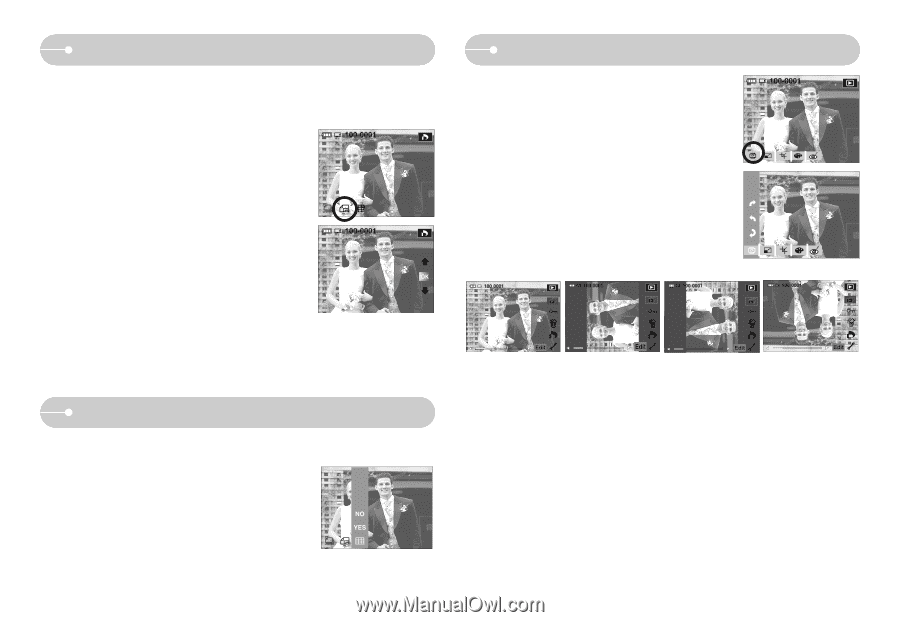
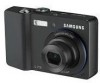
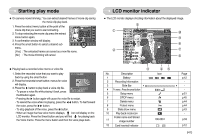
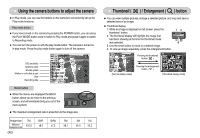
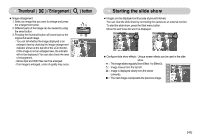
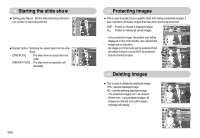
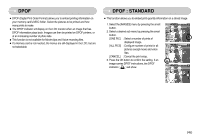
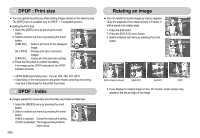
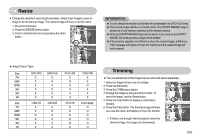
DPOF : Print size ■ You can specify the print size when printing images stored on the memory card. The [SIZE] menu is available only for DPOF 1.1 compatible printers. ● Setting the Print Size 1. Select the [SIZE] menu by pressing the smart button. 2. Select a desired sub menu by pressing the smart button. [ONE PIC] : Select a print size for the displayed image. [ALL PICS] : Change print size of all saved images. [CANCEL] : Cancel all of the print size settings. 3. Press the OK button to confirm the setting. Cancel If an image carries DPOF instructions, the DPOF indicator will show. ※ DPOF [SIZE] secondary menu : Cancel, 3X5, 4X6, 5X7, 8X10 ※ Depending on the manufacturer and printer model, cancelling the printing may take a little longer for the printer to process. DPOF : Index ■ Images (except for movie clips and voice file) are printed as index type. 1. Select the [INDEX] menu by pressing the smart button. 2. Select a desired sub menu by pressing the smart button. NO If [NO] is selected : Cancel the index print setting. YES If [YES] is selected : The image will be printed in index format. 《46》 Rotating an image ■ You can rotate the stored images by various degrees. Once the playback of the rotated picture is finished, it will be saved in its rotated state. 1. Press the Edit button. 2. Press the [ROTATE] menu button. 3. Select a desired sub menu by pressing the smart button. RIGHT 90° LEFT 90° 180° [Before rotating the image] [Right 90°] [Left 90°] [180°] 4. If you display the rotated image on the LCD monitor, empty spaces may appear to the left and right of the image.
-
 1
1 -
2
-
3
-
4
-
5
-
6
-
7
-
8
-
9
-
10
-
11
-
12
-
13
-
14
-
15
-
16
-
17
-
18
-
19
-
20
-
21
-
22
-
23
-
24
-
25
-
26
-
27
-
28
-
29
-
30
-
31
-
32
-
33
-
34
-
35
-
36
-
37
-
38
-
39
-
40
-
41
-
 42
42 -
 43
43 -
 44
44 -
 45
45 -
 46
46 -
 47
47 -
 48
48 -
 49
49 -
 50
50 -
 51
51 -
 52
52 -
53
-
54
-
55
-
56
-
57
-
58
-
59
-
60
-
61
-
62
-
63
-
64
-
65
-
66
-
67
-
68
-
69
-
70
-
71
-
72
-
73
-
74
-
75
-
76
-
77
-
78
 |
 |