Sanyo PLV Z2000 Owners Manual - Page 30
Advanced menu, Iris mode, Iris range, Auto black stretch, Contrast enhancement, Transient improvement
 |
View all Sanyo PLV Z2000 manuals
Add to My Manuals
Save this manual to your list of manuals |
Page 30 highlights
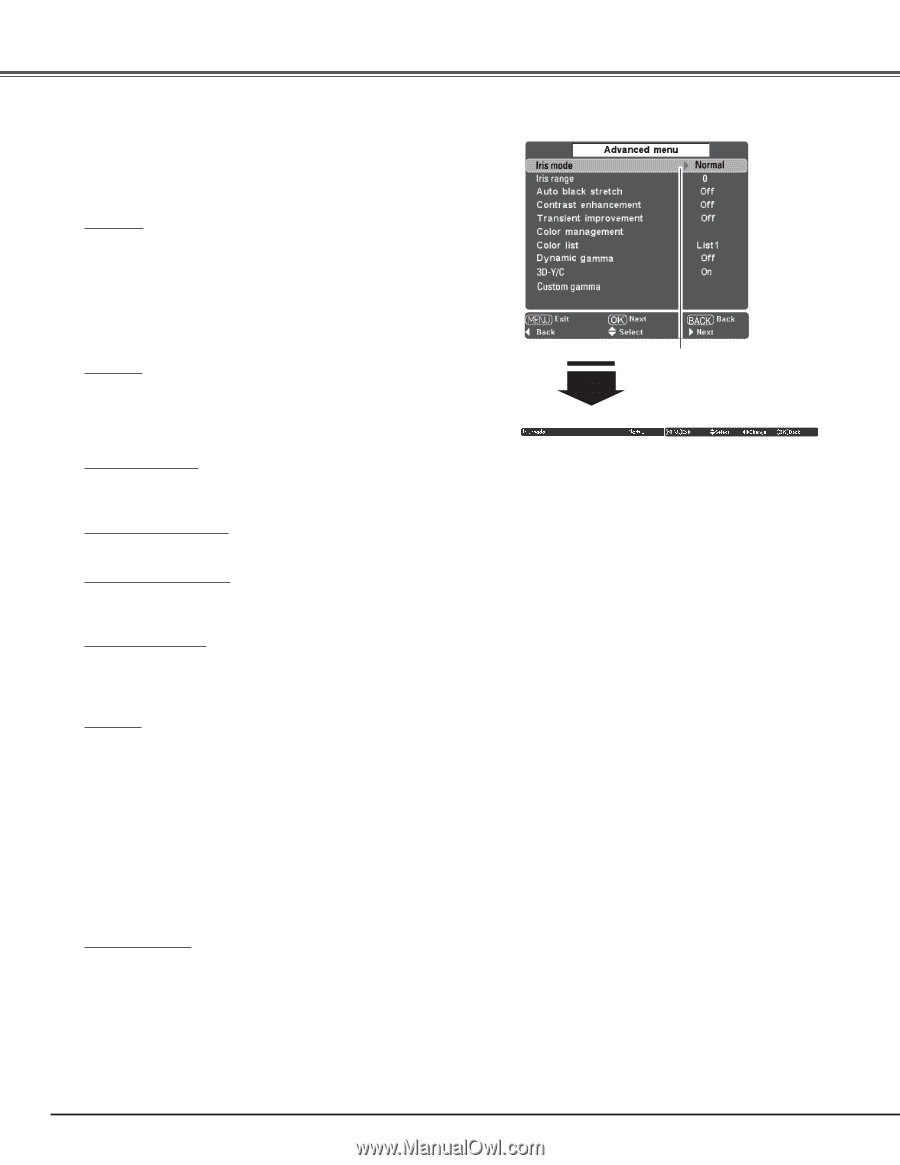
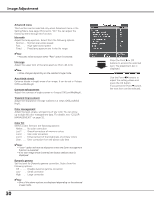
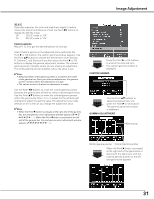
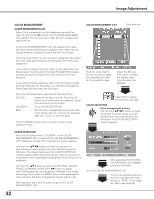
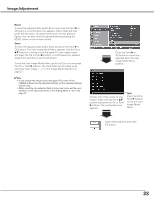
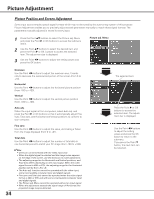
Image Adjustment Advanced menu This function can be selected only when Advanced menu in the Setting Menu (see page 37) is set to "On." You can adjust the following items through this function. Iris mode Adjust the lamp aperture. Select from the following options: Normal . . Normal open-close speed Fast . . . . High open-close speed Fixed . . . Fixed lamp aperture set in the Iris range ✔Note: • Acoustic noise increases when "Fast" option is selected. Iris range Adjust the upper limit of the lamp aperture (from -63 to 0). ✔Note: • Value changes depending on the selected image mode. Auto black stretch Enhance blacks in bright areas of an image. It can be set in 4 steps (Off/Low/Mid/High). Contrast enhancement Adjust the contrast in bright scenes in 4 steps (Off/Low/Mid/High). Transient improvement Adjust the sharpness of image outlines in 4 steps (Off/Low/Mid/ High). Color management Adjust the level, phase, and gamma of any color. You can store up to eight (8) color management data. For details, see "COLOR MANAGEMENT" on page 32. Color list Select a color list from the following options: Native . . No color correction List 1 . . . Overall correction of memory colors List 2 . . . Skin color correction List 3 . . . Enhancement of the brightness of primary colors User . . . . User correction from the above color lists ✔Notes: • "User" option will not be displayed unless the Color management function is executed. • If no user image mode is stored, the factory default value is displayed. Dynamic gamma Set the level for Dynamic gamma correction. Select from the following options: Off . . . . . Disable dynamic gamma correction Low . . . . Small correction High . . . . Large correction ✔Note: • One of the above options are displayed depending on the selected image mode. 30 Press the Point 8 or OK buttons to access the selected item. The adjustment bar is displayed. Use the Point 7 8 buttons to adjust the setting values and press the OK button. If you press the Point d button, the next item can be selected.
-
 1
1 -
2
-
3
-
4
-
5
-
6
-
7
-
8
-
9
-
10
-
11
-
12
-
13
-
14
-
15
-
16
-
17
-
18
-
19
-
20
-
21
-
22
-
23
-
24
-
 25
25 -
 26
26 -
 27
27 -
 28
28 -
 29
29 -
 30
30 -
 31
31 -
 32
32 -
 33
33 -
 34
34 -
 35
35 -
36
-
37
-
38
-
39
-
40
-
41
-
42
-
43
-
44
-
45
-
46
-
47
-
48
-
49
-
50
-
51
-
52
-
53
-
54
-
55
-
56
-
57
-
58
-
59
-
60
 |
 |