Sanyo PLV Z2000 Owners Manual - Page 40
Power off confirmation, Capture, Display, Hide the On-Screen Displays except
 |
View all Sanyo PLV Z2000 manuals
Add to My Manuals
Save this manual to your list of manuals |
Page 40 highlights
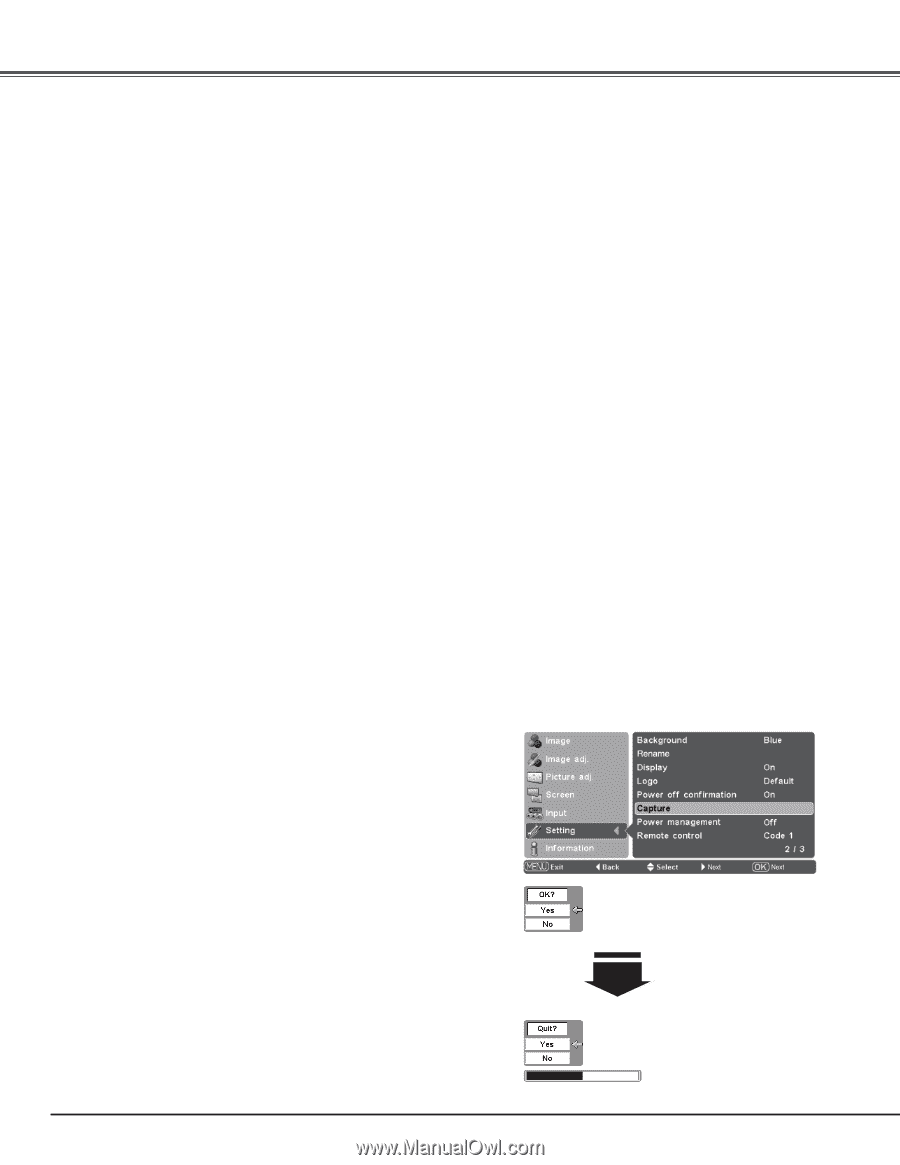
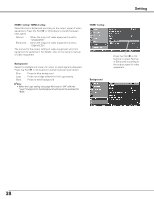
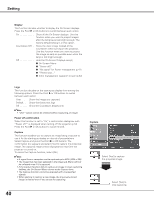
Setting Display This function decides whether to display the On-Screen displays. Press the Point 8 or OK buttons to switch between each option. On Show all the On-Screen displays. Use this function when you want to project images after the lamp becomes bright enough. The factory default setting is in this option. Countdown Off . . Show the input image instead of the countdown when turning on the projector. Use this function when you want to project the image as early as possible even when the lamp is not bright enough. Off Hide the On-Screen Displays except; ● On-Screen Menu ● "Power off?" ● "No signal" for Power management (p.41) ● "Please wait ..." ● Color management operation screen (p.32) Logo This function decides on the starting-up display from among the following options. Press the Point 8 or OK buttons to switch between each option. User Show the Image you captured. Default . . . . Show the factory-set logo. Off Show the Countdown display only. ✔Note: • "User" option cannot be selected without capturing an image. Power off confirmation When this function is set to "On," a confirmation dialog box with "Power off?" is displayed when turning off the projector (p.19). Press the Point 8 or OK buttons to switch On/Off. Capture This function enables you to capture an image being projected to use it for the starting-up display or interval of presentations. Select Capture and press the Point 8 or OK buttons. The confirmation box appears and select [Yes] to capture the projected image. The captured image will be displayed the next time the projector is turned on. To cancel the Capture function, select [No]. ✔Note: • A signal from a computer can be captured up to XGA (1024 x 768). • The image that has been adjusted in the Image adj. Menu will not be reflected even if it is captured. • If the Capture function fails to capture an image or stops capturing halfway, the On-Screen Menu returns to the Capture item. • The Capture function cannot be operated with unsupported signals. • When starting to capture a new image, the previously stored image is cleared even if you cancel the capturing. 40 Capture Select [Yes] to capture the projected image. Select [Yes] to stop capturing.
-
 1
1 -
2
-
3
-
4
-
5
-
6
-
7
-
8
-
9
-
10
-
11
-
12
-
13
-
14
-
15
-
16
-
17
-
18
-
19
-
20
-
21
-
22
-
23
-
24
-
25
-
26
-
27
-
28
-
29
-
30
-
31
-
32
-
33
-
34
-
 35
35 -
 36
36 -
 37
37 -
 38
38 -
 39
39 -
 40
40 -
 41
41 -
 42
42 -
 43
43 -
 44
44 -
 45
45 -
46
-
47
-
48
-
49
-
50
-
51
-
52
-
53
-
54
-
55
-
56
-
57
-
58
-
59
-
60
 |
 |