Seagate Mirra Personal Server Installation Guide (Mac) - Page 4
Restore
 |
View all Seagate Mirra Personal Server manuals
Add to My Manuals
Save this manual to your list of manuals |
Page 4 highlights
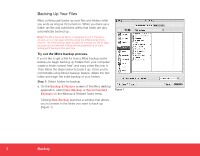
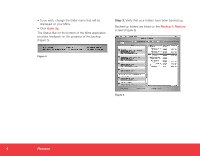
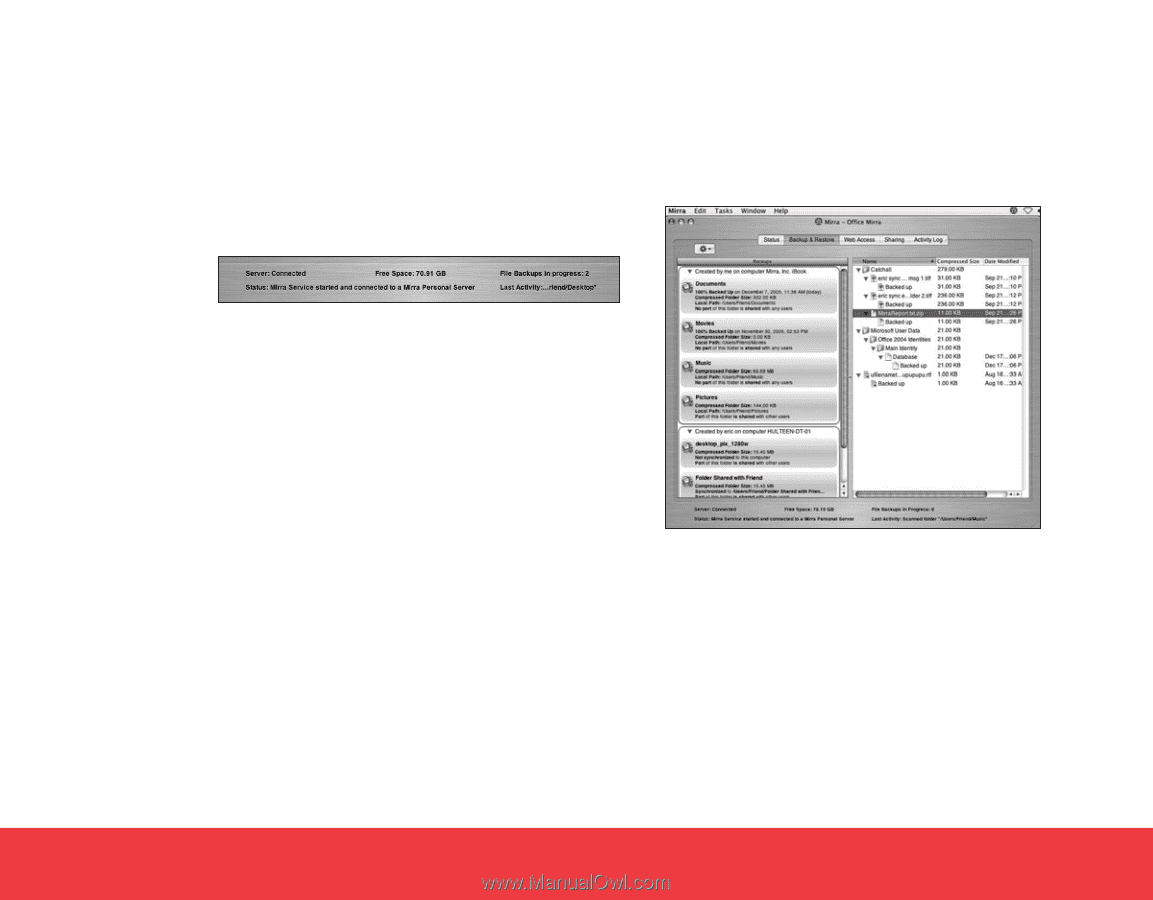
• If you wish, change the folder name that will be displayed on your Mirra. • Click Back Up. The Status Bar on the bottom of the Mirra application provides feedback on the progress of the backup (Figure 5). Step 3: Verify that your folders have been backed up. Backed up folders are listed on the Backup & Restore screen (Figure 6). Figure 5 Figure 6 4 Restore
-
 1
1 -
 2
2 -
 3
3 -
 4
4 -
 5
5 -
 6
6 -
 7
7 -
 8
8 -
 9
9 -
 10
10 -
11
-
12
-
13
-
14
-
15
-
16
-
17
-
18
-
19
-
20
 |
 |
4
Restore
• If you wish, change the folder name that will be
displayed on your Mirra.
• Click
Back Up
.
The Status Bar on the bottom of the Mirra application
provides feedback on the progress of the backup
(Figure 5).
Figure 5
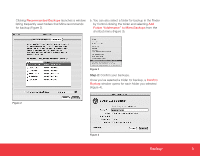
Step 3:
Verify that your folders have been backed up.
Backed up folders are listed on the
Backup & Restore
screen (Figure 6).
Figure 6