Sharp PN-V601 Sharp Digital Signage Software (SDSS™) Operation Manual - Page 89
Click [Yes].
 |
UPC - 074000047068
View all Sharp PN-V601 manuals
Add to My Manuals
Save this manual to your list of manuals |
Page 89 highlights
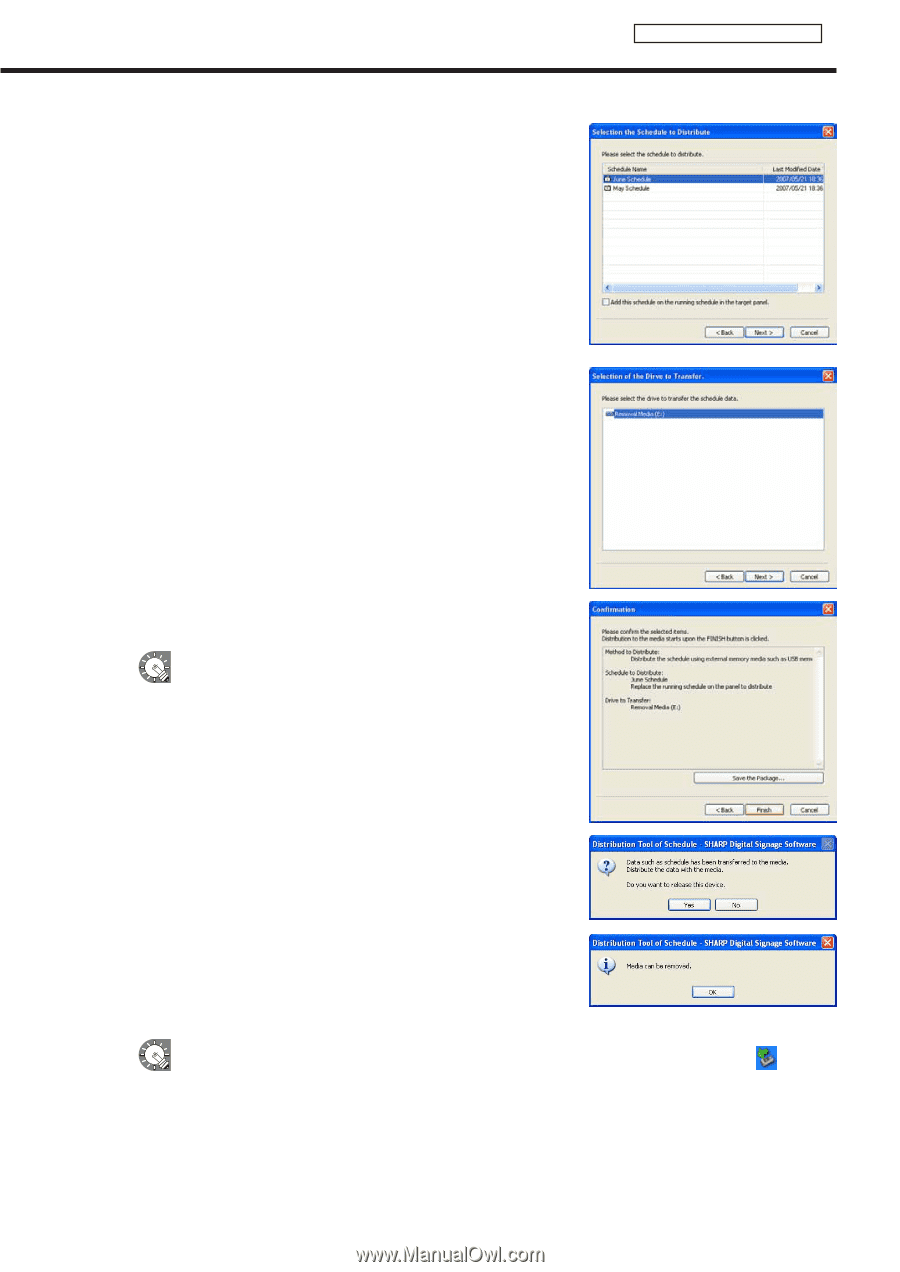
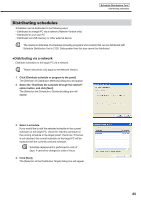
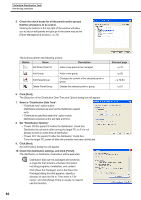
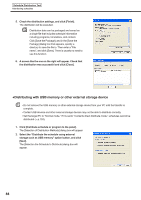
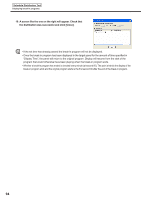
3. Select a schedule. If you would like to add the selected schedule to the currently open schedule on the target PC, check the "Add this schedule on the running schedule in the target panel." check box. If the box is not checked, the currently open schedule on the target PC will be replaced with the currently selected schedule. 4. Click [Next]. The [Selection of the Drive to Transfer] dialog box will appear. 5. Select the drive to which you want to transfer the schedule to. Schedule Distribution Tool Distributing schedules 6. Click [Next]. A [Confirmation] dialog box will appear. 7. Check the distribution settings, and click [Finish]. The distribution will be executed. Distribution data can be packaged and saved as a single file that includes schedule information including programs, timetables, and content. Click [Save the Package], and in the [Save the Package] dialog box that appears, specify a directory to save the file to. Then enter a "File name", and click [Save]. There is usually no need to use this function. 8. Click [Yes]. A confirmation dialog box will appear again. 9. Click [OK]. 10. Remove the USB memory or other storage device from the PC. If you clicked [No] in step 8, remove the device via the Safely Remove Hardware icon ( ) in the Task Tray. 11. Connect the USB memory or other external storage device to the target PC. The schedule will be automatically distributed. The USB memory or other external storage device will automatically stop when the distribution is complete. Check the message, and remove the device. 89
-
 1
1 -
2
-
3
-
4
-
5
-
6
-
7
-
8
-
9
-
10
-
11
-
12
-
13
-
14
-
15
-
16
-
17
-
18
-
19
-
20
-
21
-
22
-
23
-
24
-
25
-
26
-
27
-
28
-
29
-
30
-
31
-
32
-
33
-
34
-
35
-
36
-
37
-
38
-
39
-
40
-
41
-
42
-
43
-
44
-
45
-
46
-
47
-
48
-
49
-
50
-
51
-
52
-
53
-
54
-
55
-
56
-
57
-
58
-
59
-
60
-
61
-
62
-
63
-
64
-
65
-
66
-
67
-
68
-
69
-
70
-
71
-
72
-
73
-
74
-
75
-
76
-
77
-
78
-
79
-
80
-
81
-
82
-
83
-
 84
84 -
 85
85 -
 86
86 -
 87
87 -
 88
88 -
 89
89 -
 90
90 -
 91
91 -
 92
92 -
 93
93 -
 94
94 -
95
-
96
-
97
-
98
-
99
-
100
-
101
-
102
-
103
-
104
-
105
-
106
-
107
-
108
-
109
-
110
-
111
-
112
-
113
-
114
-
115
-
116
-
117
 |
 |