Sony HDR HC7 Operating Guide - Page 47
TELE MACRO, FLASH SET, SUPER NS Super NightShot, Using the Menu, FLASH LEVEL, NORMAL, REDEYE REDUC - tele macro function
 |
UPC - 027242701458
View all Sony HDR HC7 manuals
Add to My Manuals
Save this manual to your list of manuals |
Page 47 highlights
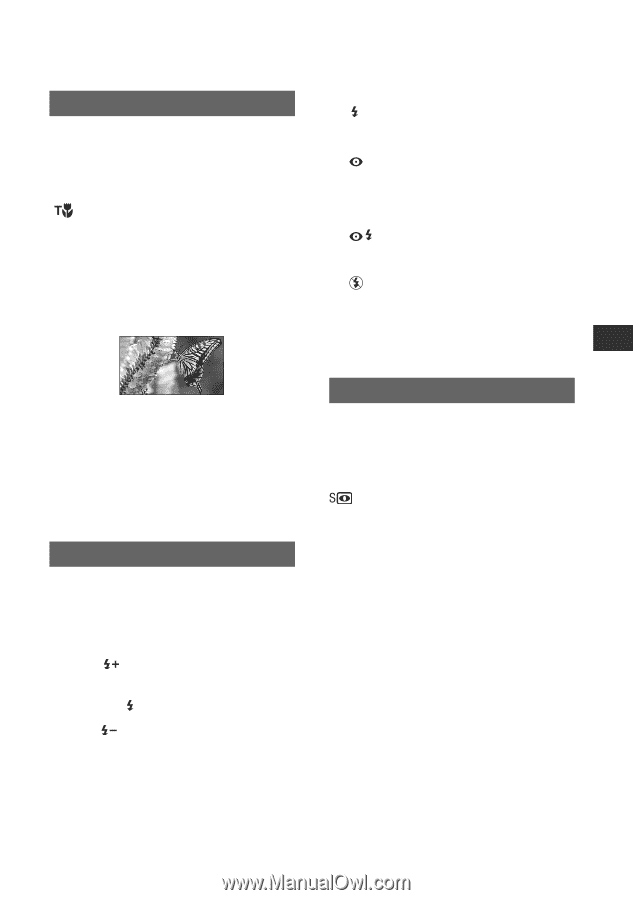
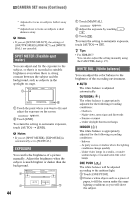
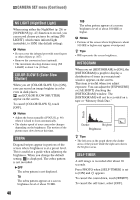
Using the Menu TELE MACRO This is useful to shoot small subjects, such as flowers or insects. You can blur out backgrounds and the subject stands out clearer. When you set [TELE MACRO] to [ON] ( ), the zoom (p. 26) moves to the top of the T (Telephoto) side automatically and allows for recording subjects at a close distance as follows: For HDR-HC5: down to about 37 cm (14 5/ 8 in.). For HDR-HC7: down to about 45 cm (17 3/ 4 in.). To cancel, touch [OFF], or zoom to wideangle (W side). b Notes • When recording a distant subject, focusing may be difficult and can take some time. • Adjust the focus manually ([FOCUS], p. 46) when it is hard to focus automatically. FLASH SET You can set this function when you use the built-in flash or an external flash (optional) that is compatible with your camcorder. x FLASH LEVEL HIGH( ) Makes the flash level higher. B NORMAL( ) LOW( ) Makes the flash level lower. x REDEYE REDUC You can prevent redeye by activating the flash before recording. Set [REDEYE REDUC] to [ON], then press the (flash) button (p. 27) repeatedly to select a setting. (Auto redeye reduction): Pre-flashes to reduce redeye before the flash automatically flashes when there is insufficient ambient light. r (Forced redeye reduction): Always uses the flash and the redeye reducing pre-flash. r (No flash): Records without flash. b Notes • The redeye reduction may not produce the desired effect due to individual differences and other conditions. SUPER NS (Super NightShot) The picture will be recorded at a maximum of 16 times the sensitivity of NightShot recording if you set [SUPER NS] to [ON] while the NIGHTSHOT switch (p. 28) is also set to ON. and ["SUPER NIGHTSHOT"] appear on the screen. To return to the normal setting, set [SUPER NS] to [OFF], or set the NIGHTSHOT switch to OFF. b Notes • Do not use NightShot/[SUPER NS] in bright places. This may cause a malfunction. • Do not cover the infrared port with your fingers or other objects (p. 107). • Remove the conversion lens (optional). • Adjust the focus manually ([FOCUS], p. 46) when it is hard to focus automatically. • The shutter speed of your camcorder changes depending on the brightness. The motion of the picture may slow down in this case. Continued , 47
-
 1
1 -
2
-
3
-
4
-
5
-
6
-
7
-
8
-
9
-
10
-
11
-
12
-
13
-
14
-
15
-
16
-
17
-
18
-
19
-
20
-
21
-
22
-
23
-
24
-
25
-
26
-
27
-
28
-
29
-
30
-
31
-
32
-
33
-
34
-
35
-
36
-
37
-
38
-
39
-
40
-
41
-
 42
42 -
 43
43 -
 44
44 -
 45
45 -
 46
46 -
 47
47 -
 48
48 -
 49
49 -
 50
50 -
 51
51 -
 52
52 -
53
-
54
-
55
-
56
-
57
-
58
-
59
-
60
-
61
-
62
-
63
-
64
-
65
-
66
-
67
-
68
-
69
-
70
-
71
-
72
-
73
-
74
-
75
-
76
-
77
-
78
-
79
-
80
-
81
-
82
-
83
-
84
-
85
-
86
-
87
-
88
-
89
-
90
-
91
-
92
-
93
-
94
-
95
-
96
-
97
-
98
-
99
-
100
-
101
-
102
-
103
-
104
-
105
-
106
-
107
-
108
-
109
-
110
-
111
-
112
-
113
-
114
-
115
-
116
-
117
-
118
-
119
-
120
-
121
-
122
-
123
-
124
-
125
-
126
-
127
-
128
-
129
-
130
-
131
 |
 |