Symphonic SC1304 Owner's Manual - Page 12
Clock Set Up, Auto / Manual, Picture Control
 |
View all Symphonic SC1304 manuals
Add to My Manuals
Save this manual to your list of manuals |
Page 12 highlights
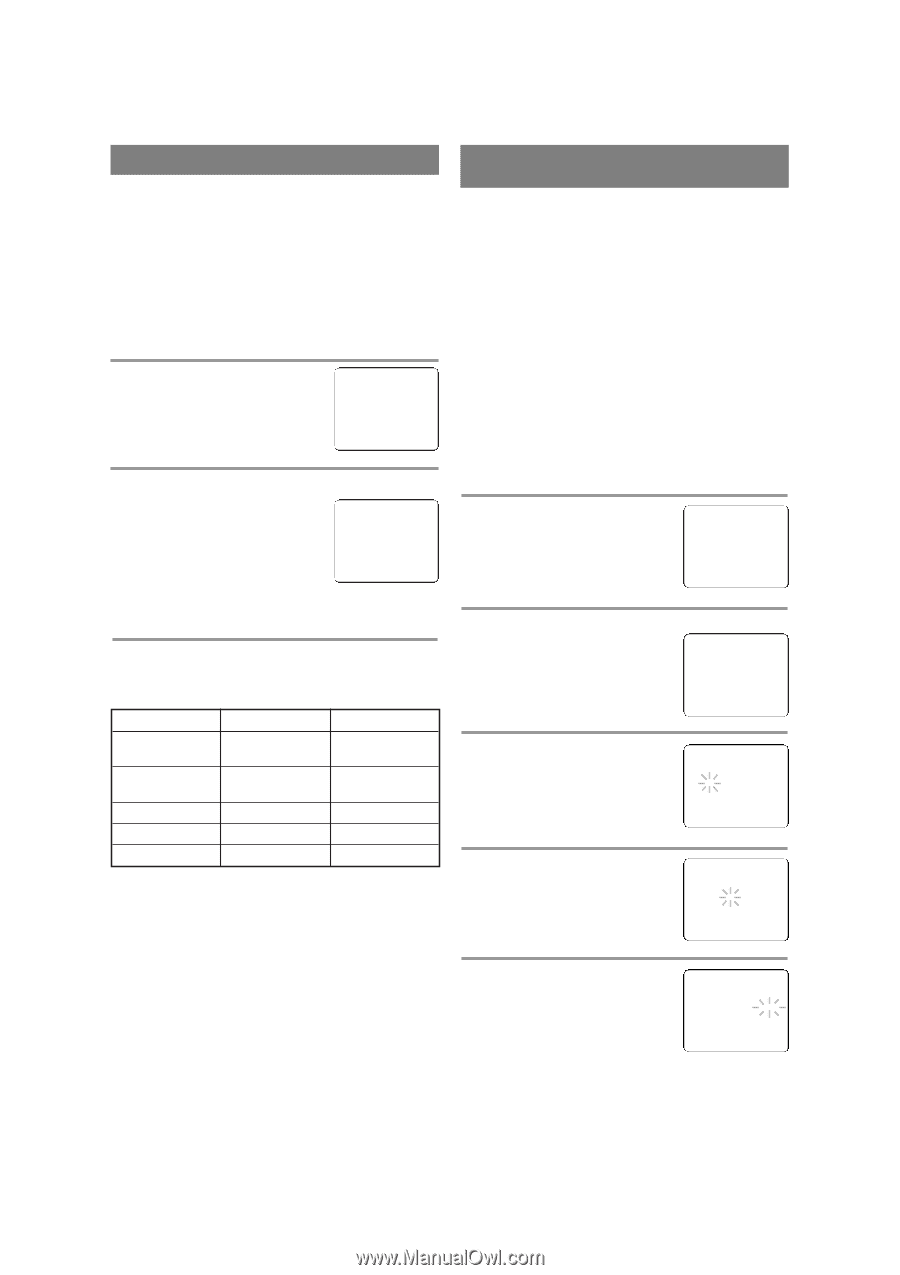
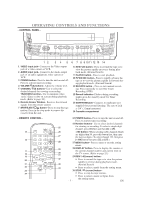
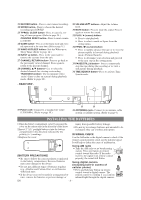
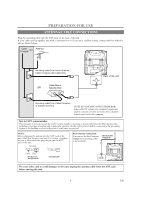
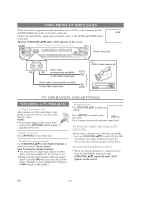
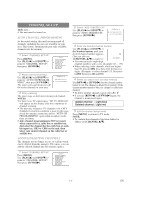
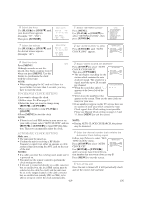
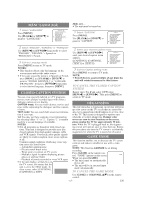
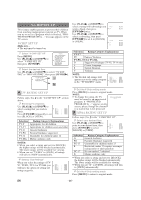
PICTURE CONTROL The unit's picture controls - BRIGHT, CONTRAST, COLOR, TINT and SHARPNESS - are preset to factory specifications. Although they are usually the best, you may need to make some further adjustments for a more natural looking image. NOTE: • When setting the picture control, the Game mode will be cancelled. Make sure ... • The unit must be turned on. 1 Select "PICTURE CONTROL" Press [MENU] on the remote control. Use [PLAY/K] or [STOP/L] to point to "PICTURE CONTROL". Then, press [F.FWD/ B]. - M E N U - TIMER PROGRAMMING B PICTURE CONTROL SETTING CLOCK CHANNEL SET UP USER'S SET UP V-CHIP SET UP LANGUAGE [ENGLISH] CAPTION [OFF] ZERO RETURN TIME SEARCH 2 Select item you want to adjust Use [PLAY/K] or [STOP/L] until desired control is displayed. BRIGHT CONTRAST COLOR BRIGHT - PPPPPPPCPPPPPPP+ TINT SHARPNESS 3 Adjust the picture control Use [REW/s] or [F.FWD/ B] to adjust to your desired level within 5 seconds. BRIGHT CONTRAST COLOR TINT SHARPNESS REW/s to decrease brightness to decrease contrast to pale to purple to soft F.FWD/ B to increase brightness to increase contrast to brilliant to green to clear • Even if there is a power failure of any kind, the unit will retain its memory for this feature. CLOCK SET UP (AUTO / MANUAL) The unit clock must be set correctly so that VCR timer recording is possible. It is suggested that the clock be set manually when first setting up the unit, then set to [ON] the Auto Clock setting which will periodically correct the setting if necessary. NOTES: • If you cannot receive a station with time signals, Auto Clock setting cannot be performed. Use manual setting only. • You must use the remote control to perform the clock setting procedure. MANUAL CLOCK SETTING Make sure ... • The unit must be turned on. In the example below, the clock is to be set to: DATE May 4th, 2006 SETTING TIME 5:40PM 1 Select "SETTING CLOCK" Press [MENU]. Use [PLAY/K] or [STOP/L] to point to "SETTING CLOCK", then press [F.FWD/ B]. - M E N U - TIMER PROGRAMMING PICTURE CONTROL B SETTING CLOCK CHANNEL SET UP USER'S SET UP V-CHIP SET UP LANGUAGE [ENGLISH] CAPTION [OFF] ZERO RETURN TIME SEARCH 2 Select "MANUAL CLOCK SET" Use [PLAY/K] or [STOP/L] to - SETTING CLOCK - point to "MANUAL CLOCK SET", AUTO CLOCK [ON] then press [F.FWD/ B]. AUTO CLOCK CH SEARCH AUTO CLOCK CH [ 02 ] B MANUAL CLOCK SET D.S.T. [OFF] 3 Select the month Use [PLAY/K] or [STOP/L] until your desired month appears. (Example: May → "05") Then press [F.FWD/ B]. - MANUAL CLOCK SET - MONTH DAY YEAR 05 HOUR MINUTE -- : -- -- 4 Select the day Use [PLAY/K] or [STOP/L] until your desired day appears. (Example: 4th → "04") Then press [F.FWD/ B]. - MANUAL CLOCK SET - MONTH DAY YEAR 05 / 04 --- ---- HOUR MINUTE -- : -- -- 5 Select the year Use [PLAY/K] or [STOP/L] until your desired year appears. (Example: "2006") Then press [F.FWD/ B]. - MANUAL CLOCK SET - MONTH DAY YEAR 0 5 / 04 THU 2 0 0 6 HOUR MINUTE -- : -- -- EN - 12 -
-
 1
1 -
2
-
3
-
4
-
5
-
6
-
 7
7 -
 8
8 -
 9
9 -
 10
10 -
 11
11 -
 12
12 -
 13
13 -
 14
14 -
 15
15 -
 16
16 -
 17
17 -
18
-
19
-
20
-
21
-
22
-
23
-
24
-
25
-
26
-
27
-
28
-
29
-
30
-
31
-
32
 |
 |