Vizio E320-B2 Download - Page 33
Selecting a Tuner Input, Scanning for Channels, Adding New Channels
 |
View all Vizio E320-B2 manuals
Add to My Manuals
Save this manual to your list of manuals |
Page 33 highlights
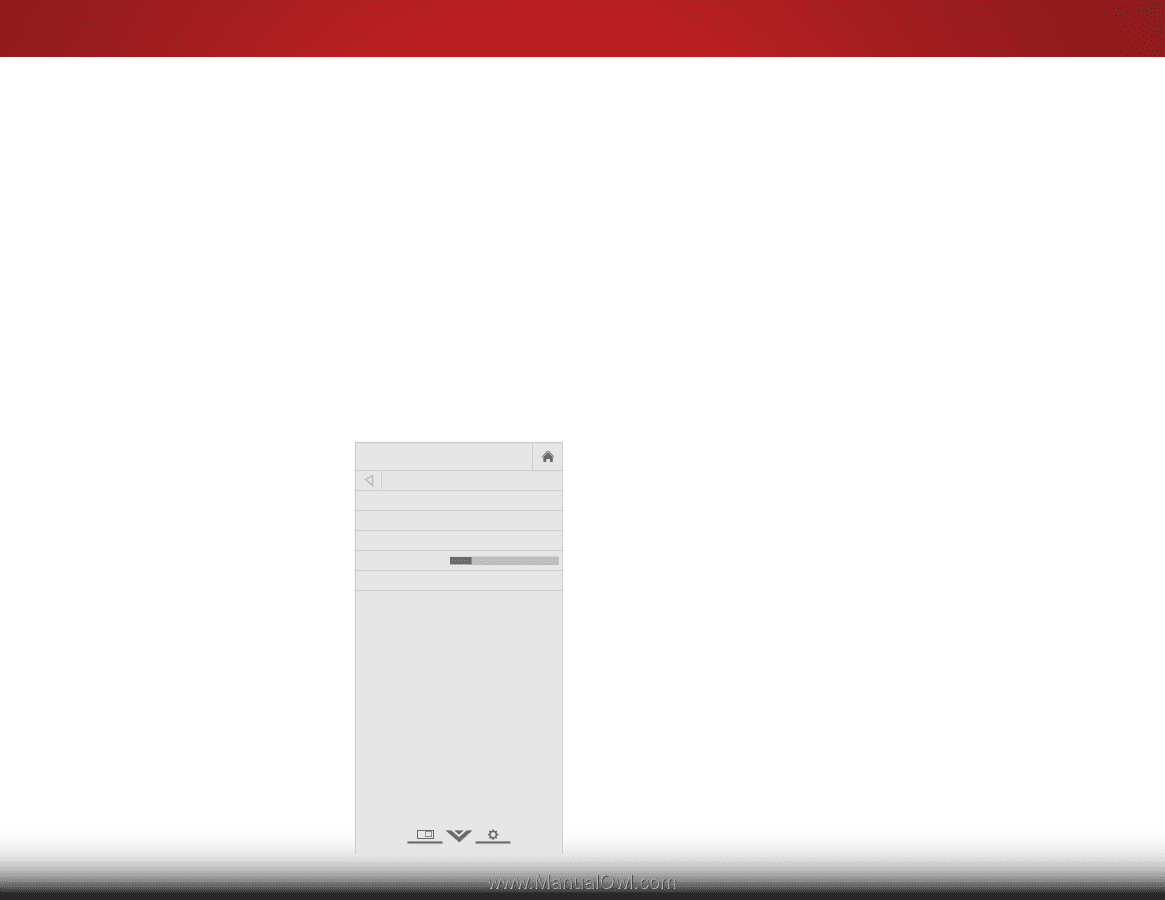
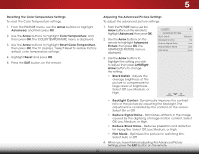
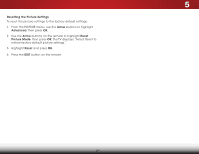
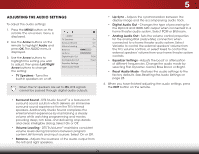
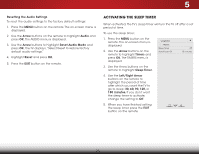
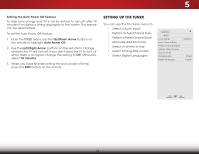
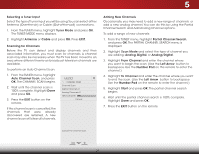
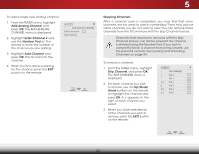
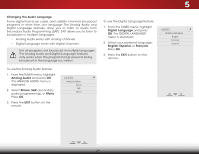
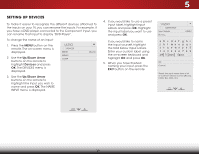
5 Selecting a Tuner Input Select the type of tuner input you will be using.You can select either Antenna (Over-the-air) or Cable (Out-of-the-wall) connections. 1. From the TUNER menu, highlight Tuner Mode and press OK. The TUNER MODE menu displays. 2. Highlight Antenna or Cable and press OK. Press EXIT. Scanning for Channels Before the TV can detect and display channels and their associated information, you must scan for channels. A channel scan may also be necessary when the TV has been moved to an area where different free-to-air broadcast television channels are available. To perform an Auto Channel Scan: 1. From the TUNER menu, highlight Auto Channel Scan, and press OK. The CHANNEL SCAN begins. 2. Wait until the channel scan is 100% complete. Highlight Done and press OK. 3. Press the EXIT button on the remote. VIZIO CHANNEL SCAN Channel Scan Digital Channels: 0 Analog Channels: 0 13% Complete Cancel If the channel scan is cancelled,the channels that were already discovered are retained. A new channel scan will clear all channels. Cancel the channel scan. Adding New Channels Occasionally, you may need to add a new range of channels or add a new analog channel. You can do this by using the Partial Channel Search and Add Analog Channel options. To add a range of new channels: 1. From the TUNER menu, highlight Partial Channel Search, and press OK. The PARTIAL CHANNEL SEARCH menu is displayed. 2. Highlight Scan Mode and select the type of channel you are adding: Analog, Digital, or Analog/Digital. 3. Highlight From Channel and enter the channel where you want to begin the scan. (Use the Left Arrow button to backspace. Use the Number Pad on the remote to enter the channel.) 4. Highlight To Channel and enter the channel where you want to end the scan. (Use the Left Arrow button to backspace. Use the Number Pad on the remote to enter the channel.) Wide Zoom Normal Panoramic 5. Highlight Start and press OK. The partial channel search begins. 6. ExWit ait u2nDtil the3pD artial channel search is 100% complete. Highlight Done and press OK. 7. Press the EXITAbBCutton on the remote. Input Wide CC Sleep Timer Picture Audio Network Settings Help 27
-
 1
1 -
2
-
3
-
4
-
5
-
6
-
7
-
8
-
9
-
10
-
11
-
12
-
13
-
14
-
15
-
16
-
17
-
18
-
19
-
20
-
21
-
22
-
23
-
24
-
25
-
26
-
27
-
 28
28 -
 29
29 -
 30
30 -
 31
31 -
 32
32 -
 33
33 -
 34
34 -
 35
35 -
 36
36 -
 37
37 -
 38
38 -
39
-
40
-
41
-
42
-
43
-
44
-
45
-
46
-
47
-
48
-
49
-
50
-
51
-
52
-
53
-
54
-
55
-
56
 |
 |