1996 Nissan Altima Owner's Manual - Page 124
1996 Nissan Altima Manual

Page 124 highlights
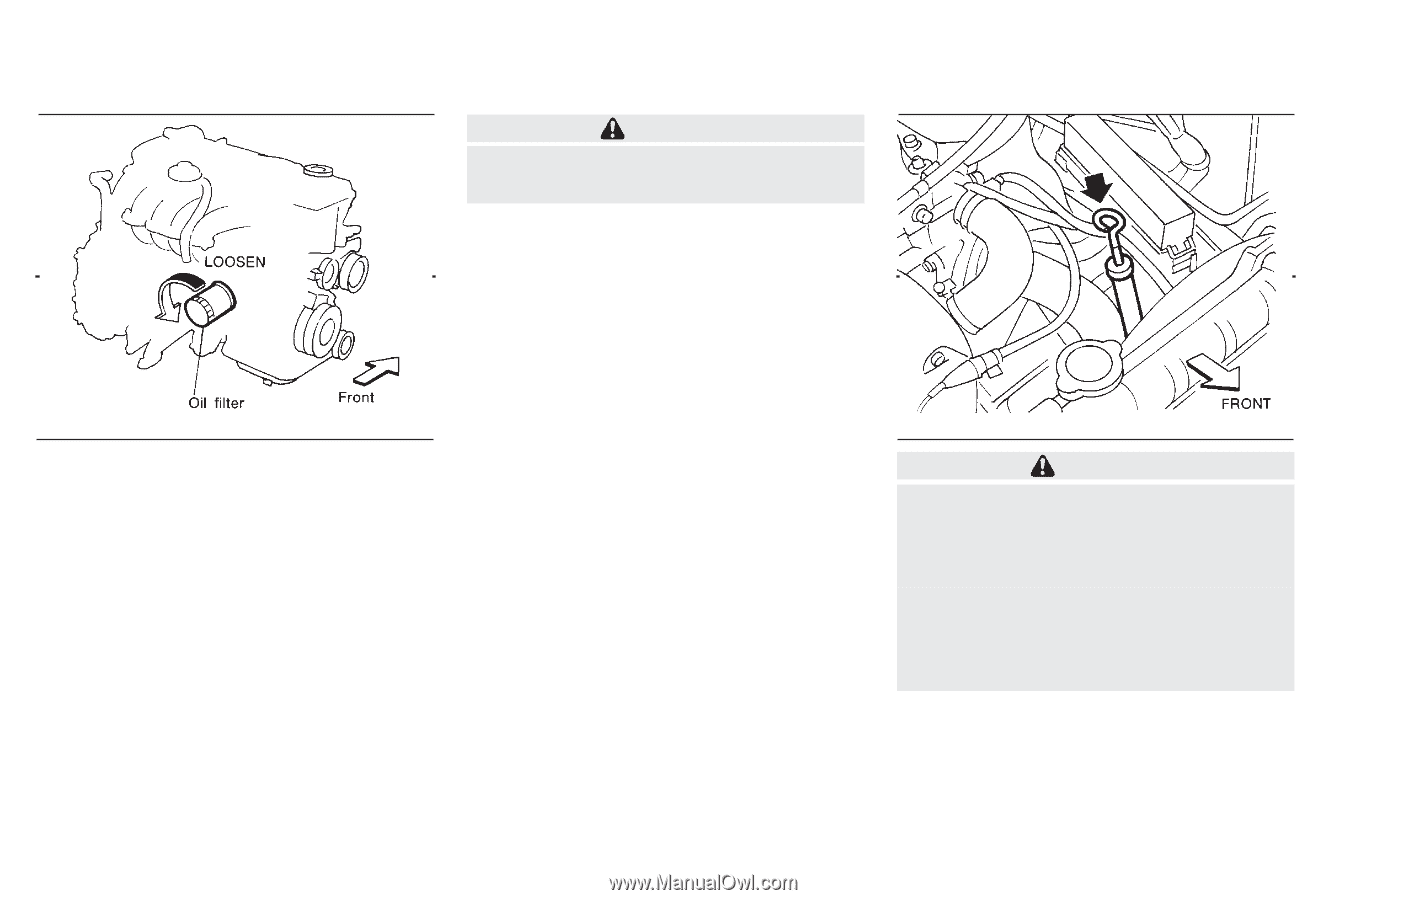
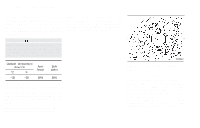
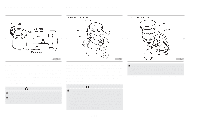
AUTOMATIC TRANSMISSION FLUID (ATF) WARNING Be careful not to burn yourself, as the engine oil may be hot. 4. Wipe the engine oil filter mounting surface with a clean rag. Be sure to remove any old rubber gasket remaining on the mounting surface of the engine. 5. Coat the rubber gasket on the new filter with clean engine oil. 6. Screw in the oil filter until a slight resistance is felt, and then tighten an additional 2/3 turn. 7. Start the engine and check for leakage around the oil filter. Correct as required. 8. Turn the engine off and wait several minutes. Check the oil level. Add engine oil if necessary. WARNING ● When engine is running, keep hands and clothing away from any moving parts such as cooling fan and drive belt. ● Automatic transmission fluid is poisonous and should be stored carefully in marked containers out of the reach of children. DI1303 DI1304 CHANGING ENGINE OIL FILTER 1. Park the vehicle on a level surface and apply the parking brake. 2. Turn the engine off. 3. Loosen the oil filter with an oil filter wrench. (Depending on the engine model, a special cap type wrench may be required. See your NISSAN dealer if in doubt.) Remove the oil filter by turning it by hand. 7-9
-
 1
1 -
2
-
3
-
4
-
5
-
6
-
7
-
8
-
9
-
10
-
11
-
12
-
13
-
14
-
15
-
16
-
17
-
18
-
19
-
20
-
21
-
22
-
23
-
24
-
25
-
26
-
27
-
28
-
29
-
30
-
31
-
32
-
33
-
34
-
35
-
36
-
37
-
38
-
39
-
40
-
41
-
42
-
43
-
44
-
45
-
46
-
47
-
48
-
49
-
50
-
51
-
52
-
53
-
54
-
55
-
56
-
57
-
58
-
59
-
60
-
61
-
62
-
63
-
64
-
65
-
66
-
67
-
68
-
69
-
70
-
71
-
72
-
73
-
74
-
75
-
76
-
77
-
78
-
79
-
80
-
81
-
82
-
83
-
84
-
85
-
86
-
87
-
88
-
89
-
90
-
91
-
92
-
93
-
94
-
95
-
96
-
97
-
98
-
99
-
100
-
101
-
102
-
103
-
104
-
105
-
106
-
107
-
108
-
109
-
110
-
111
-
112
-
113
-
114
-
115
-
116
-
117
-
118
-
 119
119 -
 120
120 -
 121
121 -
 122
122 -
 123
123 -
 124
124 -
 125
125 -
 126
126 -
 127
127 -
 128
128 -
 129
129 -
130
-
131
-
132
-
133
-
134
-
135
-
136
-
137
-
138
-
139
-
140
-
141
-
142
-
143
-
144
-
145
-
146
-
147
-
148
-
149
-
150
-
151
-
152
-
153
-
154
-
155
-
156
-
157
-
158
-
159
-
160
-
161
-
162
-
163
-
164
-
165
-
166
-
167
-
168
-
169
-
170
-
171
-
172
-
173
-
174
-
175
-
176
-
177
-
178
-
179
-
180
-
181
-
182
-
183
 |
 |