Adaptec ACS 200 User Guide - Page 7
Getting Started Checklist, Preparing the Disk Drive for Installation, Installing a Disk Drive - drivers
 |
UPC - 760884148570
View all Adaptec ACS 200 manuals
Add to My Manuals
Save this manual to your list of manuals |
Page 7 highlights
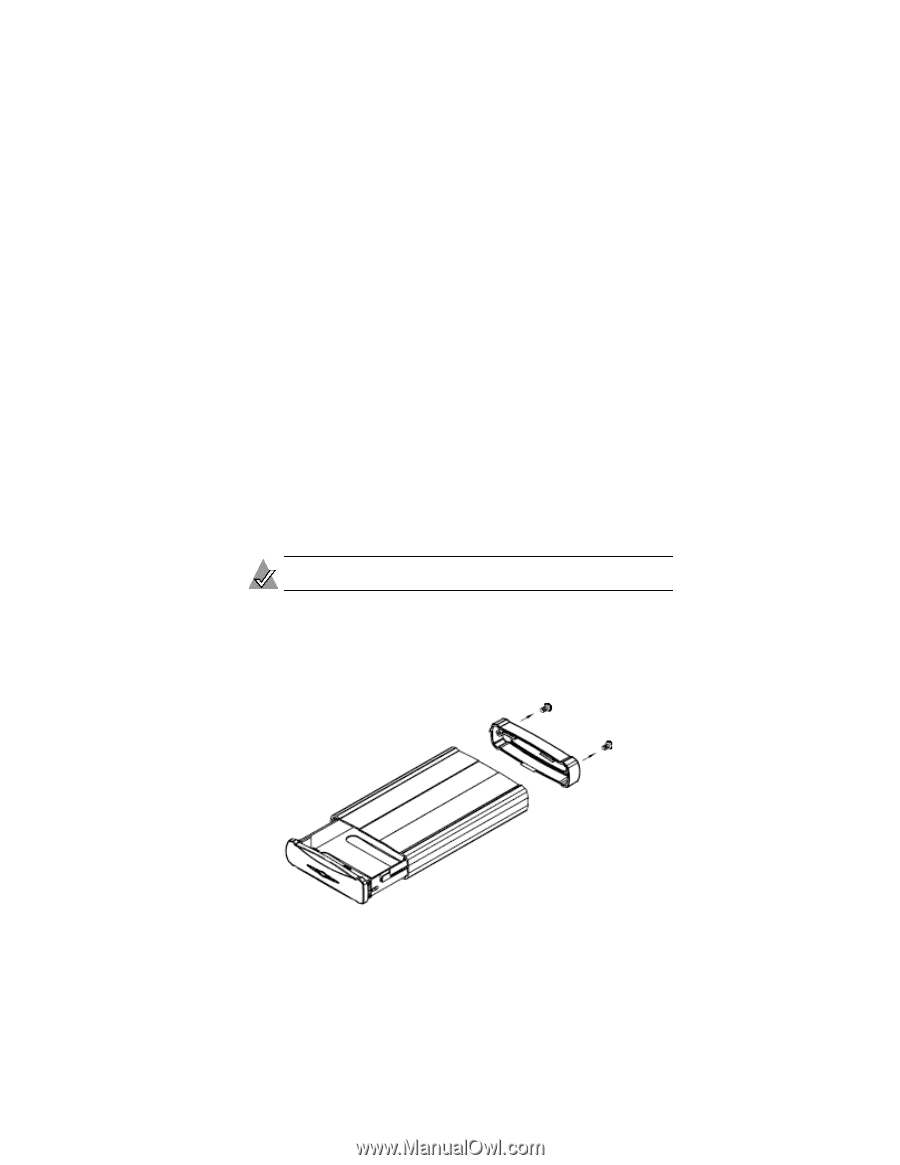
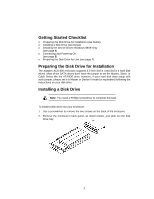
Getting Started Checklist o Preparing the Disk Drive for Installation (see below) o Installing a Disk Drive (see below) o Installing the Device Driver-Windows 98SE Only (see page 5) o Connecting and Powering On (see page 6) o Preparing the Disk Drive for Use (see page 7) Preparing the Disk Drive for Installation The Adaptec ACS-300 enclosure supports 3.5-inch SATA I and SATA II hard disk drives. Most of the SATA drives don't have the jumper to set the Master, Slave, or Cable Select like the ATA/IDE drive; however, if your hard disk does equip with such jumper, please set it to Master or Device 0 mode (or equivalent) following the instructions on your disk drive. Installing a Disk Drive Note: You need a Phillips screwdriver to complete this task. To install a disk drive into your enclosure: 1 Use a screwdriver to remove the two screws on the back of the enclosure. 2 Remove the enclosure's back panel, as shown below, and slide out the disk drive tray. 3
-
 1
1 -
 2
2 -
 3
3 -
 4
4 -
 5
5 -
 6
6 -
 7
7 -
 8
8 -
 9
9 -
 10
10 -
 11
11 -
 12
12 -
13
-
14
-
15
 |
 |