Adaptec ACS 200 User Guide - Page 8
secure it with the screws you removed in Step 1 - enclosure
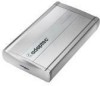 |
UPC - 760884148570
View all Adaptec ACS 200 manuals
Add to My Manuals
Save this manual to your list of manuals |
Page 8 highlights
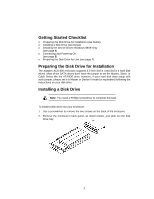
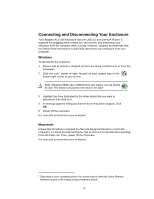
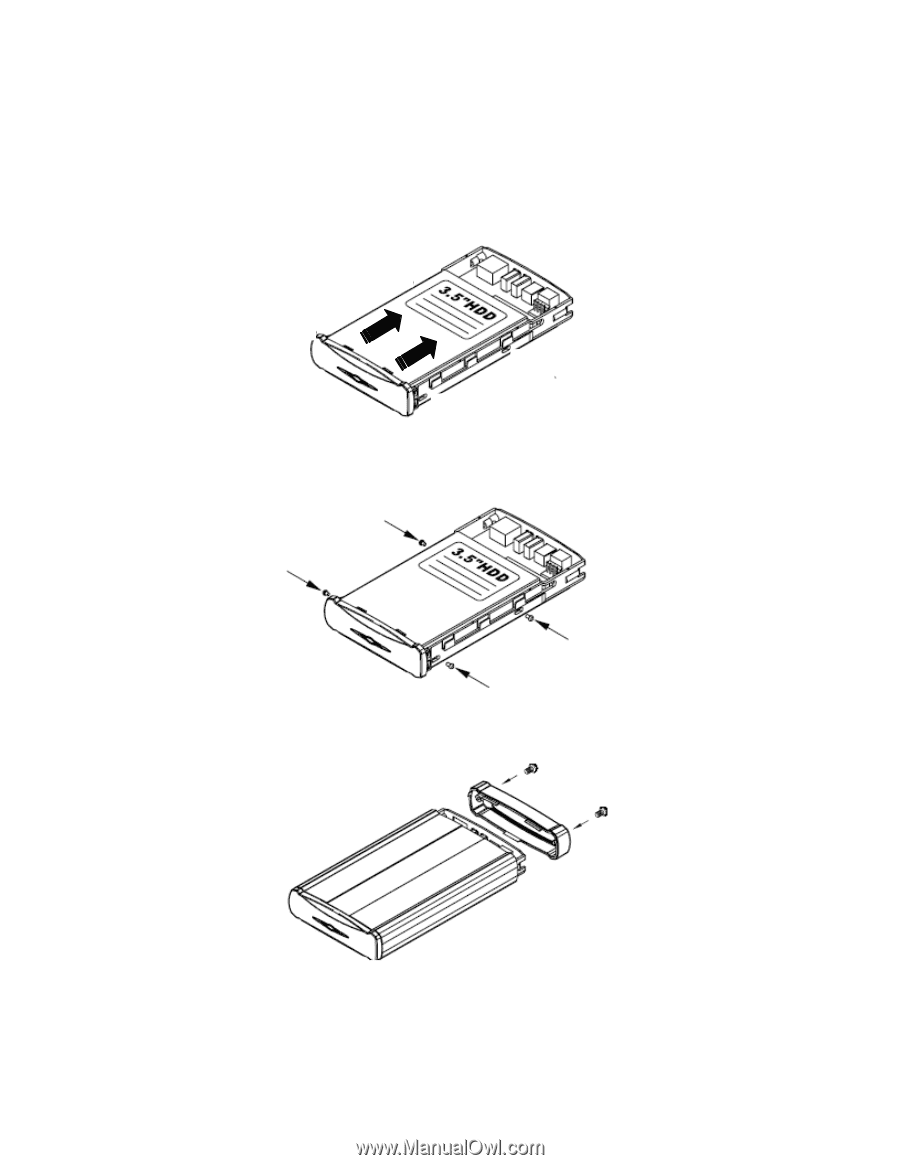
3 Place the disk drive into the tray and gently slide it forward into the SATA connector. 4 Use the four screws included in the kit to secure the drive. 5 Slide the disk drive tray into the enclosure and replace the back panel, then secure it with the screws you removed in Step 1 on page 3. 4
-
 1
1 -
2
-
 3
3 -
 4
4 -
 5
5 -
 6
6 -
 7
7 -
 8
8 -
 9
9 -
 10
10 -
 11
11 -
 12
12 -
 13
13 -
14
-
15
 |
 |
3
Place the disk drive into the tray and gently slide it forward into the SATA
connector.
4
Use the four screws included in the kit to secure the drive.
5
Slide the disk drive tray into the enclosure and replace the back panel, then
secure it with the screws you removed in Step 1 on page
3
.
4