Alpine CDA-9847 Owners Manual - Page 8
Radio - set time
 |
View all Alpine CDA-9847 manuals
Add to My Manuals
Save this manual to your list of manuals |
Page 8 highlights
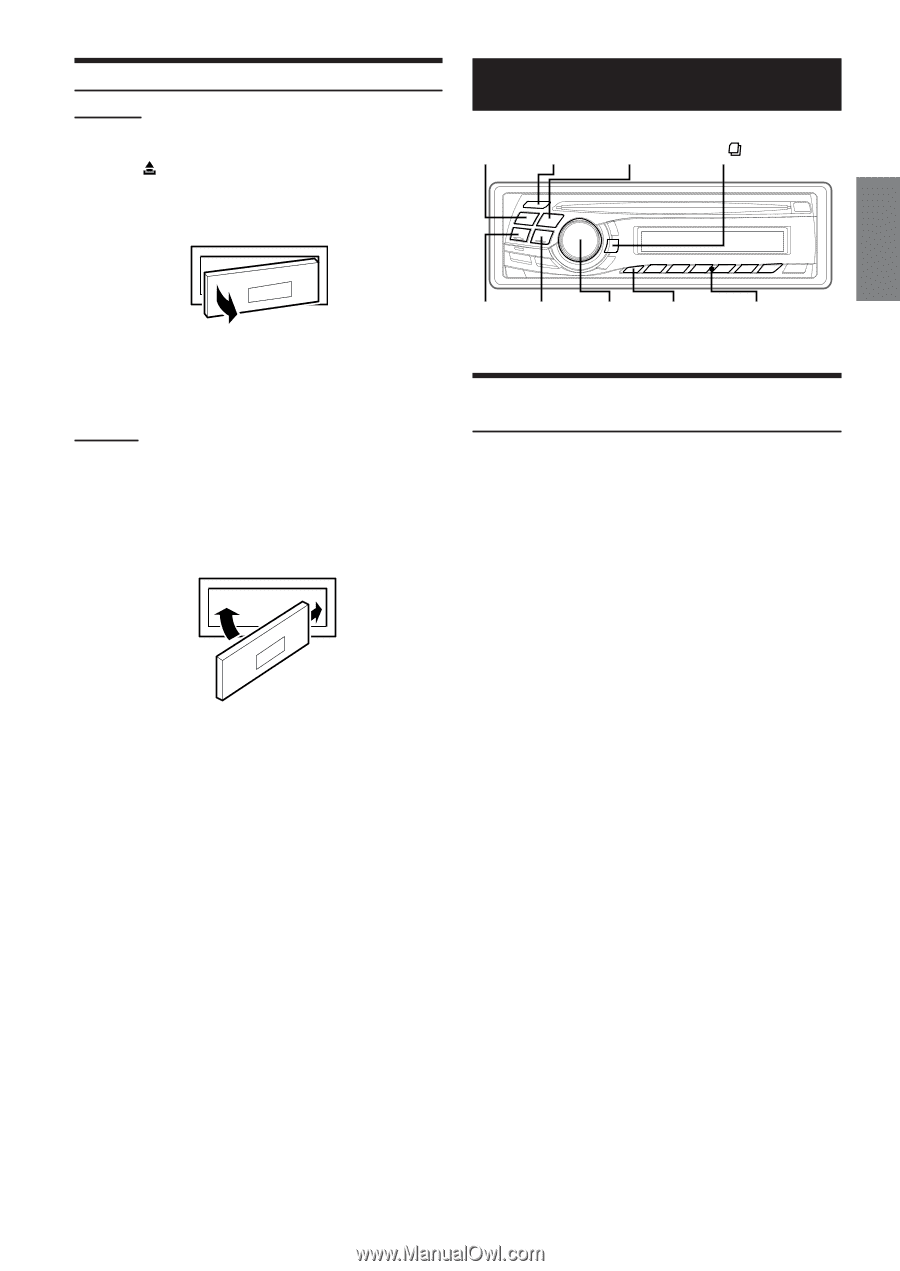
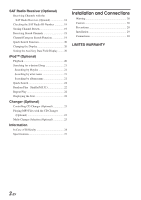
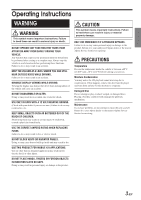
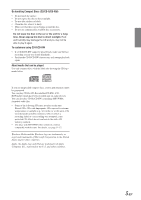
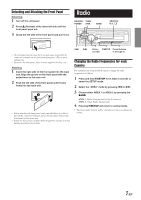
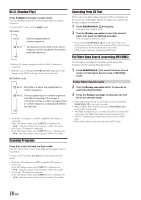
Detaching and Attaching the Front Panel Detaching 1 Turn off the unit power. 2 Press (Release) at the lower left side until the front panel pops out. 3 Grasp the left side of the front panel and pull it out. Radio SOURCE/ TUNE/ POWER A.ME BAND SEARCH/ Q.S. • The front panel may become hot in normal usage (especially the connector terminals on the back of the front panel.) This is not a malfunction. • To protect the front panel, place it in the supplied carrying case. Attaching 1 Insert the right side of the front panel into the main unit. Align the groove on the front panel with the projections on the main unit. 2 Push the left side of the front panel until it locks firmly into the main unit. 2 1 • Before attaching the front panel, make sure that there is no dirt or dust on the connector terminals and no foreign object between the front panel and the main unit. • Attach the front panel carefully. Hold the panel by its sides to avoid pushing any buttons by mistake. g f Rotary F/SETUP Preset buttons encoder (1 through 6) Changing the Radio Frequencies for each Country For customers not living in North America, change the radio frequencies as follows. 1 Press and hold F/SETUP for at least 2 seconds to select the SETUP mode. 2 Select the "AREA" mode by pressing g or f. 3 Choose either AREA 1 or AREA 2 by pressing the BAND. AREA 1: Radio frequencies for North America AREA 2: Other Radio frequencies 4 Pressing F/SETUP will return to normal mode. • The stored radio stations will be cleared every time you change the setting. 7-EN
-
 1
1 -
2
-
 3
3 -
 4
4 -
 5
5 -
 6
6 -
 7
7 -
 8
8 -
 9
9 -
 10
10 -
 11
11 -
 12
12 -
 13
13 -
14
-
15
-
16
-
17
-
18
-
19
-
20
-
21
-
22
-
23
-
24
-
25
-
26
-
27
-
28
-
29
-
30
-
31
-
32
-
33
-
34
-
35
-
36
-
37
-
38
-
39
-
40
-
41
-
42
-
43
-
44
-
45
-
46
-
47
-
48
-
49
-
50
-
51
-
52
-
53
-
54
-
55
-
56
-
57
-
58
-
59
-
60
-
61
-
62
-
63
-
64
-
65
-
66
-
67
-
68
-
69
-
70
-
71
-
72
-
73
-
74
-
75
-
76
-
77
-
78
-
79
-
80
-
81
-
82
-
83
-
84
-
85
-
86
-
87
-
88
-
89
-
90
-
91
-
92
-
93
-
94
-
95
-
96
-
97
 |
 |