Alpine iXA-W407 Owners Manual - Page 16
Rear Entertainment Function, Switching Display Modes - fit
 |
View all Alpine iXA-W407 manuals
Add to My Manuals
Save this manual to your list of manuals |
Page 16 highlights
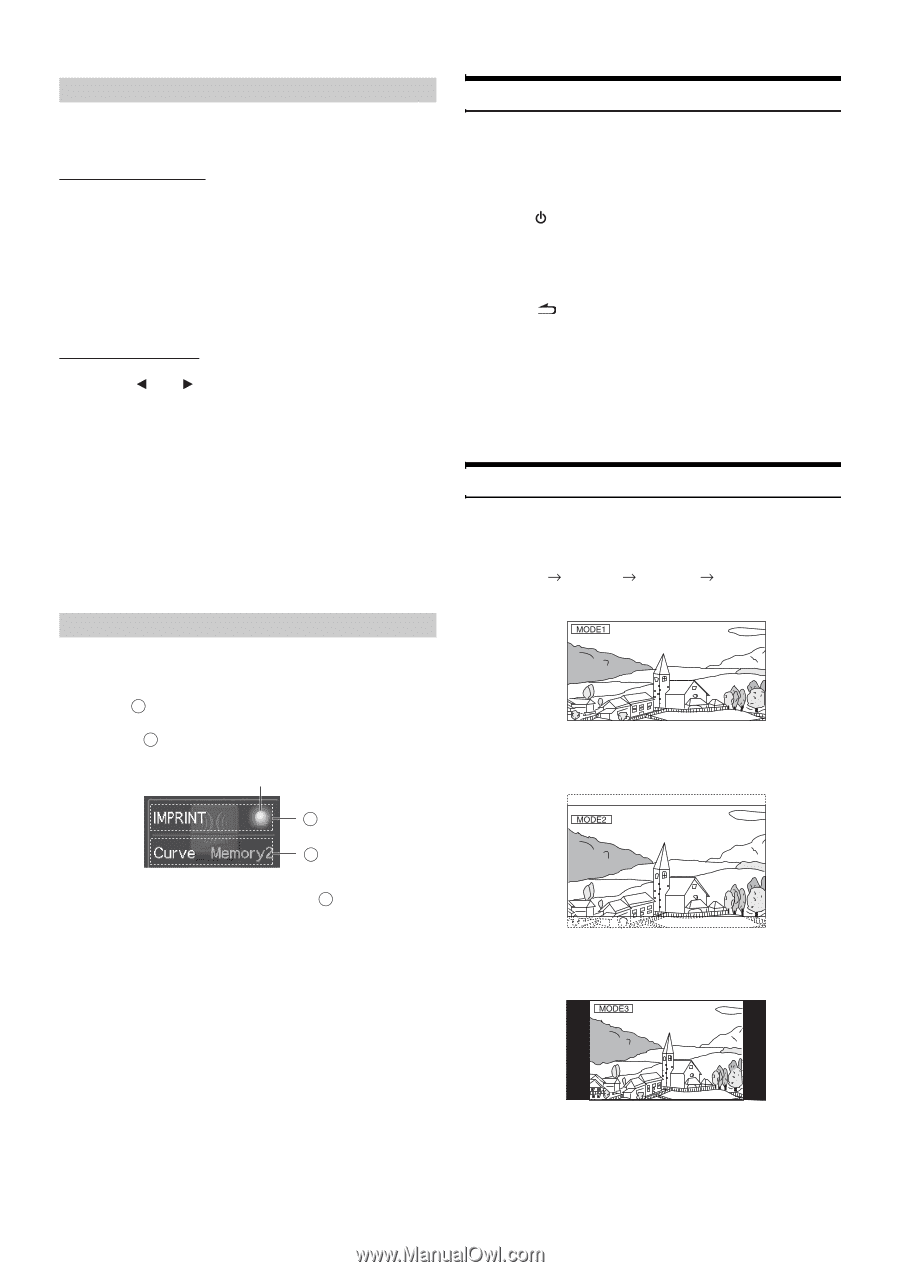
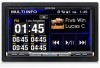
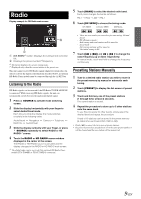
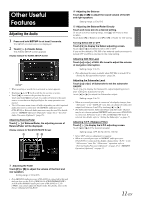
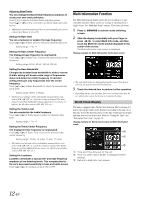
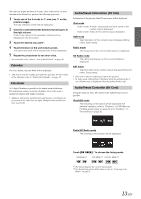
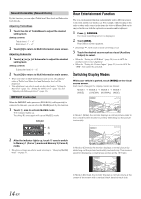
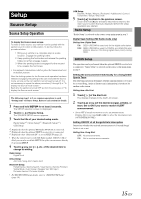
Sound Controller (Sound Cont.) By this function, you can adjust Treble level, Bass level and Subwoofer level directly. Adjusting Treble/Bass 1 Touch the dial of Treble/Bass to adjust the desired setting level. Setting contents: Treble level: -7 ~ +7 Bass level: -7 ~ +7 2 Touch [X] to return to Multi Information main screen. Adjusting Subwoofer 1 Touch [ ] or [ ] of Subwoofer to adjust the desired setting level. Setting contents: Subwoofer level: 0 ~ 15 2 Touch [X] to return to Multi Information main screen. • When you return to Multi Information main screen, the adjusted value of Treble level, Bass level and Subwoofer level will be displayed. • This adjustment can also be made as described under "Setting the Bass level" (page 12), "Setting the Treble Level" (page 12), and "Adjusting the Subwoofer Level" (page 11). IMPRINT Controller When the IMPRINT audio processor (PXA-H100) (sold separately) is connected to this unit, you can select the MultEQ mode by this function. 1 Touch A area to activate MultEQ mode. The indicator lights up. Touching A area again will cancel MultEQ mode. Indicator Rear Entertainment Function The rear entertainment function independently routes different sources to the front and the rear inside a car. For example, while listening to the radio or other audio source in the front, the video of iPhone/iPod can be enjoyed in the rear with the optional rear monitor and headphones. 1 Press SOURCE. The mode switching screen is displayed. 2 Touch [RSE]. Rear Select screen appears. • Touching [ ] will return to mode switching screen. 3 Touch the desired source such as visual (Auxiliary Output) to select. • When the "Setting the AUX Mode" (page 20) is set to OFF, the auxiliary source is not displayed. • When the "Setting the Picture Output" (page 21) is set to OFF, the "RSE" item cannot be activated. Switching Display Modes While your vehicle is parked, touch [WIDE] on the visual source screen. Each touch changes the display modes as follows: MODE 1 (WIDE) MODE 2 MODE 3 MODE 1 (CINEMA) (NORMAL) (WIDE) In Mode 1 (Wide), the monitor displays a normal picture wider to fit in a wide-screen monitor by evenly stretching out the picture horizontally. A B 2 After the indicator lights up, touch B area to switch to Memory 1 (Curve 1) mode and Memory 2 (Curve 2) mode. • The above settings can also be made referring to "Changing MultEQ mode" on page 31. In Mode 2 (Cinema), the monitor displays a normal picture by stretching out the picture horizontally and vertically. This mode is good for displaying a cinema type picture at the 16:9 ratio. 14-EN In Mode 3 (Normal), the monitor displays a normal picture at the center of the screen with a vertical black band at each side.
-
 1
1 -
2
-
3
-
4
-
5
-
6
-
7
-
8
-
9
-
10
-
 11
11 -
 12
12 -
 13
13 -
 14
14 -
 15
15 -
 16
16 -
 17
17 -
 18
18 -
 19
19 -
 20
20 -
 21
21 -
22
-
23
-
24
-
25
-
26
-
27
-
28
-
29
-
30
-
31
-
32
-
33
-
34
-
35
-
36
-
37
-
38
-
39
-
40
-
41
-
42
-
43
-
44
-
45
-
46
-
47
-
48
-
49
-
50
-
51
-
52
-
53
-
54
-
55
-
56
-
57
-
58
-
59
-
60
-
61
-
62
-
63
-
64
-
65
-
66
-
67
-
68
-
69
-
70
-
71
-
72
-
73
-
74
-
75
-
76
 |
 |