Asus AP140R AP140R User Manual English Edition - Page 31
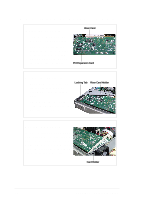
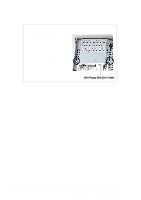
Floppy Drive
 |
View all Asus AP140R manuals
Add to My Manuals
Save this manual to your list of manuals |
Page 31 highlights
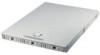
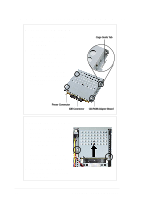
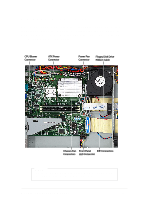
3.2 Floppy Drive The 1U server comes with a slim floppy disk drive already installed. Refer to this section if you need to remove and re-install the floppy drive in the future. Removing the Floppy Drive 1. Disconnect the floppy cable from the rear of the drive. 2. Remove the screws that secure the floppy drive. The picture on the right shows the locations of the screws. 3. Slide the floppy drive cage out of the bay. 4. The drive is secured by four screws (two on each side) to the cage. Remove these screws to detach the drive from the cage. Slim Floppy Disk Drive Cable Mounting the Floppy Drive 1. Place the floppy drive into the drive cage as shown. 2. Secure the drive to the cage with the four screws that you removed earlier. AP140R Server User's Manual 31
-
 1
1 -
2
-
3
-
4
-
5
-
6
-
7
-
8
-
9
-
10
-
11
-
12
-
13
-
14
-
15
-
16
-
17
-
18
-
19
-
20
-
21
-
22
-
23
-
24
-
25
-
 26
26 -
 27
27 -
 28
28 -
 29
29 -
 30
30 -
 31
31 -
 32
32 -
 33
33 -
 34
34 -
 35
35 -
 36
36 -
37
-
38
-
39
-
40
-
41
-
42
-
43
-
44
 |
 |
