Asus AP1710-I5 AP1710-I5 English Manual - Page 40
Placing a hard disk drive to hotswap bay
 |
View all Asus AP1710-I5 manuals
Add to My Manuals
Save this manual to your list of manuals |
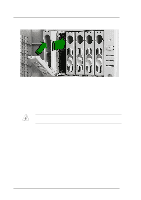
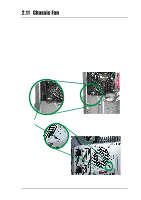
Page 40 highlights
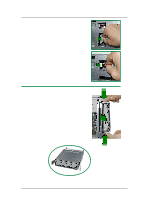
2.6.2 Placing a hard disk drive to hotswap bay 1. After the drive is secured to the tray, carefully insert the drive into the bay. 2. Push the tray all the way to the depth of the bay until it fits. 3. Push the tray handle back into place. Make sure that the HDD tray is completely in place before you push the handle back to avoid damaging the drive and the tray. 2-22 ASUS AP1710-I5
-
 1
1 -
2
-
3
-
4
-
5
-
6
-
7
-
8
-
9
-
10
-
11
-
12
-
13
-
14
-
15
-
16
-
17
-
18
-
19
-
20
-
21
-
22
-
23
-
24
-
25
-
26
-
27
-
28
-
29
-
30
-
31
-
32
-
33
-
34
-
 35
35 -
 36
36 -
 37
37 -
 38
38 -
 39
39 -
 40
40 -
 41
41 -
 42
42 -
 43
43 -
 44
44 -
 45
45 -
46
-
47
-
48
-
49
-
50
-
51
-
52
-
53
-
54
-
55
-
56
-
57
-
58
-
59
-
60
 |
 |

2-22
ASUS AP1710-I5
1. After the drive is secured to the tray, carefully insert the drive into the
bay.
2. Push the tray all the way to the depth of the bay until it fits.
3. Push the tray handle back into place.
2.6.2 Placing a hard disk drive to hotswap bay
Make sure that the HDD tray is completely in place before you push
the handle back to avoid damaging the drive and the tray.