Bernina 1260 Manual - Page 37
standard, buttonhole, otinconoe.
 |
View all Bernina 1260 manuals
Add to My Manuals
Save this manual to your list of manuals |
Page 37 highlights
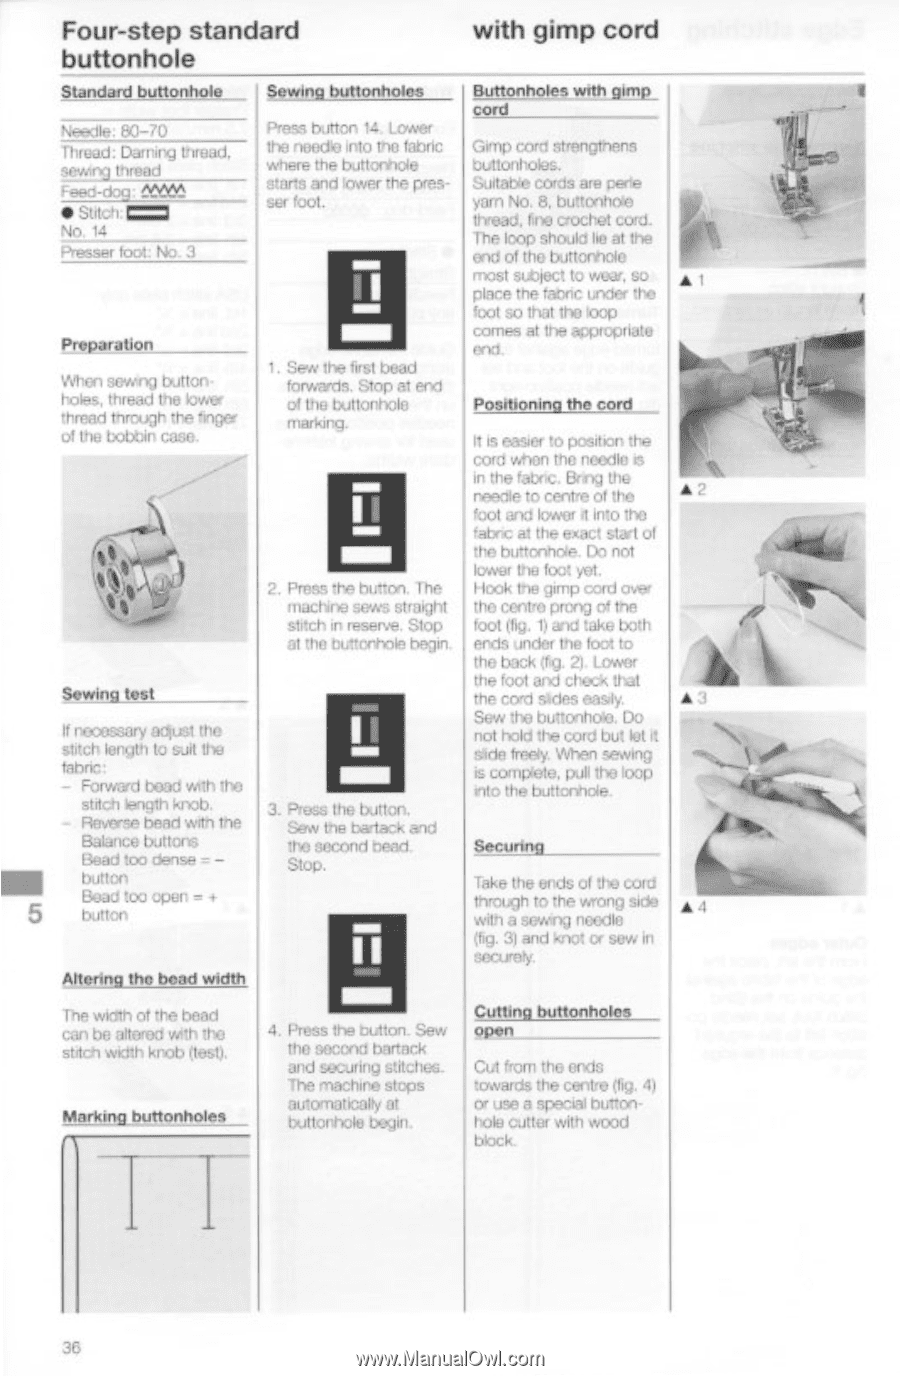
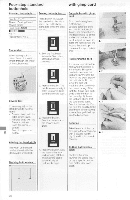
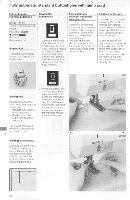
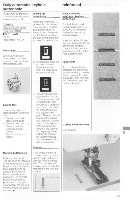
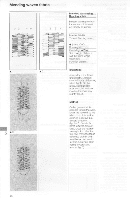
Four-step standard buttonhole with gimp cord Standard buttonhole \'Rifle. W-70 " 11 10 0.: miry Intoad, • = Preparation Sewing buttonholes Press button 14. Lower the needle Into the labile where the buttonhole starts and lower the pres ser foot. Buttonholes with gimp cord Grrip cord strengthens buttonholes. Suitable cords are pene yarn No. B. bumonhot thread. fine crochet cad. The loop should he al the and of the buttered° most stispot to weir place the 'WIC tinder . foot so that the lO0P comes at the aPPLOPnatu Mn 'Mtn sowing button, holes, thread the lower thread through the Inger of the bobbin case forwastis atop at end of the buttonhole marking. r 2. Press the button. The 'machine sews straight stitch m resent. Slop al the buttonhole her Sewing test If necessary squat the stitch length to r11g the taboo • - Forwarcl teed nth the stitch length POO. - Reverse bond with the Balance buttons Bead too dense = button Bead too open , 4 5 button 3 Prods the bitten. Sew the bariack and the second bead Stop. Altering the bead width Positioning the cord d is easier to position the cord when the noodle n in the 'atone. Bang the needle to centre el Ur• fool and IWO,. n into W.: fabric at the exact start ut the otinconoe. Do not Iowa' he loot yet. Flook be gimp cad over the centre prong of the foot (hg. 1) and take Ix)°, eMs under the loot to the back (fig. 2) 'SWOP the tool and Cl!(ck (tat the cord sides Sere the buttonhole. Do not hold the cord but lot •t ado freely When sewn is complete. pull the ono the buttonhole. Securing Take the ends of the cad through to the wrong side with a seeing noodle (fig. 3) and knot or sow a sectrey Inn wvlth at tte bead can be altered Mb the stitch width knob (lest). Marking_buttonholes 4. Press the button. Sew me second bedeck and seaming stitches. The machine stops autornaticalty at buttonhole begin. Cutting buttonholes ellen Cut from the ends towards the centre (kg. 4) ce use a special buttonhole culla with wood block 36
-
 1
1 -
2
-
3
-
4
-
5
-
6
-
7
-
8
-
9
-
10
-
11
-
12
-
13
-
14
-
15
-
16
-
17
-
18
-
19
-
20
-
21
-
22
-
23
-
24
-
25
-
26
-
27
-
28
-
29
-
30
-
31
-
 32
32 -
 33
33 -
 34
34 -
 35
35 -
 36
36 -
 37
37 -
 38
38 -
 39
39 -
 40
40 -
 41
41 -
 42
42 -
43
-
44
-
45
-
46
-
47
-
48
-
49
-
50
-
51
-
52
-
53
-
54
 |
 |