Bernina 2000 Manual - Page 23
Warning
 |
View all Bernina 2000 manuals
Add to My Manuals
Save this manual to your list of manuals |
Page 23 highlights
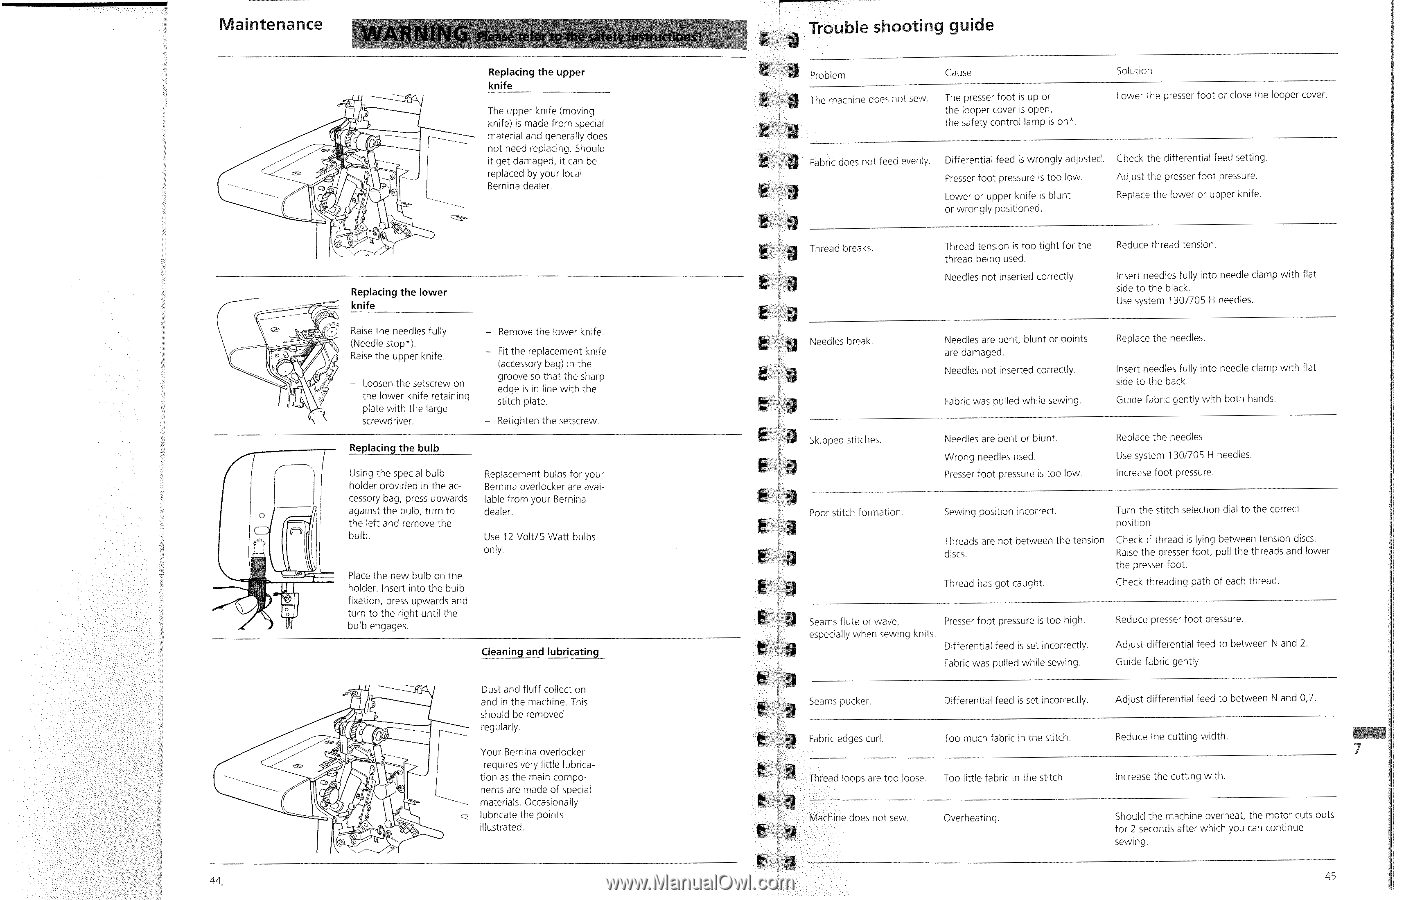
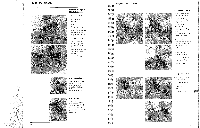
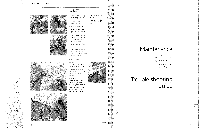
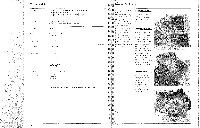
Maintenance WARNING Please refer to the safety inst fr 1 Replacing the upper knife The upper knife (moving knife) is made from special material and generally does not need replacing. Should it get damaged, it can be replaced by your local Bernina dealer. ... Cs 0 0 Replacing the lower knife Raise the needles fully (Needle stop*). Raise the Loper knife. - Loosen the setscrew on the lower knife retaining plate with the large screwdriver. - Remove the lower knife. - Fit the replacement knife (accessory bag) in the groove so that the sharp edge is in line with the stitch plate. - Retighten the setscrew. Replacing the bulb Using the special bulb holder provided in the accessory bag, press upwards against the bulb, turn to the left and remove the bulb. Replacement bulbs for your Bernina overlocker are available from your Bernina dealer. Use 12 Volt/5 Watt bulbs only. Place the new bulb on the holder. Insert into the bulb fixation, press upwards and turn to the right until the bulb engages. Cleaning and lubricating Dust and fluff collect on and in the machine. This should be removed regularly. CID C Your Bernina overlocker requires very little lubrication as the main components are made of special materials. Occasionally lubricate the points illustrated. 44 Trouble shooting guide 41 Problem Cause zl The machine does not sew. The presser foot is up or the looper cover is open, the safety control lamp is on*. Solution Lower the presser foot or close the looper cover. a Fabric does not feed evenly. Differential feed is wrongly adjusted. Check the differential feed setting. Presser foot pressure is too low. Adjust the presser foot pressure. Lower or upper knife is blunt or wrongly positioned. Replace the lower or upper knife. ii Thread breaks. RN, re. Needles break. h.. gitif,411 Skipped stitches. t. tom Poor stitch formation. Thread tension is too tight for the thread being used. Needles not inserted correctly. Reduce thread tension. Insert needles fully into needle clamp with flat side to the black. Use system 130/705 H needles. Needles are bent, blunt or points are damaged. Needles not inserted correctly. Fabric was pulled while sewing. Replace the needles. Insert needles fully into needle clamp with flat side to the back. Guide fabric gently with both hands. Needles are bent or blunt. Wrong needles used. Presser foot pressure is too low. Replace the needles. Use system 130/705 H needles. Increase foot pressure. Sewing position incorrect. Turn the stitch selection dial to the correct position Threads are not between the tension Check if thread is lying between tension discs. discs. Raise the presser foot, pull the threads and lower the presser foot. Thread has got caught. Check threading path of each thread. Seams flute or wave, Presser foot pressure is too high. especially when sewing knits. Differential feed is set incorrectly. Fabric was pulled while sewing. Reduce presser foot pressure. Adjust different al feed to between N and 2. Guide fabric gently. Seams pucker. Differential feed is set incorrectly. Adjust different al feed to between N and 0,7. CAI Fabric edges curl. Too much fabric in the stitch. Thread loops are too loose. Too little fabric in the stitch. 444, Machine does not sew. Overheating. Reduce the cutting width. Increase the cutting with. Should the machine overheat, the motor cuts outs for 2 seconds after which you can continue sewing. 45
-
 1
1 -
2
-
3
-
4
-
5
-
6
-
7
-
8
-
9
-
10
-
11
-
12
-
13
-
14
-
15
-
16
-
17
-
 18
18 -
 19
19 -
 20
20 -
 21
21 -
 22
22 -
 23
23 -
 24
24 -
 25
25 -
 26
26
 |
 |